Notice: This Wiki is now read only and edits are no longer possible. Please see: https://gitlab.eclipse.org/eclipsefdn/helpdesk/-/wikis/Wiki-shutdown-plan for the plan.
Efxclipse/Tutorials/Tutorial01v4.5.0
 Prior version of this wiki page for Juno, Indigo and xxx are still available.
From creation to deployment
How to create a very basic e(fx)clipse project on a Mars 4.5.0 version of eclipse. These instructions were written and the screen captures taken with a clean install of the Eclipse for RCP and RAP Developers 64 bit package available here (http://www.eclipse.org/downloads/packages/eclipse-rcp-and-rap-developers/marsr). The Operating system used was Windows 7 SP1. These steps do not include the install of eclipse 4.5.0 (Mars). This tutorial does not cover installing the e(fx)clipse IDE and setup a target platform for your application development. See this tutorial for instructions on how to install the e(fx)eclipse IDE and setup a target platform.
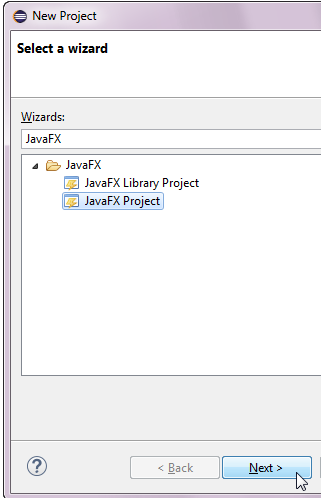
- File > New > Project
- Type in JavaFX in the Wizards: text box.
- Select the JavaFX Project entry
- Press the Next > button.
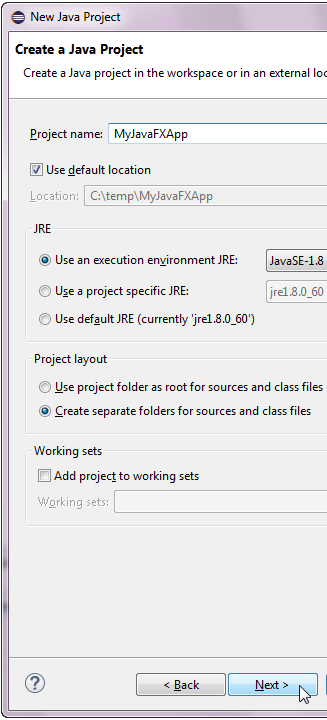
- Enter a project name MyJavaFXApp at the Project name: text box
- Press press the Next > button.
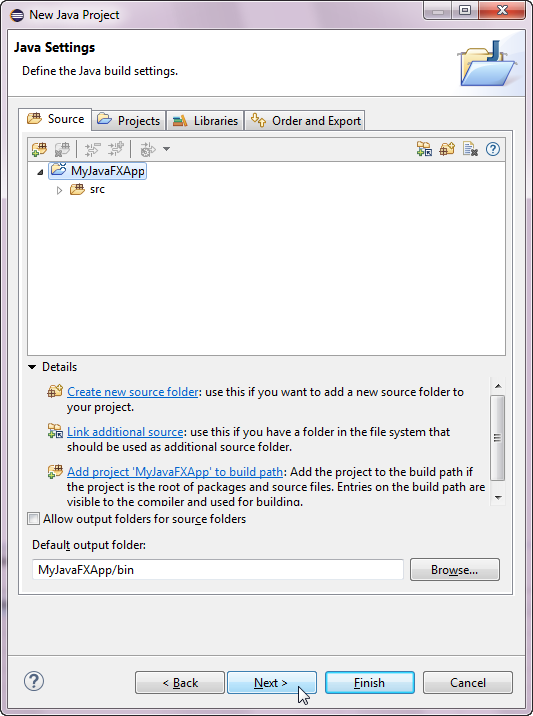
- Take the defaults and press the Next > button.
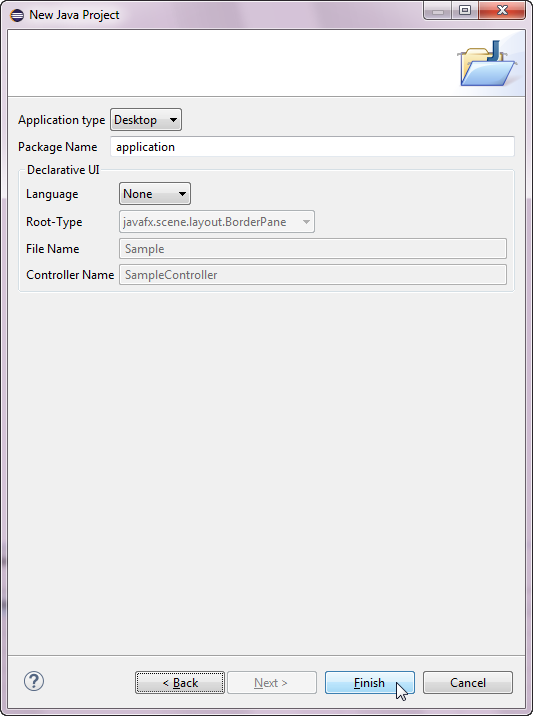
- Take the defaults and press the Finish button.
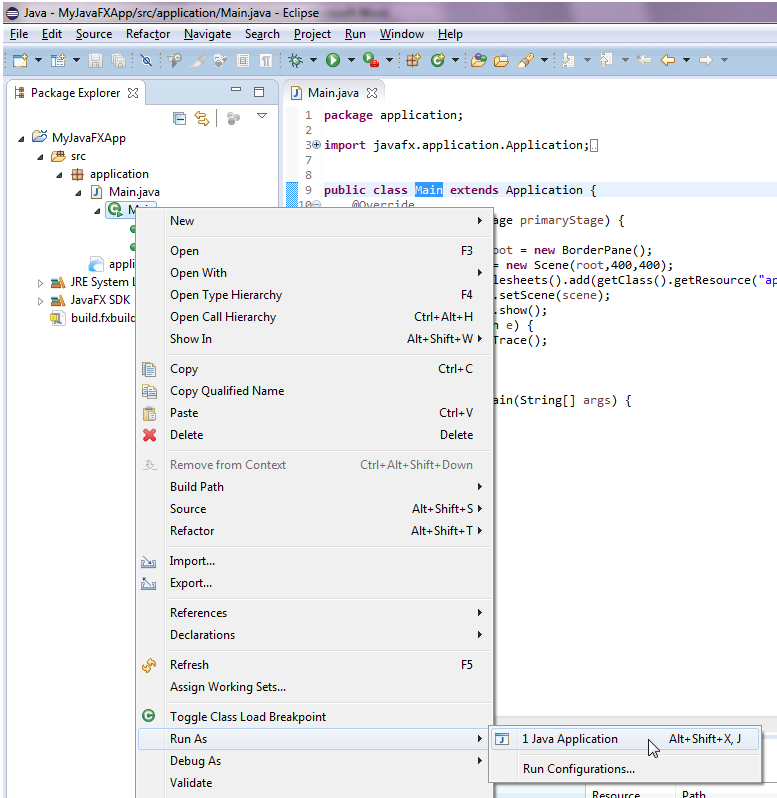
- Select the Main class.
- Pull up the context pop pout menu with a right mouse click.
- Select the Run As option.
- Select the Java Application Alt+Shift+X, J option on the sub pop out context menu.
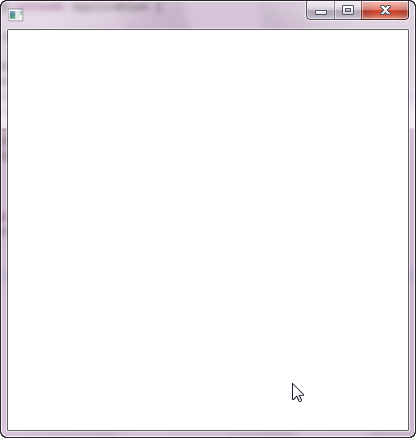
- An empty window is rendered.
- Close the window.
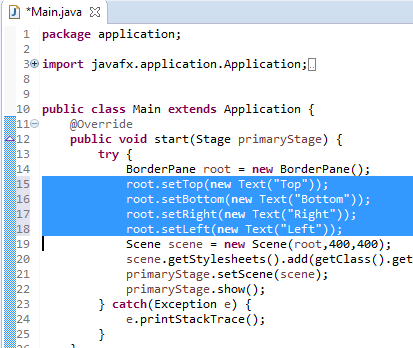
- Add the following four lines of Java Code at the location screen on the following screen capture.
- Save the changes by typing CTL+S
root.setTop(new Text("Top"));
root.setBottom(new Text("Bottom"));
root.setRight(new Text("Right"));
root.setLeft(new Text("Left"));
- Run the application again.
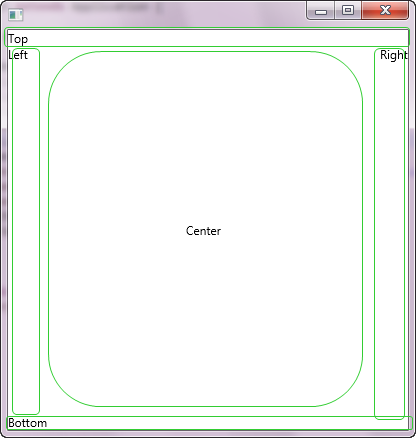
- This time the words Top, Bottom, Left, Right and Center will appear. The green boxes will not render. The green box are just something added to the screen capture to help the newbie see how the parts of a BorderPane layout.
Deployment
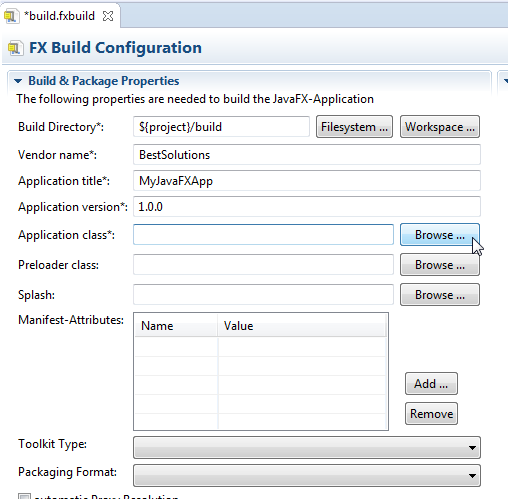
- Open the build.fxbuild file.
- At the Vendor name*: text box enter BestSolutions.
- At the Application Title*: text box enter BestSolutions.
- At the Application version*: text box enter 1.0.0.
- At the Application Class*: text box press the Browse ... button.
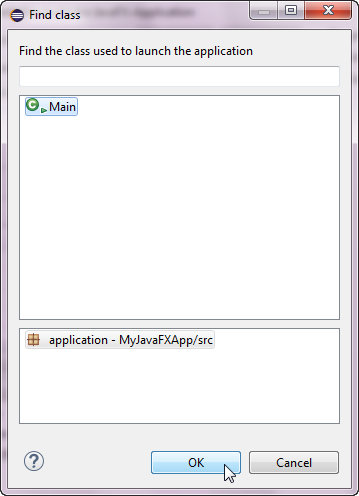
- Pick the Main entry and press the OK button.
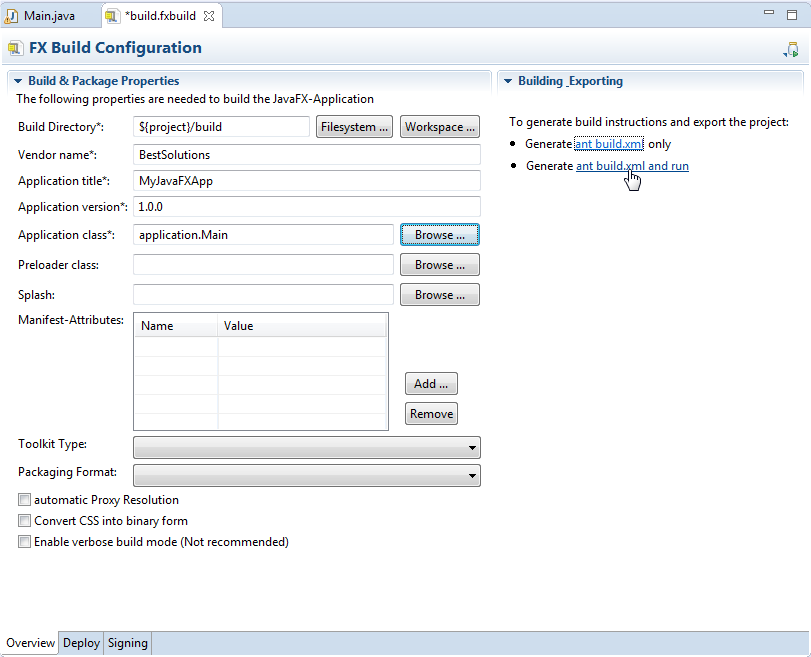
- Save the changes by typing CTL+S
- Click on the ant build.xml and run link in the build section of the editor.
- The tutorial is now complete.
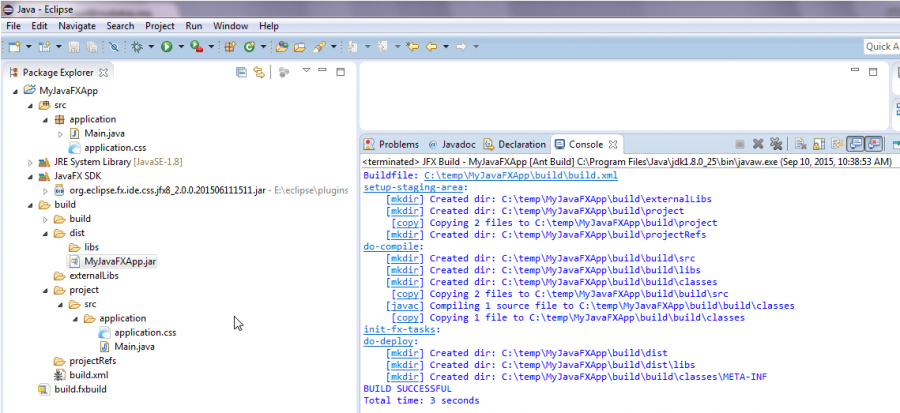
- Read the console to check that there are no errors.
- Expand the Package Explorer to see the jar file MyJavaFXApp.jar


