Notice: This Wiki is now read only and edits are no longer possible. Please see: https://gitlab.eclipse.org/eclipsefdn/helpdesk/-/wikis/Wiki-shutdown-plan for the plan.
OSEE/OTE/Developers Guide
This guide will show you how to run the OTE client and server uwing a runtime workbench. Runtime workbenches provide an excellent development environment where you can write and run your code as quickly as possible. It is highly recommended when making changes to the test environment that you use a runtime workbench for testing first.
Contents
Requirements
- RAM: Highly recommend at least 8GB of RAM
- HDD: At least 4 GBs
- OS: Windows or Linux are natively built. If you use Mac you can update the Maven build to create a Mac distribution.
- JVM: Currently our dev line still depends on Java 8. We are also working on a feature branch at mmasterso/java11 if you wish to use a newer version of java.
Install the OTE IDE
It is recommended to use the OTE or OSEE IDE to develop the OTE product. The latest dev build can be found in Jenkins here:
Simply download and unzip the appropriate product into a new folder.
Clone OTE source
It is usually easiest to import both the OSEE and OTE repositories:
- OSEE: https://git.eclipse.org/r/admin/repos/osee/org.eclipse.osee
- OTE: https://git.eclipse.org/r/admin/repos/osee/org.eclipse.ote
In general, there will be a master branch in each repository representing the last release baseline and a dev branch representing the latest unreleased version of the code.
Import into the OTE IDE
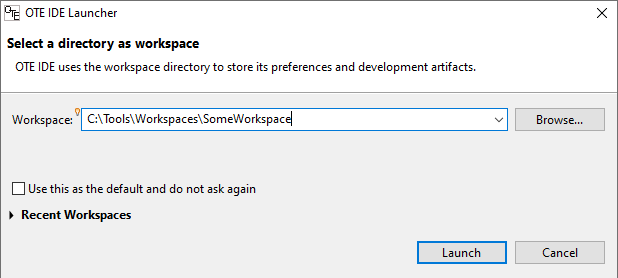
- Launch the OTE client by running ote.exe from the folder that the client was unzipped.
- When asked, select a workspace to contain the automated tests. The default workspace is fine.
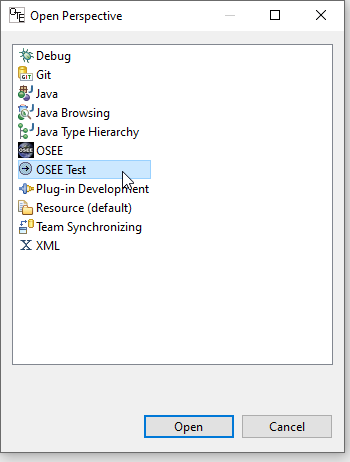
- In the new workspace that comes up, ensure you are in the OSEE Test Perspective:
- In the upper right of the workspace, click on the "Open Perspective" button and select "OSEE Test"
- From the top menu select File->import...
- Select General->"Existing Projects into Workspace"
- Hit the Browse button and find the root folder where you cloned both org.eclipse.ote and org.eclipse.osee
- Once selected, there should be many projects automatically selected under "Projects"
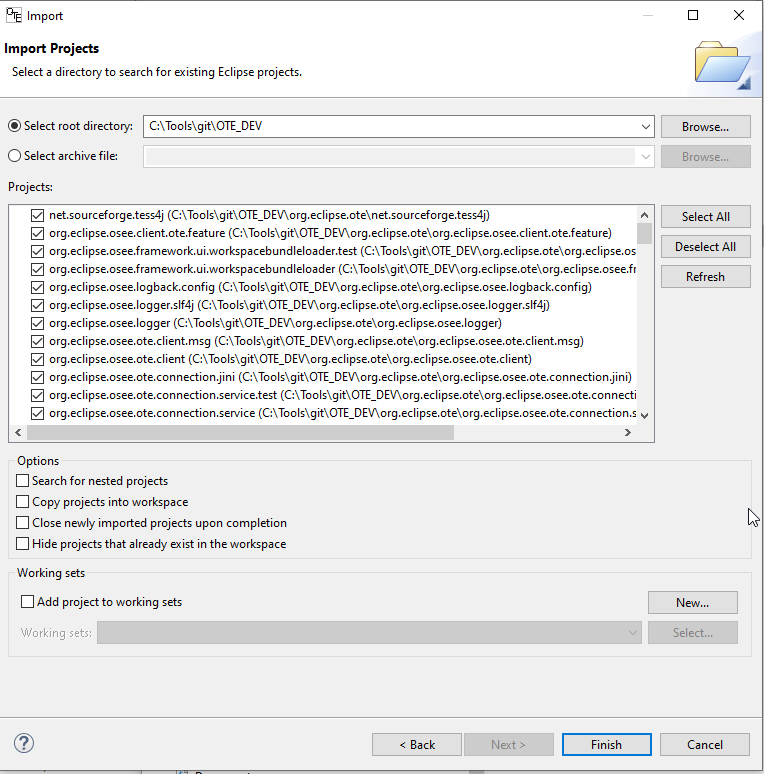
- If not selection, click the "Select All" button
- Hit the Finish button and wait for the workspace to populate and compile completely


Running the OTE Test Server using runtime workbench
- The launch product is located in the org.eclipse.ote.simple.feature plugin
- To launch the test server, right-click on the ote.simple.test.server.product.launch file and select "Debug As"->ote.simple.test.server.product
- The server will start printing to the eclipse console. You may see some errors regarding master rest client that are not impactful
- You should be able to connect and start using the test server as normal (see instructions here)
When running the test server in the debugger you are still able to change a lot of code and eclipse debugger will hot-swap that code. This makes developmento of server side changes quick and easy to execute.
Some cases where you will get a swap error editing source are:
- Changing any class level elements like fields, constants, method signatures, etc
- Changing imports
- Causing compile errors
If you are only testing server-side code updates, you can connect to this server straight from this development workspace. If you also have some client side changes you can continue to the next section to also launch the OTE IDE.
Running the OTE IDE Client using runtime workbench
If you are using a runtime workbench OTE IDE, you should be using a runtime workbench OTE Test Server as well.
- The launch product is located in the org.eclipse.ote.simple.oteide.product plugin
- To launch the test server, right-click on the ote.ide.product.launch file and select "Debug As"->ote.ide.product
- The IDE may start may start in the background, underneath your dev workspace/li>
- If this is your first time running, an empty workspace will be presented and you can follow the directions here to import the test script plugin, connect to the test server, and run the simple test