Notice: This Wiki is now read only and edits are no longer possible. Please see: https://gitlab.eclipse.org/eclipsefdn/helpdesk/-/wikis/Wiki-shutdown-plan for the plan.
XQDT/Installation
Contents
Requirements
In order to install the latest version of XQDT, you simply need Eclipse 3.7 Classic (or superior).
XQDT Installation
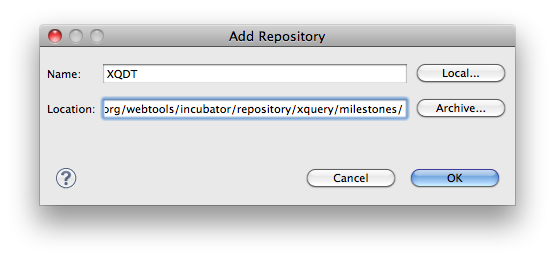
Open your Eclipse workspace, go to the Help menu and then click on the "Install new software..." link. The install popup should open. Click on the "Add" button to add the XQDT update site. Update site URL: http://download.eclipse.org/webtools/incubator/repository/xquery/milestones/. 
Select the "XQuery Development Tools Feature" item. In this tutorial, we want to run Zorba XQuery Processor, therefore we also select the "Zorba XQDT Adapter" feature.
Click next. The selected features are displayed. Click next again. The next screen displays the licensing of XQDT which is EPL. Review and accept the license agreement. Click finish.
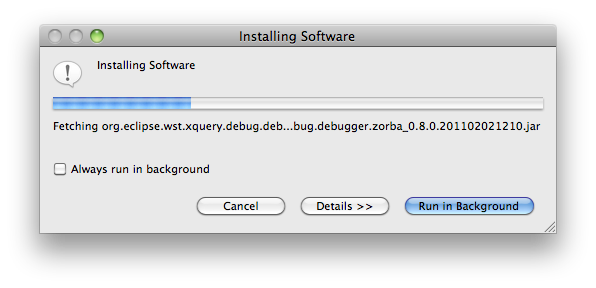
Now, XQDT is being installed. You will be asked to restart Eclipse.
Setup an XQuery engine
You now have XQDT installed. Last step before writing an XQuery project, you need configure an XQuery processor. We will use Zorba. Go to Preferences > XQuery > Interpreters. Click on the "Add..." button. In the popup menu, select "Zorba XQuery Engine" as interpreter type and set the path of your zorba executable.
Click OK.
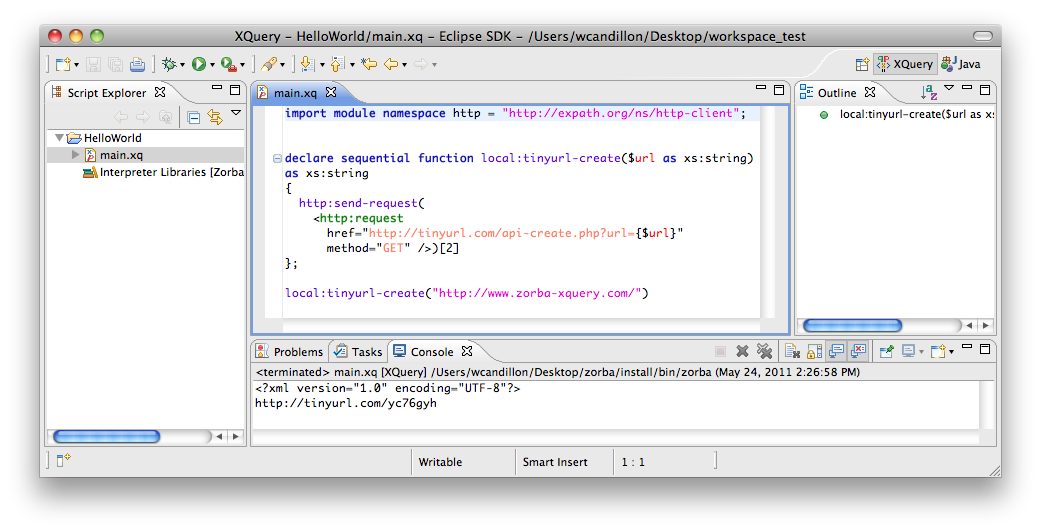
Congratulation! You are all set. You can create a new XQuery project and run it with Zorba.
Support for Other XQuery Processors
There are many resource available on the web on how to plug different XQuery Processors to XQDT:


