Notice: This Wiki is now read only and edits are no longer possible. Please see: https://gitlab.eclipse.org/eclipsefdn/helpdesk/-/wikis/Wiki-shutdown-plan for the plan.
Setting up a CDO Server
Contents
Quickstart
In this section you'll be told how get a running server quickly. Most likely there are setups that fit your needs better. This sections tries to get you up and running as quickly as possible.
Install all CDO bundles
Install all CDO features and bundles and dependencies listed on the resources page in the CDO wiki.
You may either download zips or direct your update manager to the EMF update site to install these bundles and features.
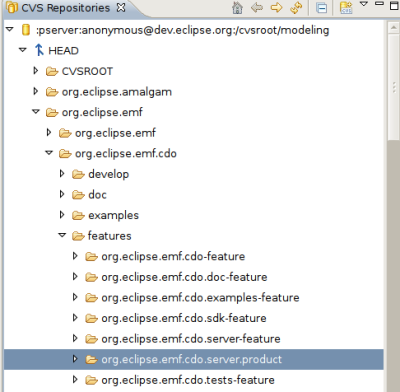
Checkout org.eclipse.emf.cdo.server.product
Checkout the whole org.eclipse.emf.cdo.server.product-feature. You may use the [org.eclipse.emf.cdo.server.product.psf team project set file] or do it manually:
Configure your server
The current server bundle is already fully configured. It may be run out-of-the-box. The launcher configuration supplies the following VM argument that tells the server to use the bundled default configuration:
-Dnet4j.config=${resource_loc:/org.eclipse.emf.cdo.server.product-feature/rootfiles/configuration}
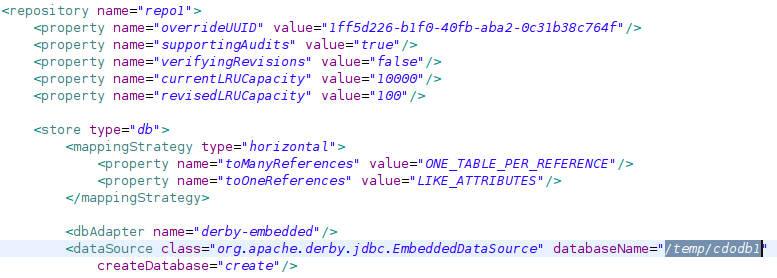
This default configuration uses a derby database that holds its files in /temp/cdodb1. If this fits your needs, just skip this section.
If you want/have to change the default, create a custom configuration as explained in this section, create a laucher (as told below) and remove the VM argument in the launcher.
An examplary server configration is included in the feature you now have in your workspace.
Change at least the location for the db files:
You may read further details on available configuration options in the server configuration reference.
In the next step you have to copy it to a configuration folder in your home-directory:
linux:   /home/yoda/configuration/cdo-server.xml or

windows: C:\Documents and Settings\Yoda\configuration\cdo-server.xml
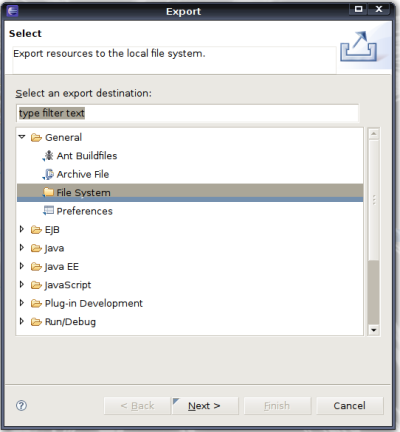
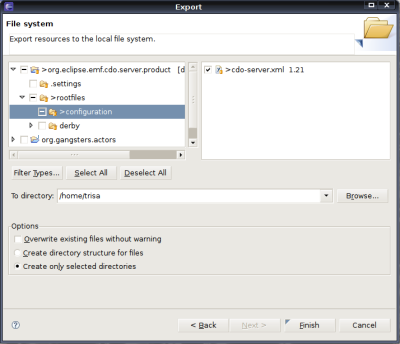
You can achieve this by exporting the configuration directory and the cdo-server.xml to the file system:
Create a launch configuration
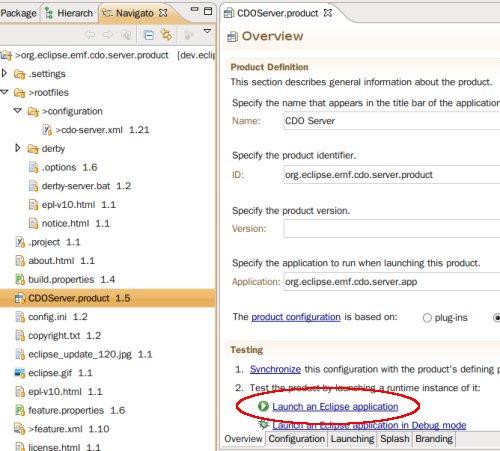
To launch the server you may use the launch configuration held in the server product feature. Open it and run it once. Even though this fails, you now have a launch configuration you can edit.
Adapt the launch configuration
You'll now have to modify this launch configuration to get the server up and running.
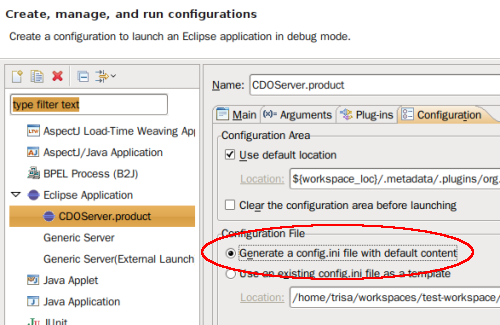
The first thing you need to adapt is to tell it to generate a fresh config.ini:
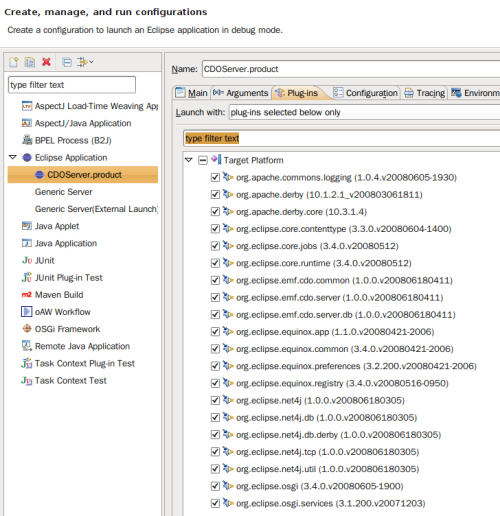
Furhermore you'll have to make sure your server gets all plugins it needs. Most plugins are declared to dependent on in the bundle manifests, so hitting ![]() is all you need to get them included. If you have aptana bundles installed,
is all you need to get them included. If you have aptana bundles installed,
* com.aptana.ide.libraries
gets selected automatically. It holds derby bundles (ex. derby client, etc.) that are of no use to our setup. Deselect it!
The database backend (beside the client/server-communication and other components) is configurable and resolved at runtime. You'll therefore have to add those manually. If you stay with the default configuration, that uses an embedded derby database, you'll have to add:
* org.apache.derby
* org.eclipse.emf.cdo.server.db
* org.eclipse.emf.cdo.server.net4j
* org.eclipse.net4j.db.derby
* org.eclipse.net4j.tcp
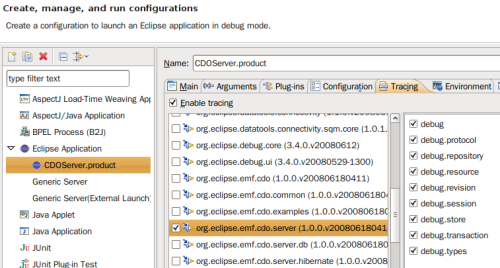
You may enable fine grained logging (for the cdo- and net4j-bundles) in the trace tab in order to get detailed informations on what's going on.
Attention OS-X-User:
You have to adapt the -VM argument -Dnet4j.config pointing to an absolute path instead of simply "configuration".
Start and Stop your server
You are now ready to launch your server. Hit the trigger and watch it get up and running.
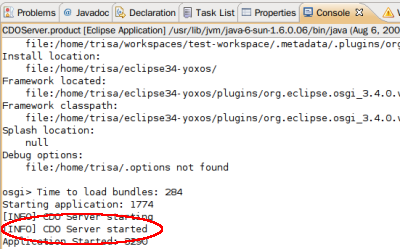
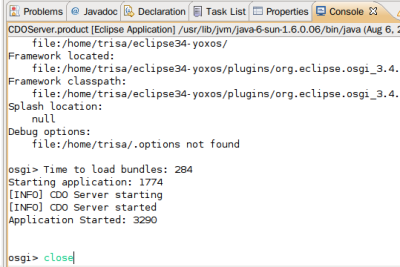
You're running an embedded derby database in an OSGI container. Terminating it by stopping the execution thread in the debugger does not allow it to shut down tidily. To achieve that, get your cursor to the osgi console and close the server by entering close.
