Notice: This Wiki is now read only and edits are no longer possible. Please see: https://gitlab.eclipse.org/eclipsefdn/helpdesk/-/wikis/Wiki-shutdown-plan for the plan.
Scout/Tutorial/4.0/Rayo Look and Feel
The Scout documentation has been moved to https://eclipsescout.github.io/.
Contents
Introduction
Rayo is a modern Look and Feel that is based on Synth Look and Feel. As in Synth all the painting is delegated to components without requiring any code to be written in Rayo. Rayo is a skinnable Look and Feel that can be configured in an XML property file.
In this tutorial a simple Scout application will be customized with the Rayo Look and Feel. Depending on the configured Look and Feel property in the config.ini file, the application is started with Rayo or with the default Swing Look and Feel (Nimbus or Windows).
Preparation
First we create a new Scout "Hello World" application as described in Hello World tutorial.
Installation of Rayo using Scout SDK
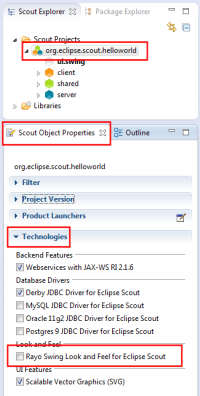
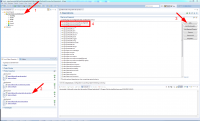
Switch to the Scout Explorer view and mark the previous created "Hello World" application. In the Scout Object Properties view check the box "Rayo Swing Look and Feel for Eclipse Scout" under Technologies.
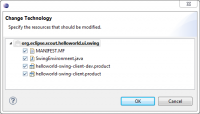
A new dialog will pop up, showing the the changes that will be applied to the "Hello World" project in order to provide the Rayo Look and Feel. These changes will be explained in the section Manual installation of Rayo
Click on OK.
If this is your first time using Rayo, it is downloaded first (this may take a while) and installed into your Eclipse instance afterwards. In that case you must accept the license after pressing OK [1].
When the download has been completed, confirm the 'Security Warning' [2] dialog with OK to install the Rayo feature. When the installation is finished you are prompten to restart Eclipse. Confirm with 'Yes' to complete the installation.
Manual installation of Rayo
Instead of using the Scout SDK to download and install Rayo Look and Feel (section above), Rayo can also be downloaded at the Eclipse Marketplace as an alternative. In this section the necessary steps are explained for setting up a Scout application with Rayo. All these single steps are done automatically when using Scout SDK (section above).
Download Rayo
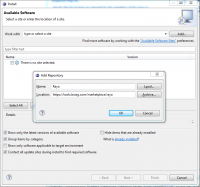
To download Rayo use the dialog "Eclipse Marketplace" in Eclipse under "Help -> Eclipse Marketplace..." and search for "Rayo" or alternatively click on "Help -> Install New Software" and add the URL http://tools.bsiag.com/marketplace/rayo as shown in the pictures.
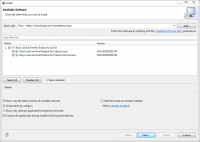
Check at least the feature "Rayo Look and Feel Feature for Eclipse Scout" and proceed the installation by clicking on the Next button.
Add Rayo Plugins to the Swing Product
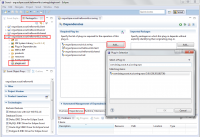
Switch to Scout SDK. Select your Scout project in the Scout Explorer. In the Scout Object Properties view under Product launchers open your Swing client product by clicking on the link. Add the plugin com.bsiag.scout.rt.ui.swing.rayo and the fragment com.bsiag.scout.rt.ui.swing.laf.rayo.fragment as shown in the picture. You may need to do the same change for other products as well.
Add Rayo Plugin to the Swing Manifest
Open the plugin.xml in the ui.swing plugin and add "com.bsiag.scout.rt.ui.swing.rayo" under required plugins in the Dependencies tab.
Change SwingEnvironment
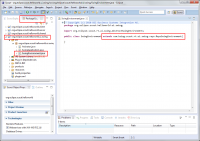
Open the class SwingEnvironment and inherit from com.bsiag.scout.rt.ui.swing.rayo.RayoSwingEnvironment by adding the following line:
 public class SwingEnvironment extends com.bsiag.scout.rt.ui.swing.rayo.RayoSwingEnvironment {
 }
Change Scout LAF
Add the following line to your client config.ini. You can find the config.ini if you go to your project, and search the *-swing-client-dev.product. There you find a link to the config.ini.
scout.laf=com.bsiag.scout.rt.ui.swing.laf.rayo.Rayo
Launch the application
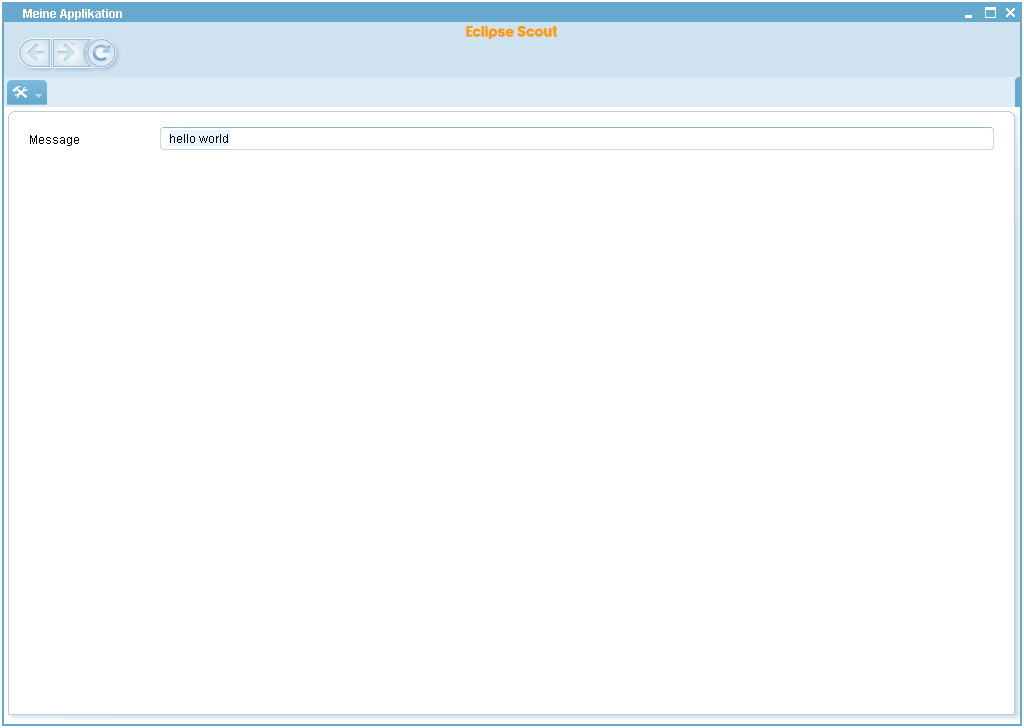
Run the server and client product as explained in Run the Empty Scout Application in the Scout SDK. The application starts automatically with the Rayo Look and Feel.
Addendum
Since Rayo build version 3.8.1.201209050944, decorated frames of the Operating Systems can be used like in Nimbus, Metal and Synth in the JRE. Previous Rayo versions were only supporting Look & Feel decorated frames so that most of the Operating System functionalities regarding dialogs and frames were affected due to multiple bugs in the JRE, e.g. resizing, maximizing, minimizing and multiple screens. When using L&F decorated frame and dialog, the Windows+UP/DOWN/LEFT/RIGHT keys do not work anymore. Also resizing issues arise and in general some native OS functions are disabled.
To use the decorated frames of the OS, just unset the following flag in the Swing config.ini file:
scout.laf.useLafFrameAndDialog=false
The semantic is:
scout.laf.useLafFrameAndDialog=false <=> OS decorated frames and dialogs

scout.laf.useLafFrameAndDialog=true <=> Rayo Look & Feel decorated frames and dialogs
See also bug 388781
See also
- The Scout documentation has been moved to https://eclipsescout.github.io/.

