Notice: This Wiki is now read only and edits are no longer possible. Please see: https://gitlab.eclipse.org/eclipsefdn/helpdesk/-/wikis/Wiki-shutdown-plan for the plan.
Scout/Tutorial/4.0/JasperReports Integration
The Scout documentation has been moved to https://eclipsescout.github.io/.
Contents
Introduction
With this tutorial you will learn how to integrate the reporting library JasperReports into your Scout-application.
Lets assume you have completed the MiniCRM Tutorial.
The goal is the following functionality:
- Choose "Generate report..." in the context menu of the company.
- Generate the report of the selected company on the server.
- Transfer the report to the client.
- Open the report in the default pdf-viewer.
Part I - Integrate reporting engine
You need a plugin on the server side which holds all necessary files for the reporting engine. The scout sdk provides an easy way to create such a plugin. But first you have to download the Jasper Reports project from sourceforge and extract the contents somewhere.
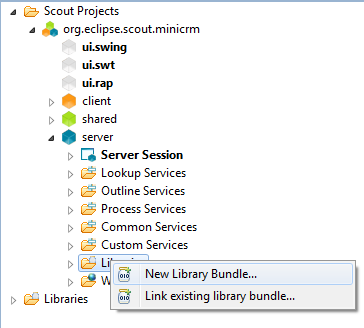
Now create a new library bundle linked with the server.
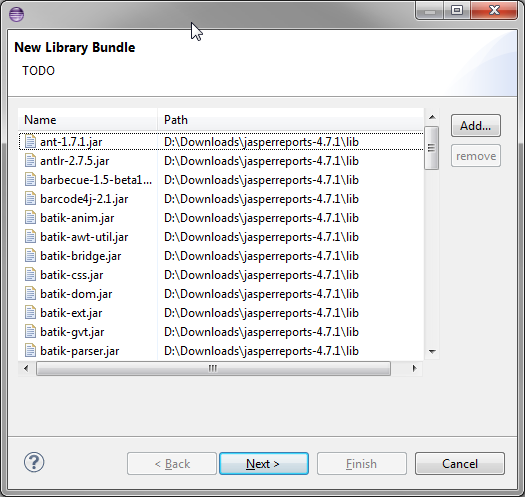
Add all jars from the lib folder and jasperreports-X.Y.Z.jar from the dist folder of jasperreports to the bundle.
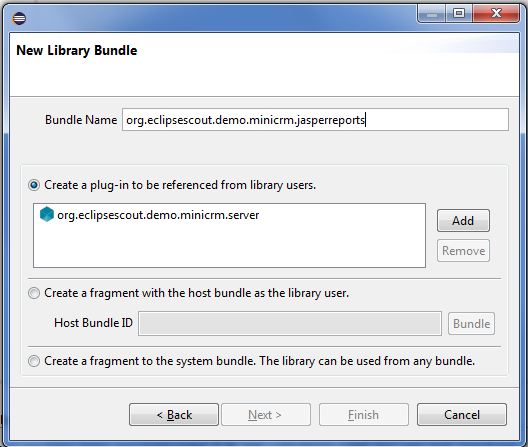
Use org.eclipsescout.demo.minicrm.jasperreports as bundle name.
Part II - Create the company report
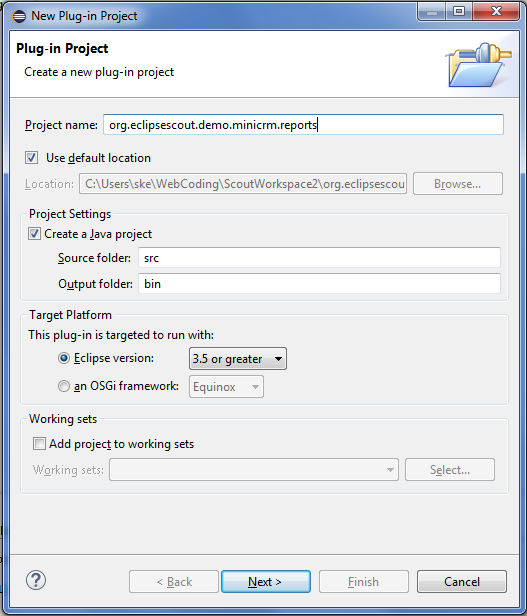
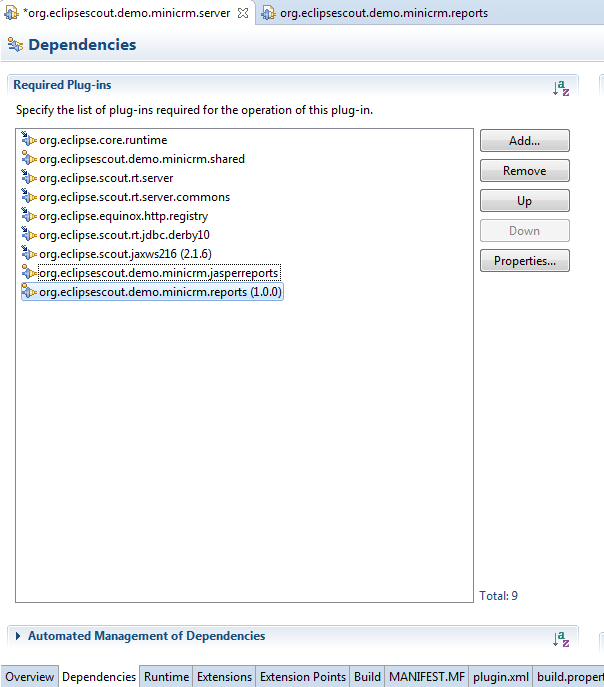
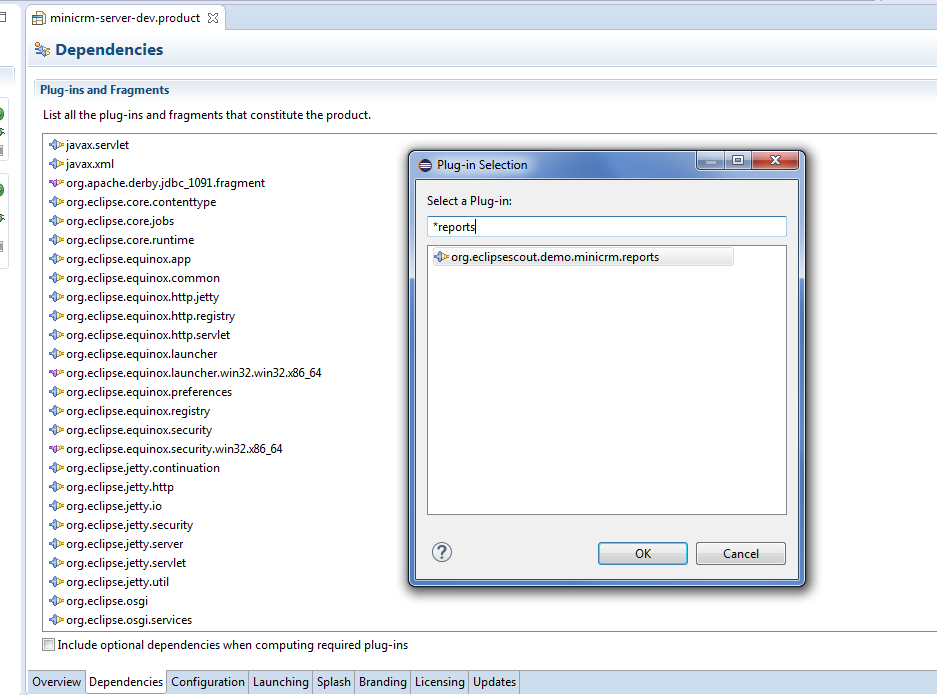
The next step would be to create a basic company report. To bundle the report files with the server we need to create a new Plug-In Project org.eclipsescout.demo.minicrm.reports, add it as Required-Plug-in to the server bundle and as dependency to the server product.
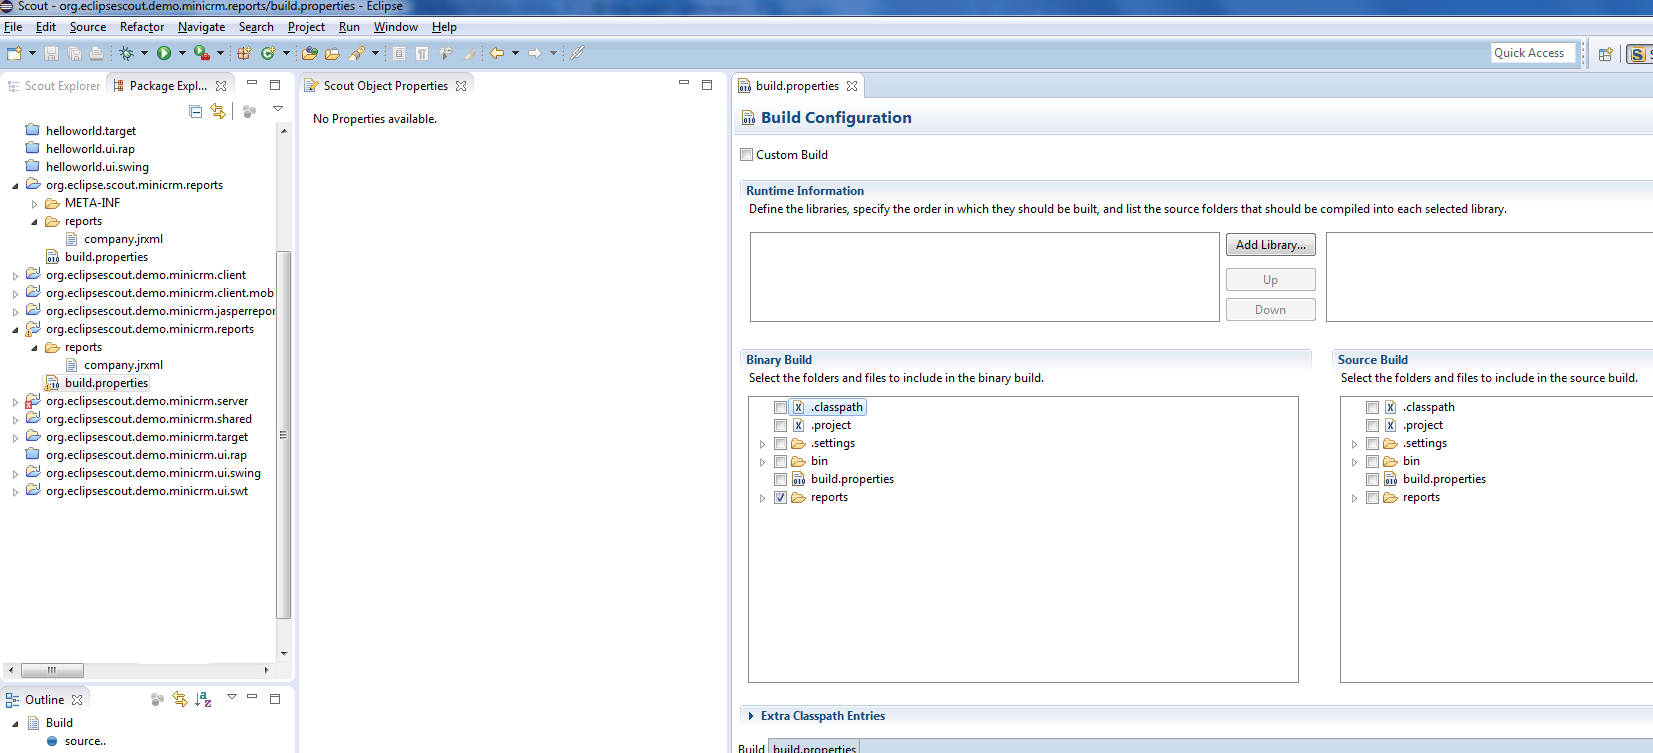
Now switch to the Package Explorer and create a folder reports in the new plugin. Add the reports folder to the binary build in the build.properties file of the reports plugin.
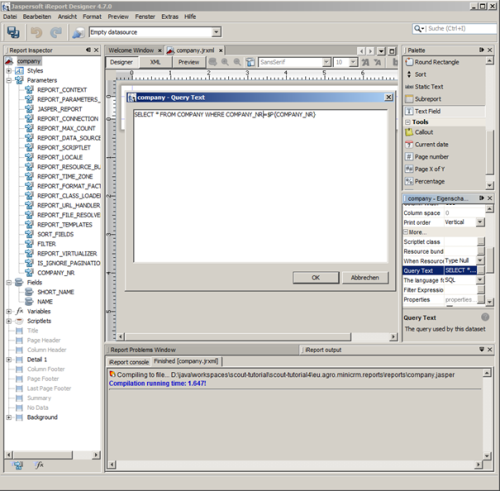
Use either iReport to create a new company report company.jrxml in the reports folder or copy and paste the xml-code below in an eclipse text editor.
- In iReport create a new Parameter COMPANY_ID type Long
- add two String-fields SHORT_NAME and NAME.
- Delete all bands except Detail 1.
- Create a query
SELECT * FROM COMPANY WHERE COMPANY_NR=$P{COMPANY_NR}
- Pull the fields SHORT_NAME and NAME into the Detail 1 band to create two text fields.
- Now save and compile the report.
The resulting company.jrxml file should look like this:
<?xml version="1.0" encoding="UTF-8"?>
<jasperReport xmlns="http://jasperreports.sourceforge.net/jasperreports" xmlns:xsi="http://www.w3.org/2001/XMLSchema-instance" xsi:schemaLocation="http://jasperreports.sourceforge.net/jasperreports http://jasperreports.sourceforge.net/xsd/jasperreport.xsd" name="company" language="groovy" pageWidth="595" pageHeight="842" columnWidth="555" leftMargin="20" rightMargin="20" topMargin="20" bottomMargin="20" uuid="1323c093-d996-4147-9bf1-70dd55938124">
	<property name="ireport.zoom" value="1.0"/>
	<property name="ireport.x" value="0"/>
	<property name="ireport.y" value="0"/>
	<parameter name="COMPANY_NR" class="java.lang.Long"/>
	<queryString language="SQL">
		<![CDATA[SELECT * FROM COMPANY WHERE COMPANY_NR=$P{COMPANY_NR}]]>
	</queryString>
	<field name="SHORT_NAME" class="java.lang.String"/>
	<field name="NAME" class="java.lang.String"/>
	<background>
		<band splitType="Stretch"/>
	</background>
	<detail>
		<band height="42" splitType="Stretch">
			<textField>
				<reportElement uuid="fa7e30cb-3ea6-440b-b63a-dc78ad1a9b75" x="0" y="0" width="100" height="20"/>
				<textElement/>
				<textFieldExpression><![CDATA[$F{SHORT_NAME}]]></textFieldExpression>
			</textField>
			<textField>
				<reportElement uuid="16560b8b-c67b-434e-a669-0f1cf2a7d7ec" x="0" y="20" width="100" height="20"/>
				<textElement/>
				<textFieldExpression><![CDATA[$F{NAME}]]></textFieldExpression>
			</textField>
		</band>
	</detail>
</jasperReport>
Part III - Create the report on the server
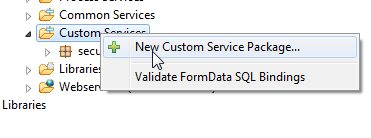
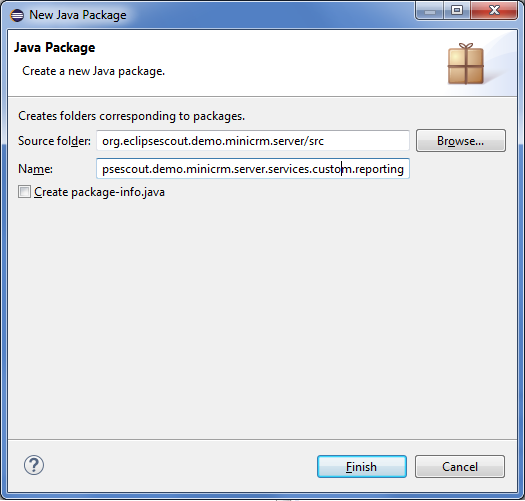
Now you have to create a service which generates the report. First you need a new Custom Service Package called org.eclipsescout.demo.minicrm.server.services.custom.reporting. In this package you can create a new ReportingService.
If the folder Custom Services is not available, create the service with a right click on the folder Services.
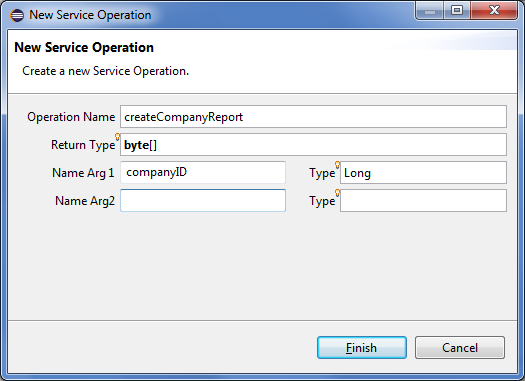
In this ReportingService you need to create a new Service Operation createCompanyReport.
  @Override
  public byte[] createCompanyReport(Long companyID) throws ProcessingException {
    JasperPrint jasperPrint;
    // create a map to pass parameters to the report
    HashMap<String, Object> parameter = new HashMap<String, Object>();
    parameter.put("COMPANY_NR", companyID);
    try {
      // load the report from the reports plugin
      URL url = new URL("platform:/plugin/org.eclipsescout.demo.minicrm.reports/reports/company.jrxml");
      InputStream inputStream = url.openConnection().getInputStream();
      // compile the report
      JasperReport report = JasperCompileManager.compileReport(inputStream);
      // let Jasper Reports use our already defined SQL Connection
      jasperPrint = JasperFillManager.fillReport(report, parameter, SQL.getConnection());
      // don’t create a file but let jasper put the contents in an byte array
      ByteArrayOutputStream ba = new ByteArrayOutputStream();
      JasperExportManager.exportReportToPdfStream(jasperPrint, ba);
      // return the contents to the caller
      return ba.toByteArray();
    }
    catch (JRException e) {
      throw new ProcessingException("An error occured during the creation of the report.", e);
    }
    catch (MalformedURLException e) {
      throw new ProcessingException("Can't load the report file.", e);
    }
    catch (IOException e) {
      throw new ProcessingException("An IO-error occured while reading the report file.", e);
    }
  }
Part IV - Save and open the report on the client
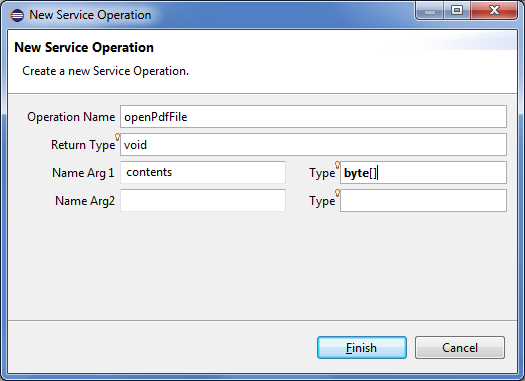
Now create a new client service FileService and add a service operation openPdfFile to save the contents to a temporary file and open it with the default pdf-viewer.
  @Override
  public void openPdfFile(byte[] contents) throws ProcessingException {
    if (contents.length > 0) {
      // get a path to save the file
      File tmpPath = Activator.getDefault().getStateLocation().toFile();
      File tmpFile;
      try {
        String extension = ".pdf";
        String name = "report-";
        // get e unique temporary name
        tmpFile = File.createTempFile(name, extension, tmpPath);
        FileOutputStream fo = new FileOutputStream(tmpFile);
        fo.write(contents);
        fo.close();
        // let the vm handle the deletion of the temp file
        tmpFile.deleteOnExit();
        // use the ShellService to open the associated program
        SERVICES.getService(IShellService.class).shellOpen(tmpFile.getAbsolutePath());
      }
      catch (IOException e) {
        throw new ProcessingException("Can't create or write to tmp File.", e);
      }
    }
    else {
      throw new ProcessingException("Can't open report file.");
    }
  }
Part V - Call the services
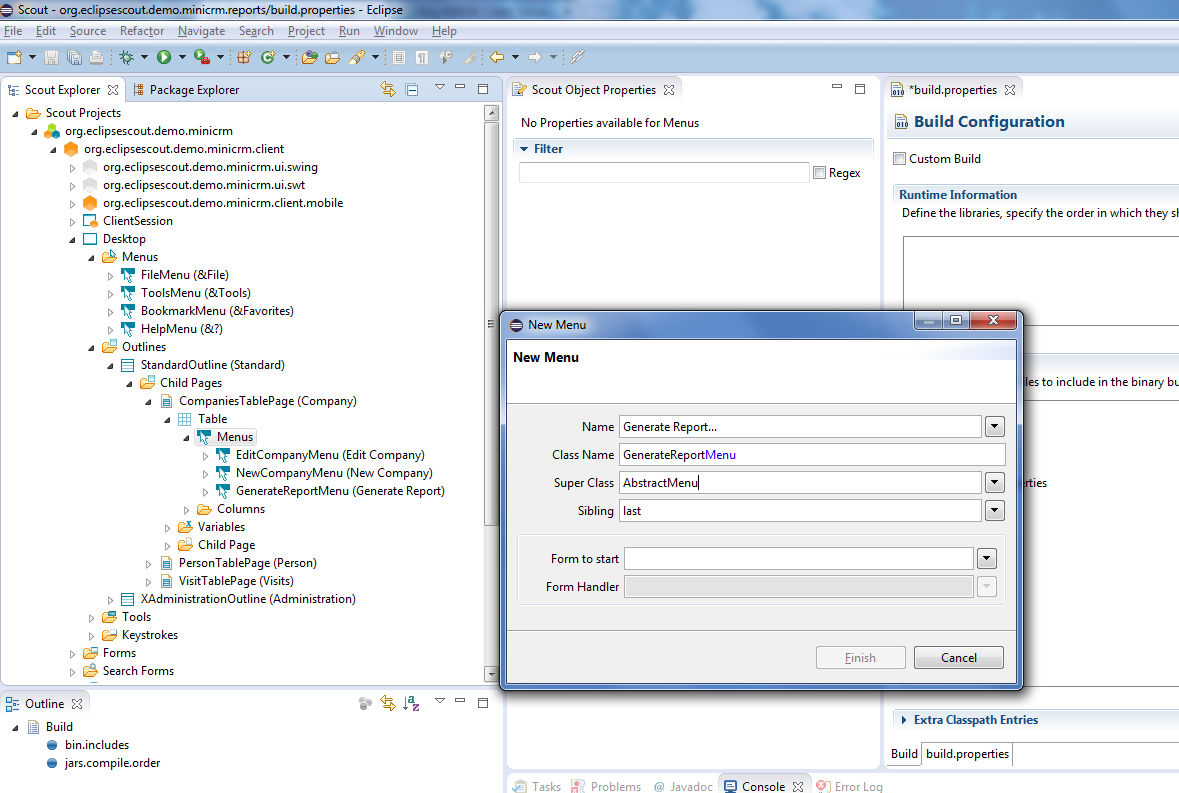
The last thing you need to do is to add a new menu to the CompaniesTablePage and implement the execAction:
  @Override
  protected void execAction() throws ProcessingException {
    byte[] report = SERVICES.getService(IReportingService.class).createCompanyReport(getTable().getCompanyNrColumn().getSelectedValue());
    SERVICES.getService(FileService.class).openPdfFile(report);
  }
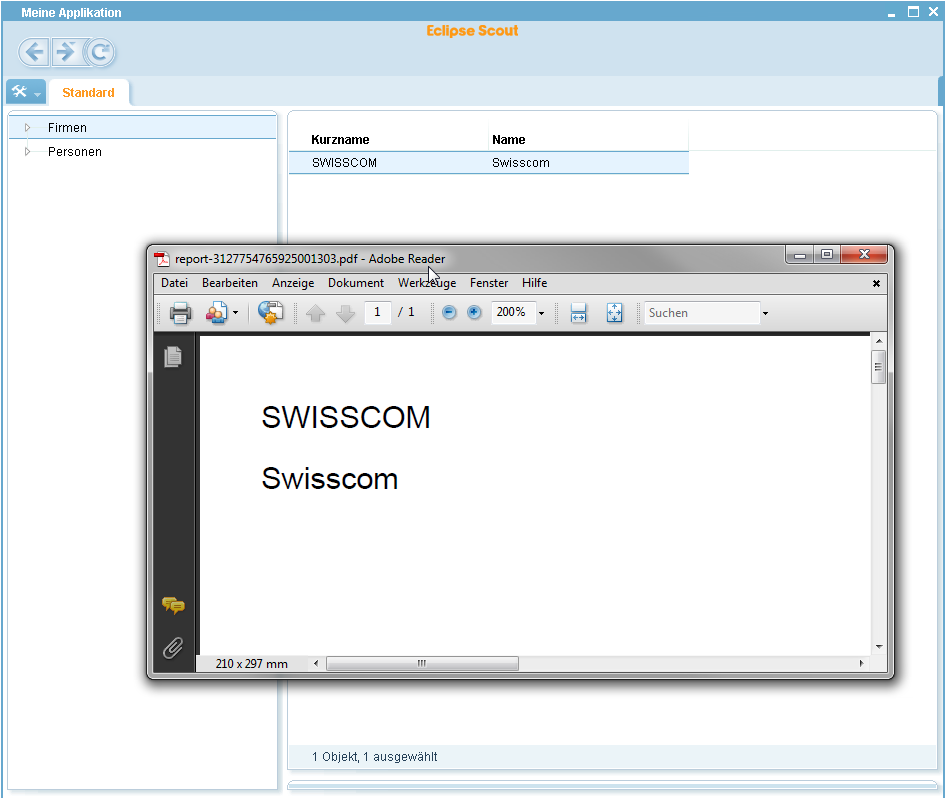
Result
The result should look like this:

