Notice: This Wiki is now read only and edits are no longer possible. Please see: https://gitlab.eclipse.org/eclipsefdn/helpdesk/-/wikis/Wiki-shutdown-plan for the plan.
OSBP getting started
Contents
Installation of the Software Factory
Before you start
Java Version
To be able to use the OSBP Software Factory, you need to have the right Java version installed.
On 64-bit Windows systems, this is Java JDK 8 64bit Java SE Downloads. If you have Java installed, there is generally a Java icon on the control panel which will enable you to find out the current version.
Eclipse Version
To be able to use the OSBP Software Factory, you need to have the correct Eclipse Neon version installed. You can use Eclipse Neon 3 Java Developers. Download and extract it to a folder location of your choosing. On Windows, we recommend C:\. This results in the installation folder C:\eclipse. This will be the assumed Eclipse installation folder for the rest of this document.
To be able to launch Eclipse easily, create a shortcut on the computer's desktop to the program C:\eclipse\eclipse.exe. Be sure to add the parameter -data /path/to/your/workspace to the shortcut's invocation of Eclipse in order to start in the correct workspace in the future. Otherwise, you will be prompted to specify a workspace each time you start Eclipse.
Make the following change to the eclipse.ini file found in the C:\eclipse folder:
-Xmx4096m
This line allocates extra memory for Eclipse to use.
A resulting eclipse.ini file for a Windows installation might look like this:
<existing lines above>
-Xms128m
-Xmx4096m
Installation of the OSBP Software Factory
There are two ways of installing the OSBP Software Factory. The first one ist the standard installation of an Eclipse IDE which is decribed below.
As an alternative, there is a Yatta profile you can use to do the installation of Eclipse, the OSBP Software Factory and adjust the settings. What needs to be done is to set the Target Platform.
The following section describes the standard installation procedure.
- Start the new Eclipse installation and select or define a workspace. It is important that each Eclipse installation is assigned to its own workspace.

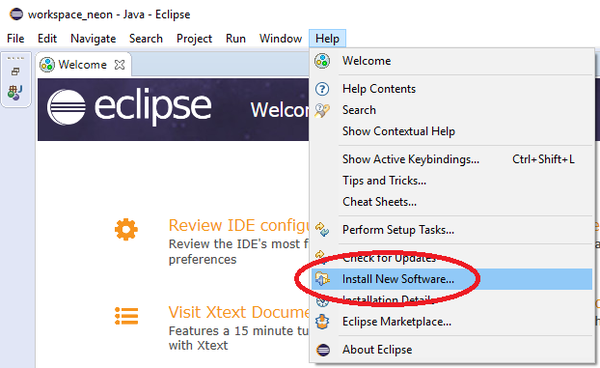
- Go to the menu bar and select Help -> Install New Software....
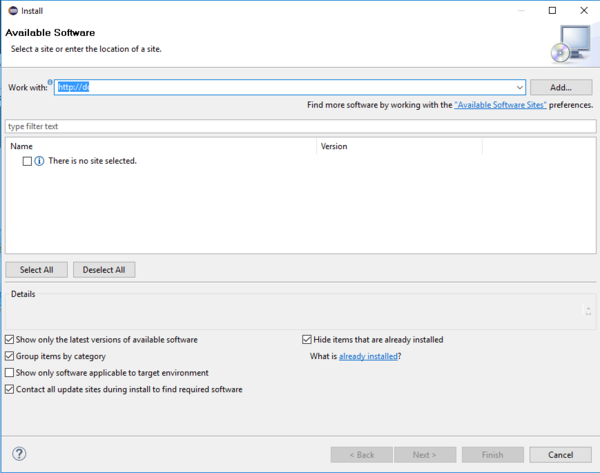
- Enter
http://download.eclipse.org/osbp/neon/latest
in the field labeled Work with:. Then, press Enter to make Eclipse load the content of the repository.
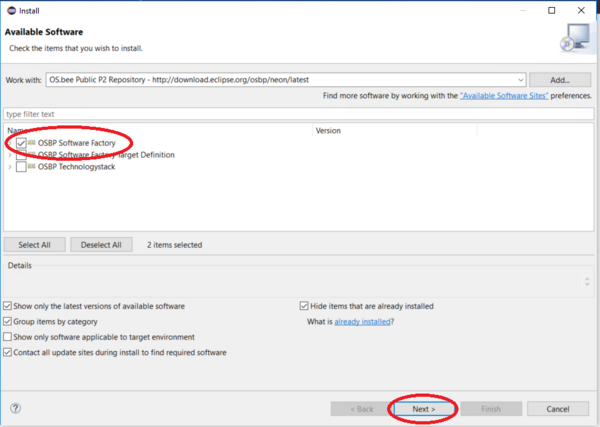
- Expand the OSBP Software Factory group, select the OSBP Software Factory and click on Next.
- In the installation dialog, confirm the software to be installed by clicking on Next.

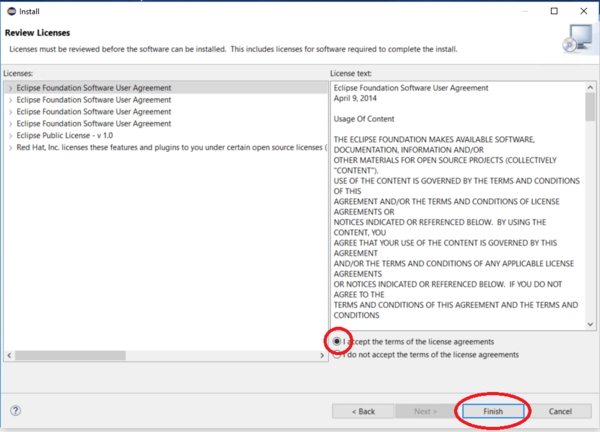
- Accept the terms of the license aggreement after reading them carefully, and then confirm the dialog by clicking on Finish.
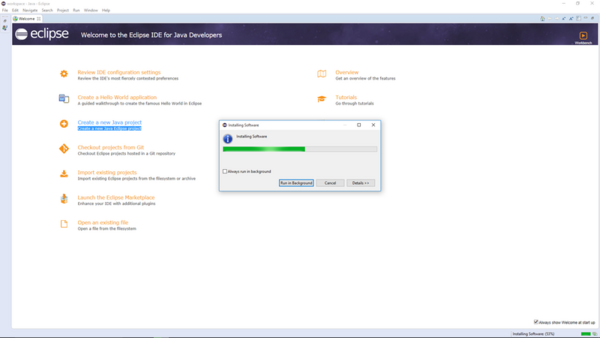
- The installation will now begin. This may take a while, depending on your Internet connection speed and your hardware.
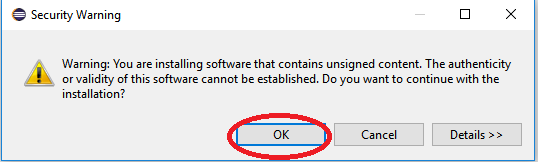
- After the software has been downloaded, confirm the "Security Warning" dialog by clicking on OK.
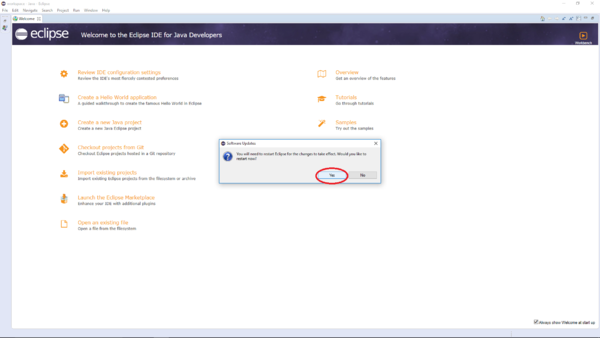
- You will then be prompted to restart Eclipse. Please do so.
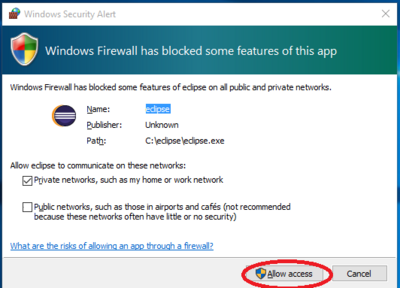
- After the restart of Eclipse, you might be asked to allow Eclipse to communicate to various networks. Please allow at least the private networks.
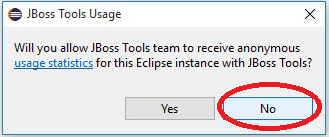
- The next question is about JBoss Tools usage statistics. You can give your preferred answer.


Set the Target Platform for the OSBP Software Factory
- Check if the workspace you are using is the one you selected above when first opening Eclipse. If not, open the right one.
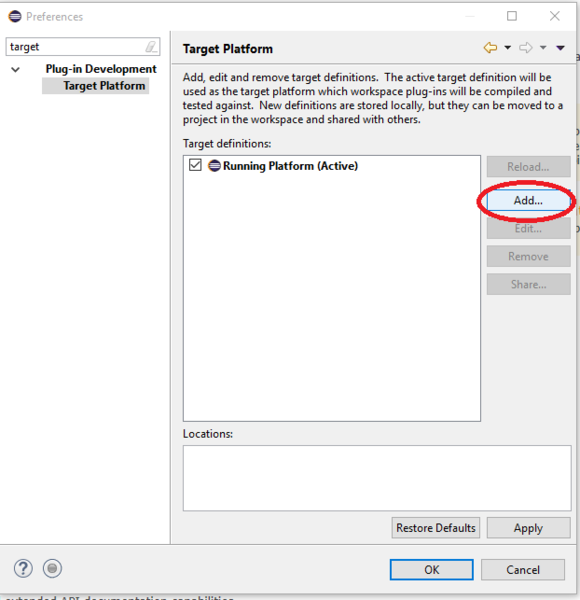
- Set the target platform here: Menu -> Window -> Preferences. Then go to Plug-in Development -> Target Platform.
You can use "Target" as the filter text. - Click on Add... to add a new target definition.
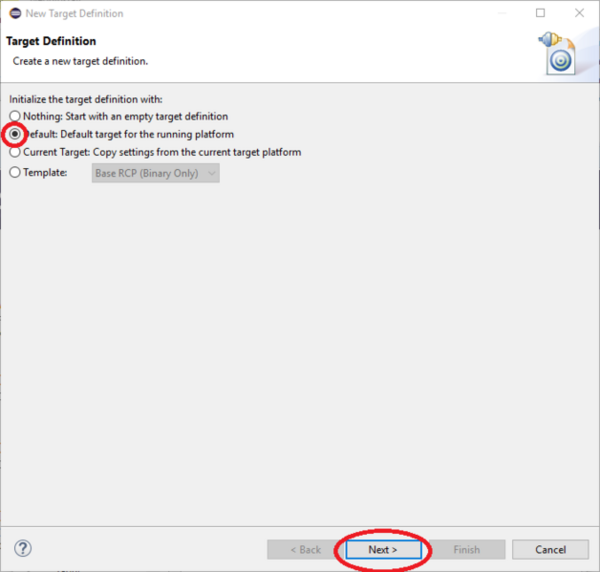
- Select "Default: ..." and click on Next.
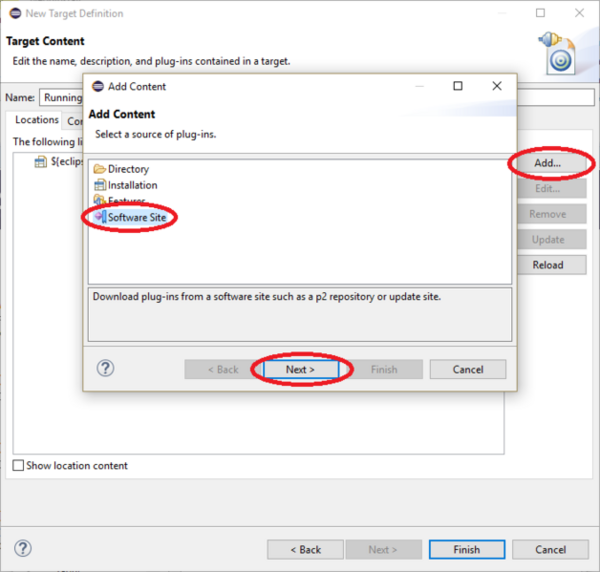
- Click on Add... to add content, select Software Site and click on Next.
- For the Software Site, use the URL from above.
- Expand the group OSBP Softwarefactory, select OSBP Softwarefactory Targetplatform (DON'T INSTALL...),
uncheck the Include required software checkbox and click on Finish.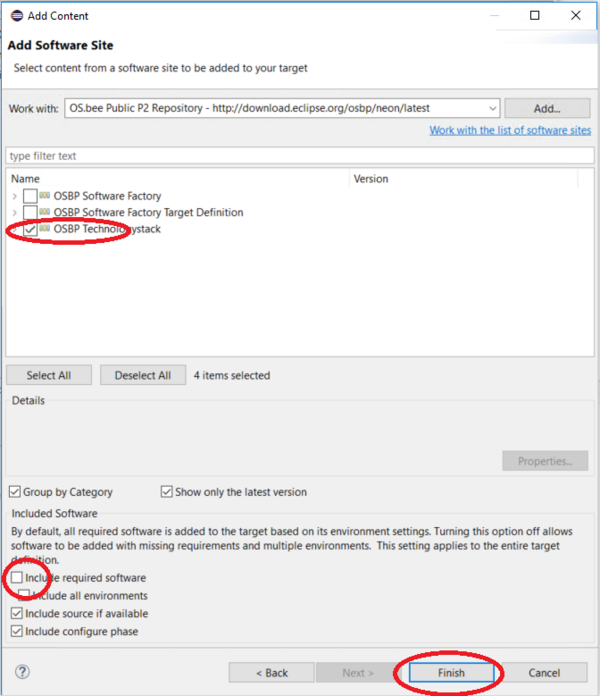
- Do not forget to activate your newly created target definition!

- Restart Eclipse. You can use Menu -> File -> Restart to do so.


Setting preferences in Eclipse
Git settings
In case you're using git, be sure to uncheck the automatic git-ignore for derived files, otherwise generated files will not be checked in:

DS Annotations
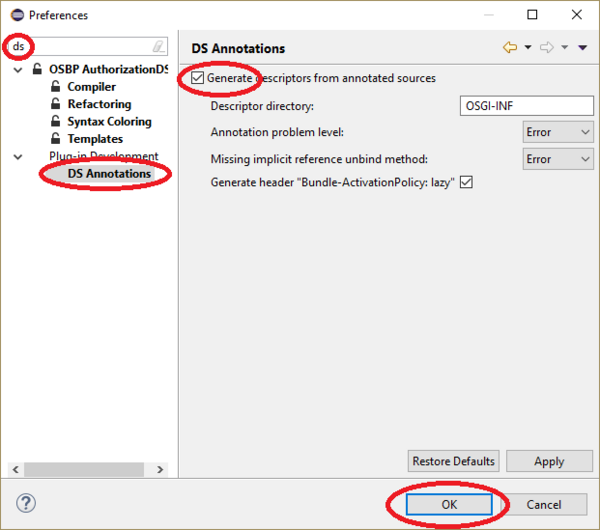
- It is neccessary to activate the generation of descriptors based on DS Annotations.
- Go to Window -> Preferences in your Eclipse IDE, enter
dsin the filter field and then click on DS Annotations. - Activate the Generate descriptors from annotated sources checkbox.

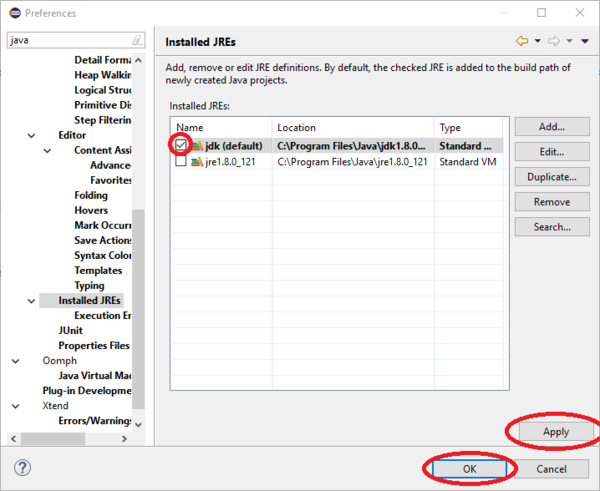
JDK Settings
Please check the JDK settings in case you have multiple Java versions installed on your machine.
- Go to Window -> Preferences in your Eclipse IDE, enter
javain the filter field, click on Installed JREs and then click on Search....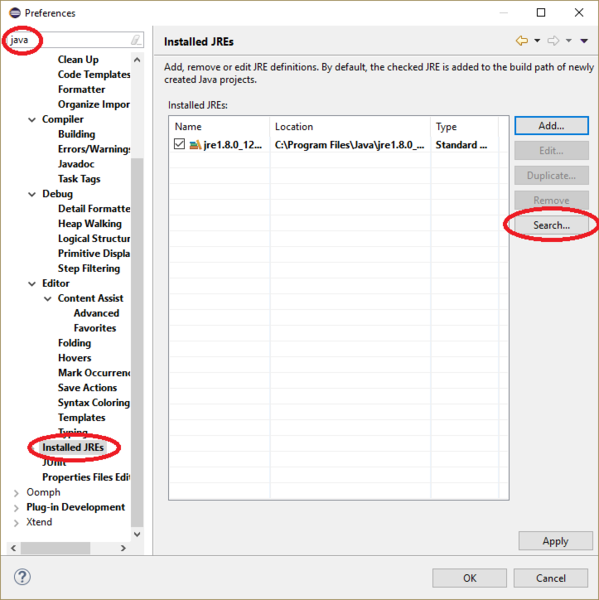
- Locate your JDK 1.8 (on Windows it's usually under
C:\Program Files\Java\...) and click OK.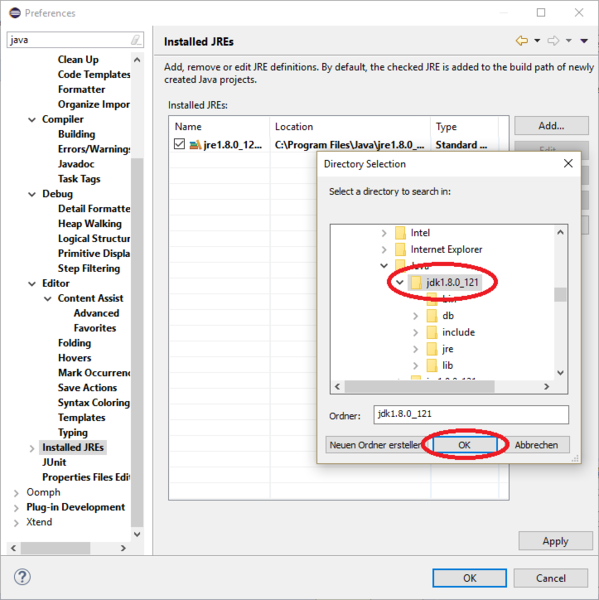
- Select the newly added JDK and click on Apply, then on OK.