Notice: This Wiki is now read only and edits are no longer possible. Please see: https://gitlab.eclipse.org/eclipsefdn/helpdesk/-/wikis/Wiki-shutdown-plan for the plan.
Net4j/Using Net4j example
Introduction:
This tutorial will help you in start working with a Net4j Buddies Example Application. This tutorial was built on Eclipse 4.2(Kepler).
Set up Eclipse
We will start by downloading fresh Modeling version Eclipse installation. The reason why we chose Modelling version Eclipse installation is that, it already Net4j Signalling platform and some other plugins required for running the Net4j Buddies Example.
Importing the Net4j Buddies Example Projects
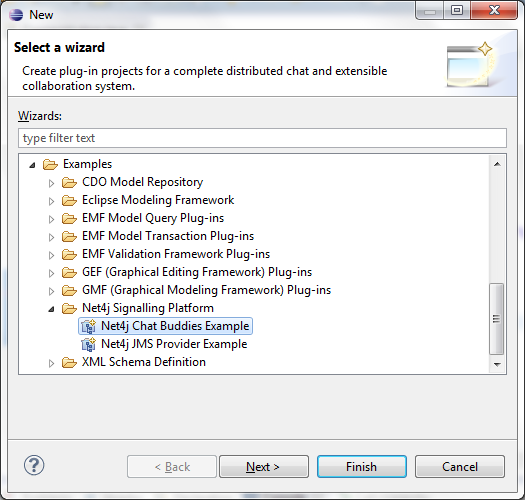
In order to import the Net4j Buddies example projects, open the “New Project” wizard (File -> New) and select the “Net4j Chat Buddies Example” as shown below. Then click “Finish”. This will import the Net4j Chat Buddies Example projects into your workspace.
Running the Example Project
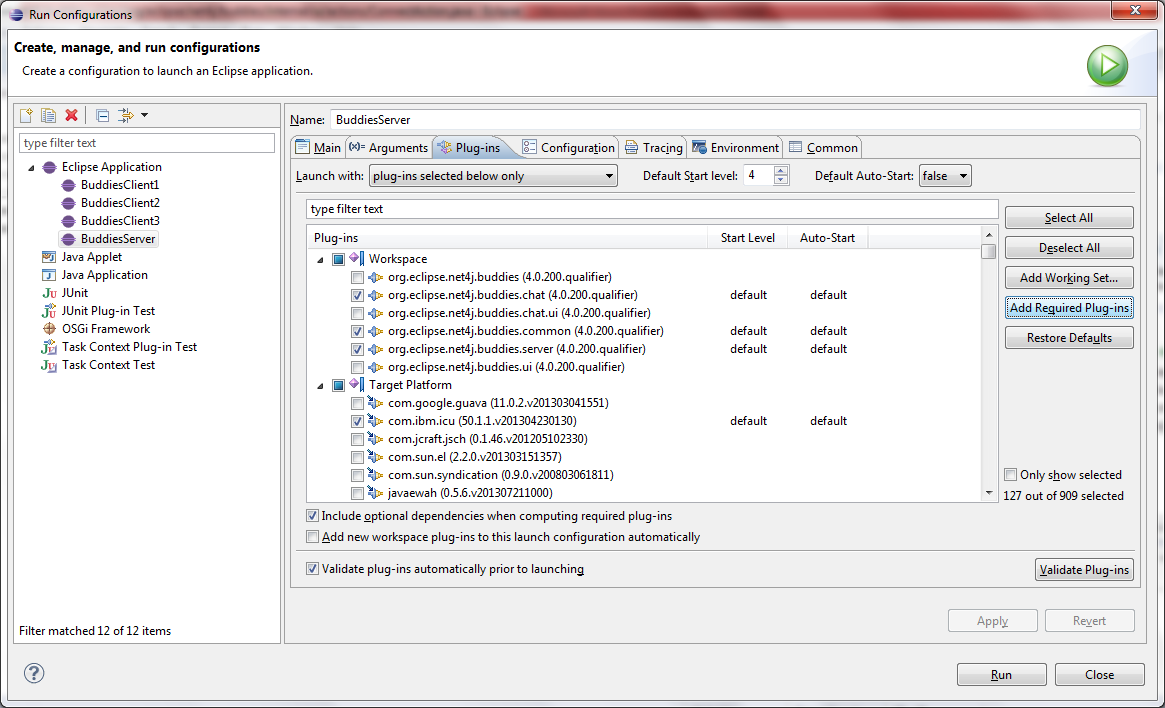
The Example project imported into your workspace already has “Net4j Server” and “Net4j Client” Run Configurations. First Run the Server and then the clients. Before running the server and client configurations, please make sure that you have pressed the “Add Required Plug-ins” button, in the Plug-ins tab of each Run-Configurations. The “Buddies Server” configuration also depends on the plugin “org.eclipse.emf.cdo.server.net4j”, which is not selected in the Plug-ins tab. So select this plugin and press the “Add Required Plug-ins” button again, in order to make sure that, you do not miss any of the required plug-ins.
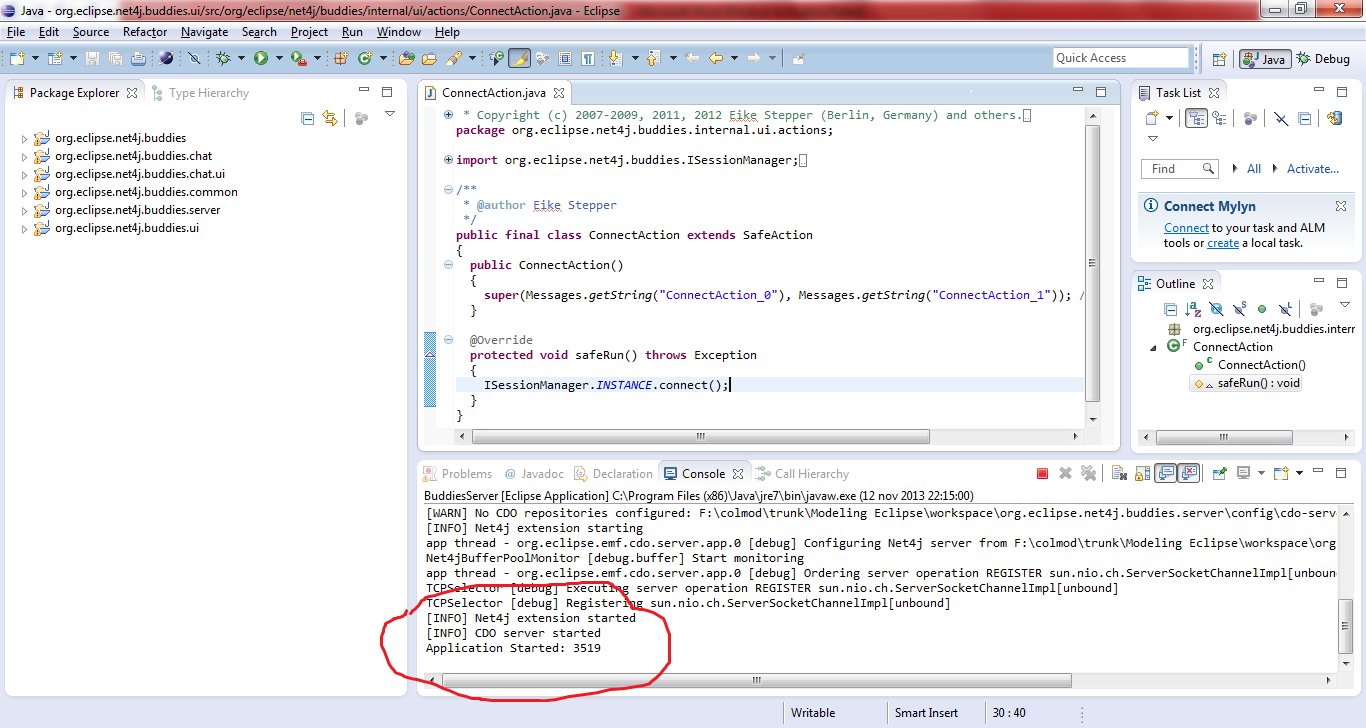
Now, Run the BuddiesServer configuration, which should start the Net4j Server. If the server is successfully started, then you could
verify that in the console as shown below.
Then Run the Client configurations. We need to run at least two clients, in order to demonstrate Chatting between them. When the clients
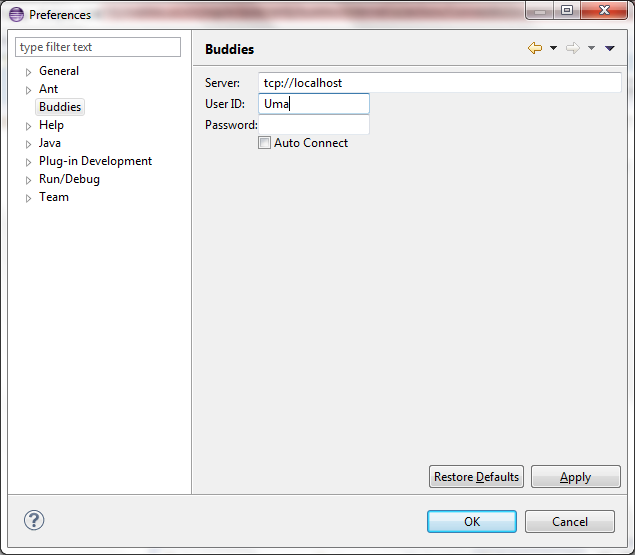
are started, go to the “Preference”(windows-> preference) and then select the Buddies settings as shown in the following figure. At this
point, please make sure that you have unique “User ID” in the clients(Password is optional).
Connecting to Chat Server
In order to get connected to the chat server, open the “Collaborations View”(Window -> Show View -> Other -> Net4j Buddies -> Collaborations).
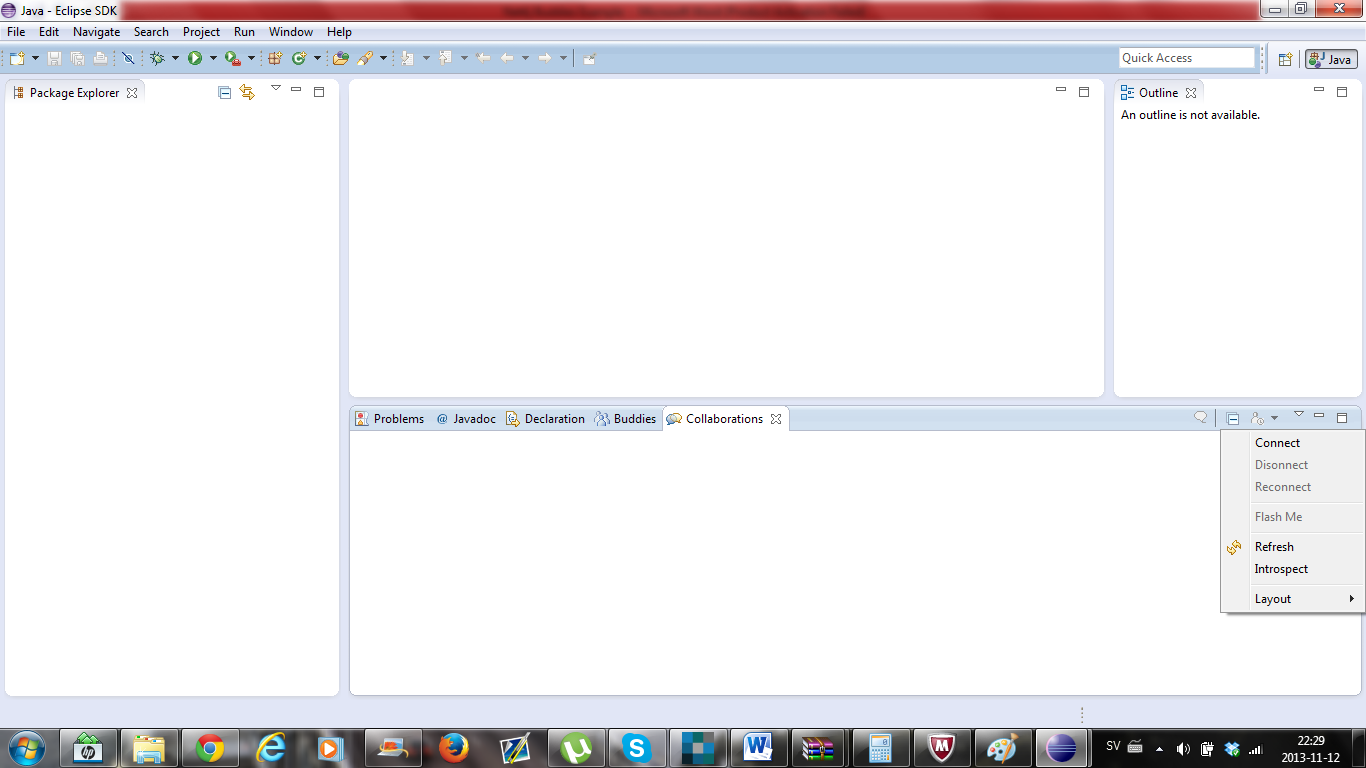
In the collaborations view, click “Connect” as shown below. Make sure that, at least two clients are connected to the server.
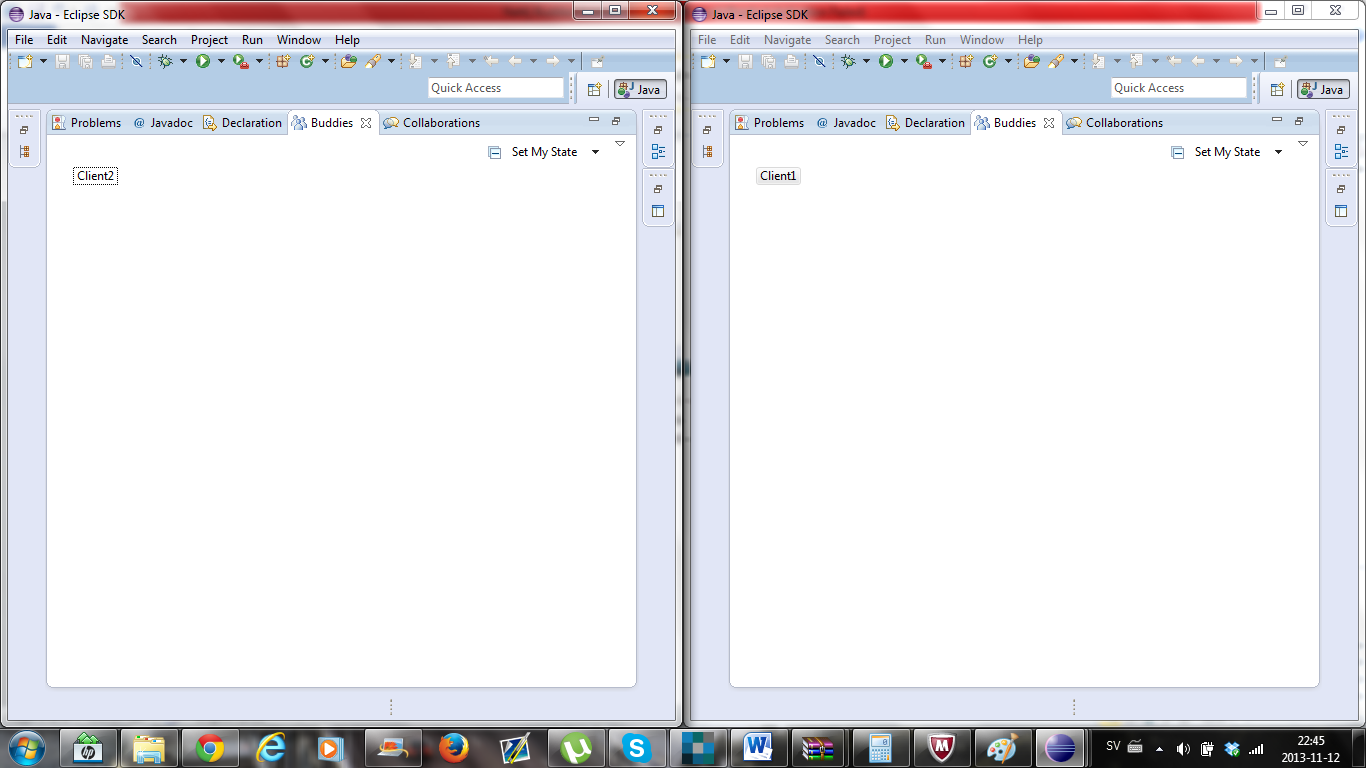
Now, open the “Buddies View” ”(Window -> Show View -> Other -> Net4j Buddies -> Buddies). In this view, each client can see the other
client, which is represented by the UserIDs. Hence, every "Connected Client" could see all the other connected clients. In this case,
Client1 can see Client2; Client2 can seen Client1.
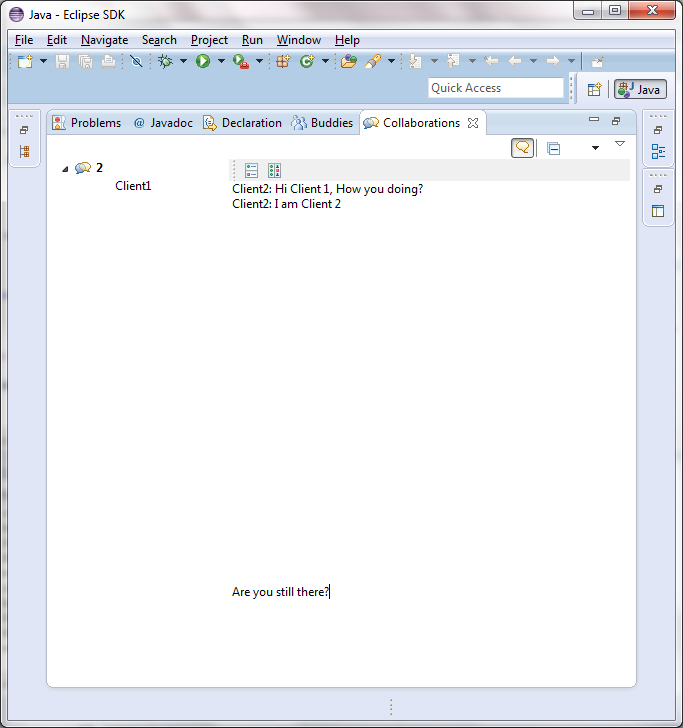
In order to chat with another client, click on their name, which is in the “Buddies View” and start sending message to them in the collaborations
view, as shown below.

