Notice: This Wiki is now read only and edits are no longer possible. Please see: https://gitlab.eclipse.org/eclipsefdn/helpdesk/-/wikis/Wiki-shutdown-plan for the plan.
Install TPTP with Update Manager
Overview
This page lists the steps to install TPTP 4.6.2 (for Galileo) or 4.7.2 (for Helios) in an Eclipse workbench using update manager.
Install TPTP
- 1. Start Eclipse.
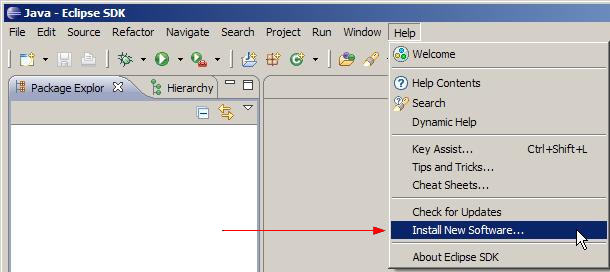
- 2. Open Update Manager under Help > Install New Software...
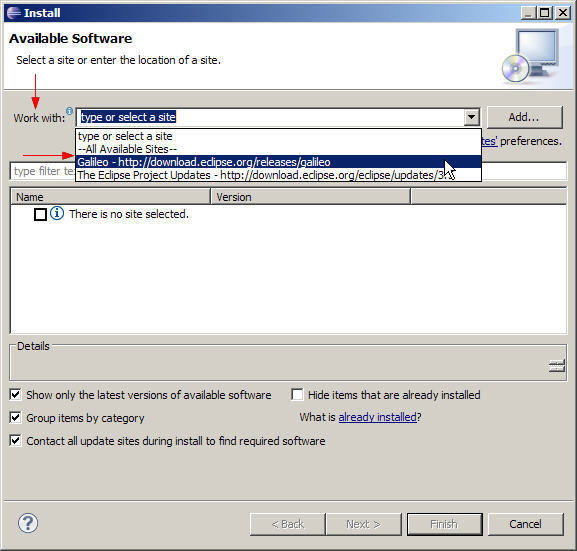
- 3. Select Galileo (for Eclipse 3.5) or Helios (for Eclipse 3.6) from the Work with drop down list.
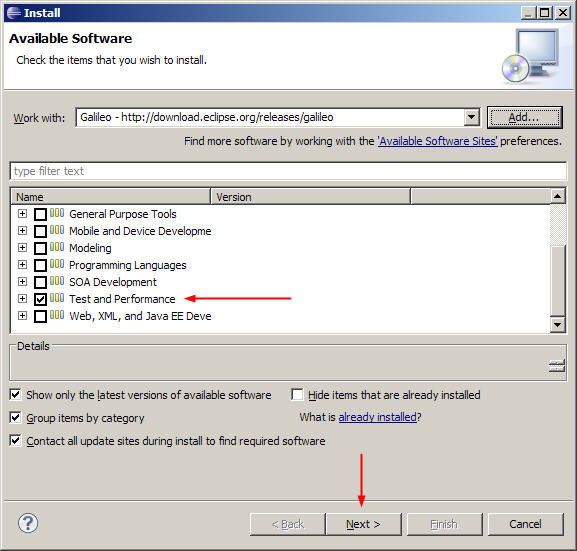
- 4. Check Test and Performance and select the Next button to verify the installation details.
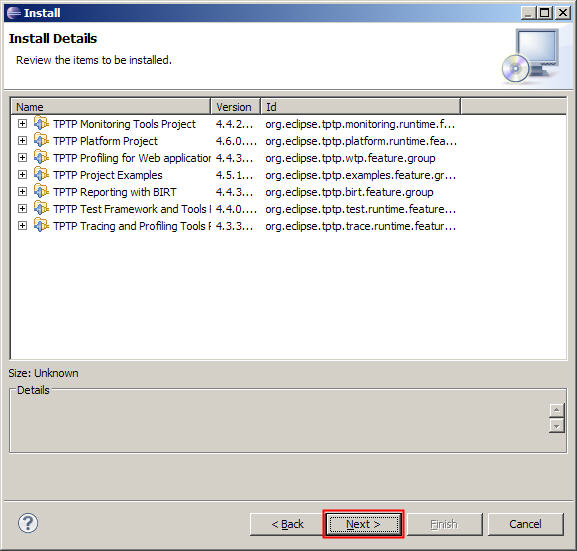
- 5. In the Install dialog, select the Next button to start the installation.
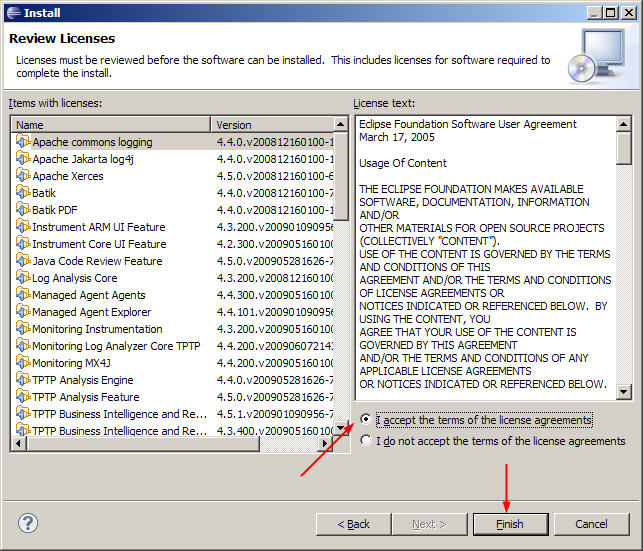
- 6. Accept the license agreement(s) and select Finish to start the installation.
- 7. Select Yes when requested to restart Eclipse.
Verify your installation
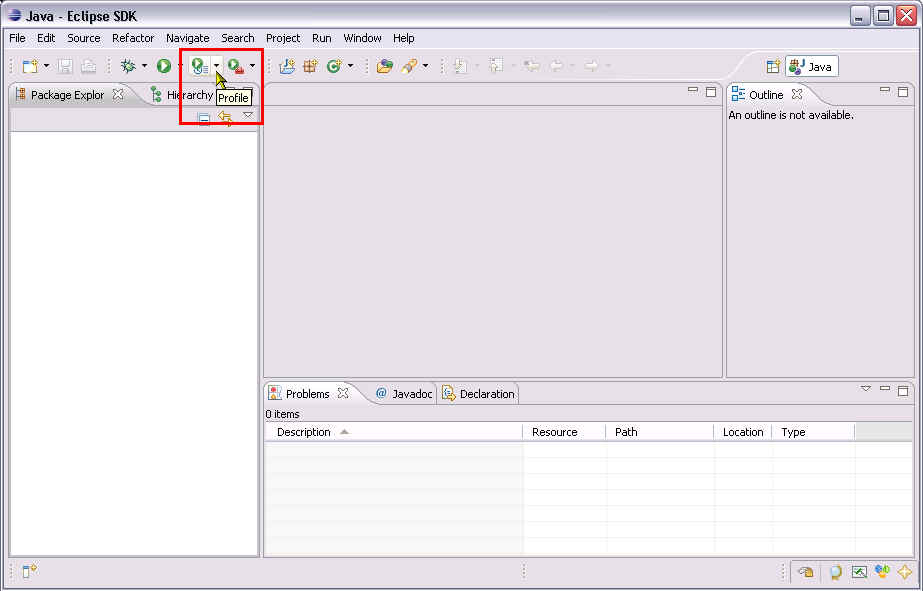
- A quick way to verify your TPTP installation is to make sure a Profile button is available after restart of Eclipse workbench.

