Notice: This Wiki is now read only and edits are no longer possible. Please see: https://gitlab.eclipse.org/eclipsefdn/helpdesk/-/wikis/Wiki-shutdown-plan for the plan.
Editing Meshes
The capabilities in this document are brand new and while we assert that they work, that may not be the case on all systems for all users. Problems should be reported directly to the ICE team by sending an email to the appropriate mailing list, or by filing a bug report.
This document is designed to outline the basic user controls of the Mesh Editor plugin in ICE.
Getting Started
Installation and Configuration
Follow the instructions in the Getting ICE article to download and install the latest version of ICE on your system. The Mesh Editor alone does not have any additional dependencies, though you should take note of the section on 3D Graphics. The Mesh Editor requires 3D acceleration.
Opening a Mesh Editor
To open a Mesh Editor in ICE, you have four options:
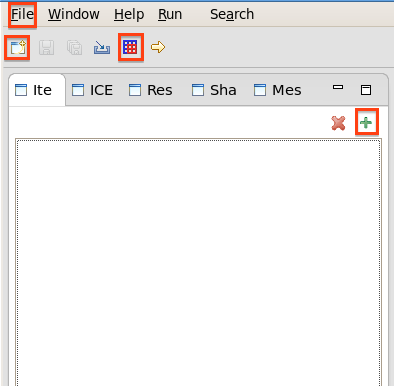
First, you can click the Mesh Editor button (highlighted in orange) in the ICE ToolBar. A new Mesh Editor is created immediately.
The remaining three options require you to create a new Item in ICE:
- Create an ICE Item. You have three ways to create a new Item:
- In the File menu (highlighted in blue), click Create an item.
- In the ToolBar, click the new Item button (highlighted in green).
- In the Item Viewer, click the green plus button (highlighted in red).
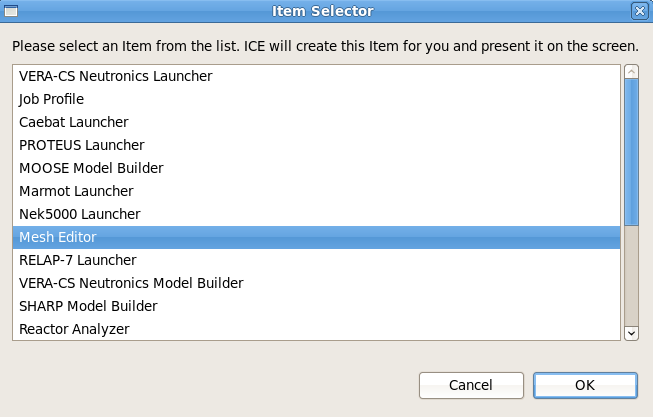
- In the Item Selector dialog that pops up, select Mesh Editor and click OK.
The Initial Mesh
By default, opening a Mesh Editor lets you create a new mesh from scratch. It is not possible currently to load a mesh from an external source. Some Items in ICE may use the mesh editor to edit a mesh, but there is no general mesh import functionality.
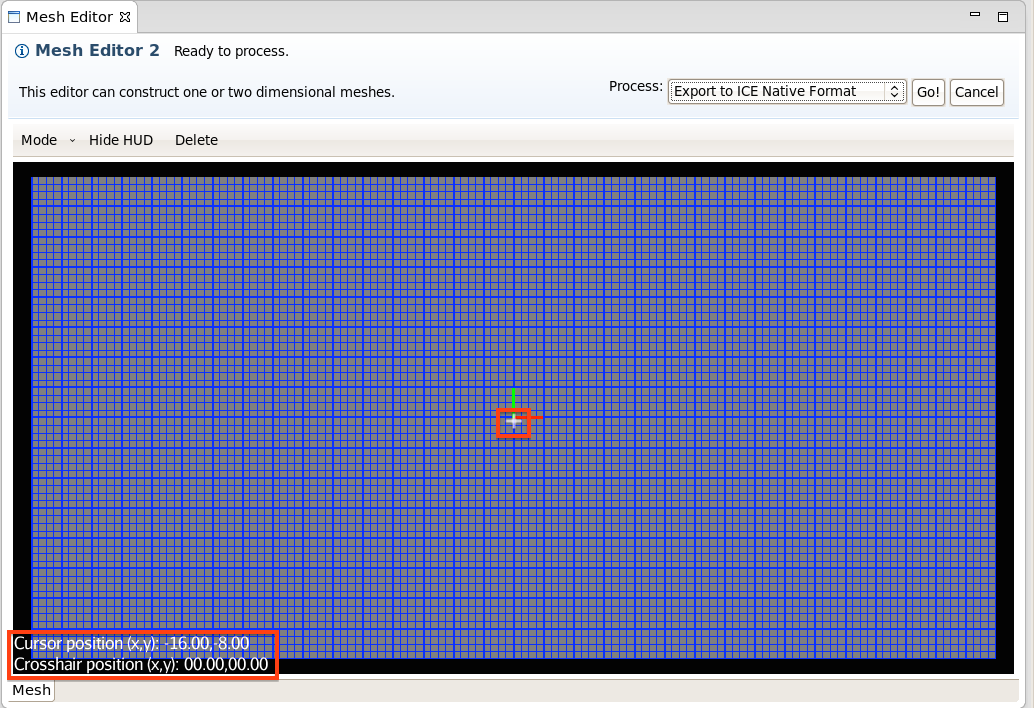
The Mesh Editor shows a gray grid with blue grid lines. There are major grid lines every unit, with minor grid lines every 0.25 units. The bounds of the grid are denoted by a black background.
Heads-Up Display (HUD)
One of the first things you may have noticed is the heads-up display (HUD), which includes crosshairs (highlighted in orange) denoting the center of the Mesh Editor's graphical display, as well as the grid coordinates for the crosshair and the mouse cursor (highlighted in red). These coordinates will update as you move the mouse or move around the grid's navigable area.
Note: The mouse cursor's coordinates are not determined when the cursor leaves the Mesh Editor's graphical display. If the mouse is still within the graphical display but outside the grid's bounds, the cursor's coordinates are calculated as the point on the grid nearest to the cursor.
Movement
To navigate around the grid, you can use the arrow keys, or the W, S, A, and D keys. These keys allow you to move the crosshairs anywhere on the grid, but you cannot move them off the grid.
| Navigation Key Bindings | |
|---|---|
| Motion | Key(s) |
| Move Up | W, Up Arrow |
| Move Down | S, Down Arrow |
| Move Left | A, Left Arrow |
| Move Right | D, Right Arrow |
| Zoom In | Mouse Wheel Up |
| Zoom Out | Mouse Wheel Down |
Note: The movement controls will only work if ICE has the focus of your operating system's window manager, and the zoom controls only work if ICE has the focus and the mouse cursor is inside the Mesh Editor's graphical display. To give ICE the window manager's focus, you can click on ICE's title bar at the top of its window or use your operating system's window switching utility (in Windows, you can use the Task Bar or Alt+Tab to switch between active programs).
Adding Elements
The Mesh Editor allows you to add new elements to the 2D mesh. Currently, the Mesh Editor only supports quads, with hex support coming soon.
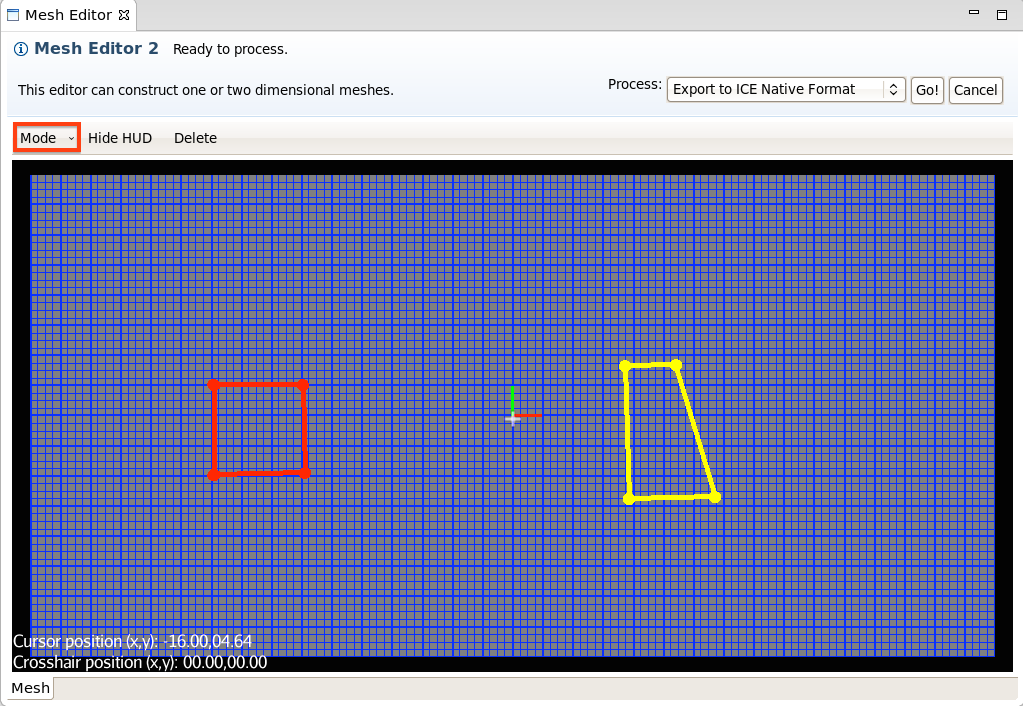
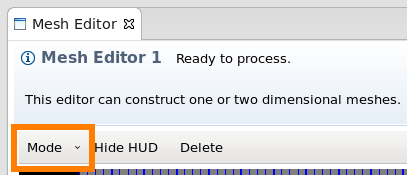
To begin adding new mesh elements, the user must switch to the Add Elements mode by selecting that option from the Mode dropdown menu (highlighted below in orange).
Placing Vertices
Click on the grid four times to place each of the vertices for the new element (quad). These vertices and the edges attaching them are temporary--and colored yellow--until you have finished constructing the new element.
You can reuse vertices from existing elements by clicking on them during the construction phase. If you consecutively reuse two adjacent vertices that are connected by an existing edge, then that edge will also be reused in the new element.
Committing or Cancelling
After the fourth click, the new quad is still yellow, meaning it is temporary. You can commit this quad to the mesh by clicking again or by pressing Enter. Alternatively, you can cancel the new element at any time by pressing Esc, Backspace, or Delete.
| Add Mode Key Bindings | |
|---|---|
| Action | Key(s) |
| Place Next Vertex | Mouse Left Click |
| Commit (Add) Element | Mouse Left Click, Enter |
| Cancel Element | Esc, Backspace, Delete |
Note: You can only commit an element after enough vertices have been placed, e.g., after four left clicks for a quad.
Editing Elements
To begin editing mesh elements, the user must switch to the Edit Elements mode by selecting that option from the Mode dropdown menu (highlighted below in orange).
Selecting and Moving Mesh Components
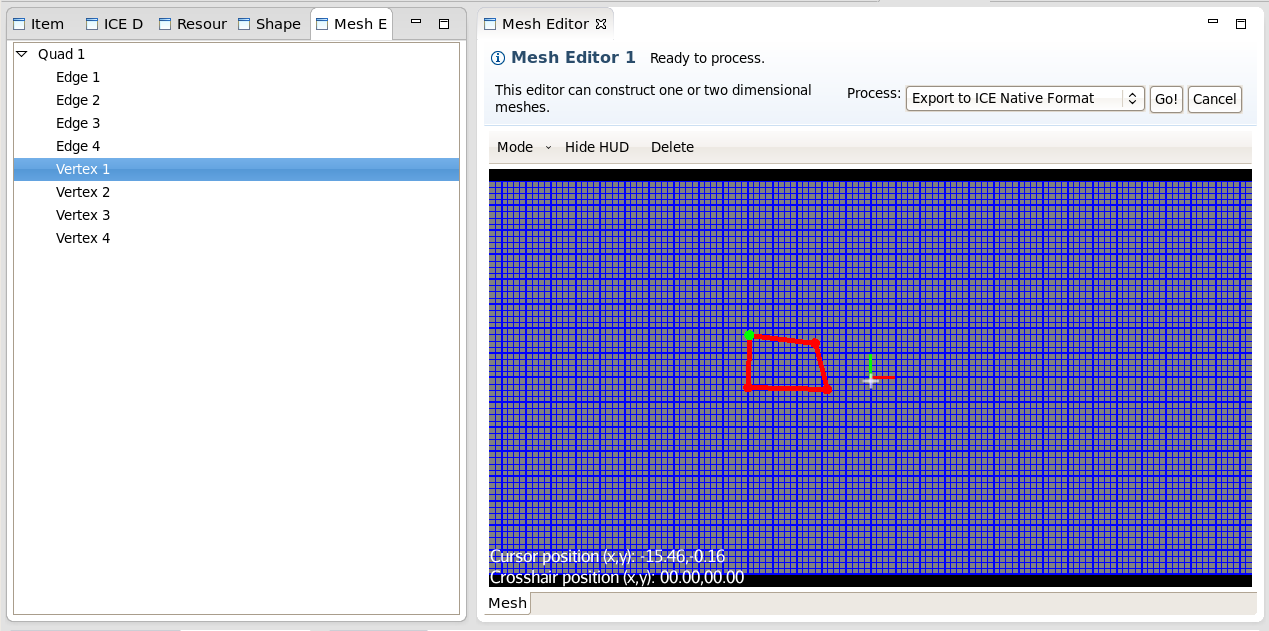
The user can select a vertex to move by left-clicking on the vertex in the mesh display or clicking on the vertex in the Mesh Elements view. This will cause the selected vertex to be colored green.
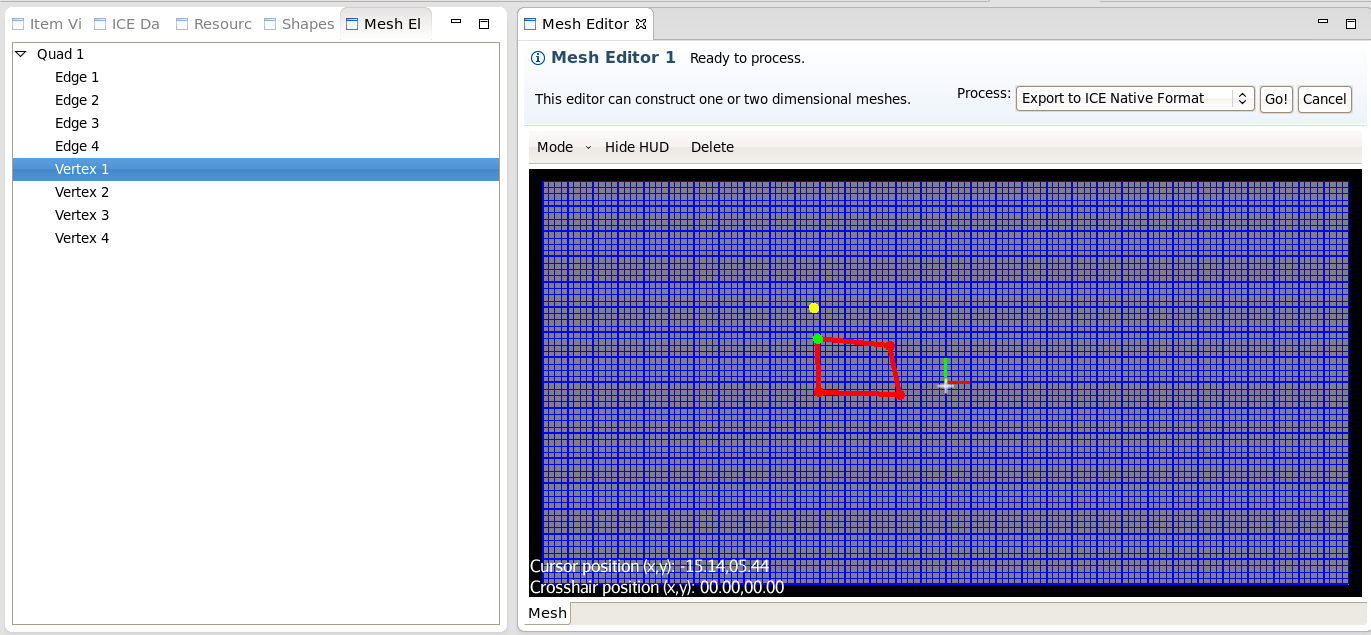
The selected vertex can be re-positioned by holding down the left mouse button while moving the mouse. A yellow dot will appear to indicate the proposed new location for the selected vertex.
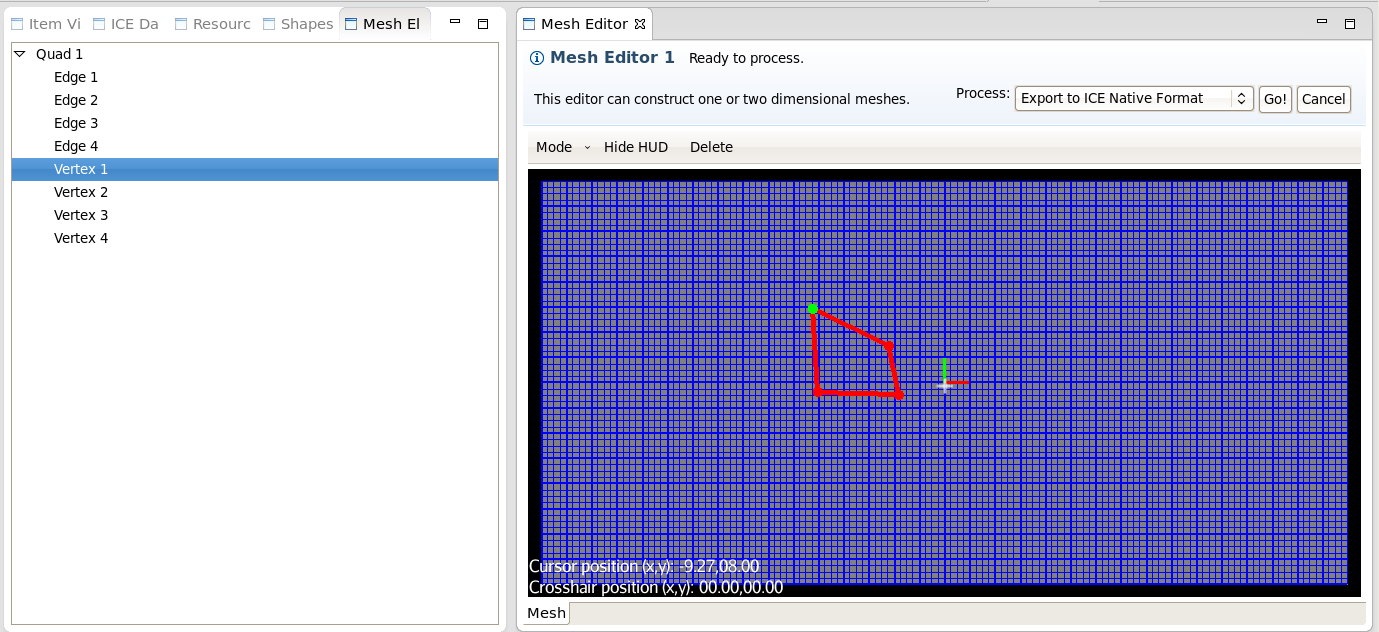
Releasing the left mouse button will cause the vertex to be moved to the location of the yellow dot.
Uniformly Moving Multiple Mesh Components
The user may select multiple vertices to move at one time by holding the Shift key while left-clicking on vertices. A given vertex may be de-selected from the group of selected vertices by holding the Ctrl key while left-clicking on the vertex you wish to remove from the group. Selecting and de-selecting multiple vertices in the Mesh Elements view may be done by holding the Ctrl key while left-clicking on the list entry the user would like to include or exclude from the group. Uniformly re-positioning a group of selected vertices follows the same left mouse button click-and-drag procedure described in the previous section.
| Edit Mode Key Bindings | |
|---|---|
| Action | Key(s) |
| Select Elements | Mouse Left Click |
| Add to Selection | Shift + Mouse Left Click |
| Toggle (Add/Remove) Selection | Ctrl + Mouse Left Click |
| Move Selected Elements | Mouse Left Click + Drag |
| Delete Selected Elements | Backspace or Delete |
Deleting Elements
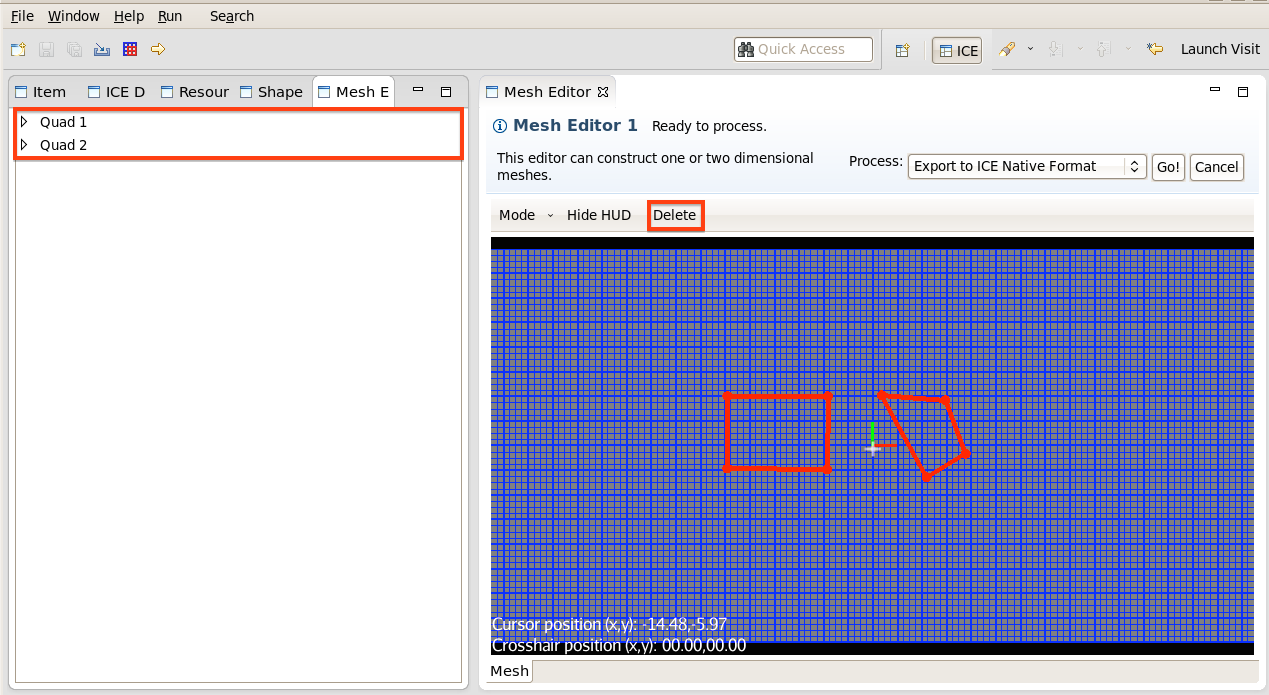
The Mesh Editor provides two distinct ways for the user to select elements from the mesh and two ways to delete their selection. The first selection option is to click on a given element in the Mesh Elements view (highlighted in blue) on the left-hand side of the ICE workbench. Alternatively, the user may select all four vertices of a given element using the vertex selection method detailed in the Editing Elements section above. After selecting a mesh element through one of these two processes, the element can be removed from the mesh by either clicking the 'Delete' button (highlighted in orange) in the Mesh Editor tool bar.
Additional Controls
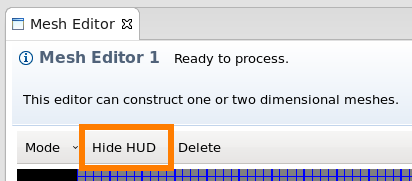
The Mesh Editor's tool barprovides the user with the option to, depending on its current state, either hide or show the heads-up display. This feature can be controlled by clicking the corresponding button in the tool bar (highlighted in orange).
Known Issues
Because it is brand new, the Mesh Editor plugin has not been thoroughly tested by users and developers. There are some known issues that users should keep in mind while we continue to work on this plugin:
- The mesh editor only supports the construction of 2D meshes for quadrilateral elements. Triangles, hexagons and polygons with an arbitrary number of sides are planned for future releases.
- It is currently impossible to import mesh files. We expect to add this capability as the editor develops. The only way to import meshes at the moment is to use a ICE Item and have it populate a mesh component from a file, like the Nek5000 Model Builder does for meshes stored in .rea files.

