Notice: This Wiki is now read only and edits are no longer possible. Please see: https://gitlab.eclipse.org/eclipsefdn/helpdesk/-/wikis/Wiki-shutdown-plan for the plan.
EPP/MPC/Solution Provider Testing Guide
Contents
Overview
This guide provides information on howto test the install through the Eclipse Marketplcae client without adding or updating them on the productive site http://marketplace.eclipse.org. While the resolving of the features and dependencies can be tested with the standard P2 mechanisms, the visual testing within the Eclipse Marketplace client can be done with the following guide.
Installing a minimalistic staging server
To test a solution in the Eclipse Marketplace Client a server endpoint is required that has registered solutions that are browsable with the MPC. You can download a test-server at http://sourceforge.net/projects/marketplace-cat/files/eclipse-staging-allinone/marketplace-staging.zip/download which includes a jetty container with a webfrontend and a REST interface which fullfills the contract specified here.
Start the server and register your plugin
- Extract the zip file
- Start the server by commandline with
java -jar start.jar - Naviagate with your browser to
http://localhost:8080/marketplace/admin - Login (admin/admin)
- Create minimalistic data on the server
- Create a market
- Create a category
- Create a platform (e.g. "Windows")
- Create a new solution
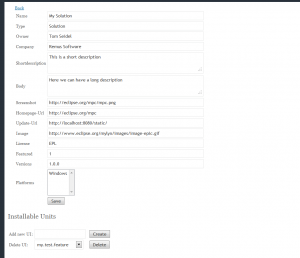
- Fill in the details of the solution (see screenshot)
- After you have saved the form you can add installable units (the features you want to install)
- Type in the feature-ids of the features that should be installed with this solution
- Assign the solution to a category
Export the feature(s)
Now you can export the update site. Make sure that the update site points to the url you have entered in the created solution.
Launch an Eclipse instance
You can launch now a new Eclipse instance with MPC installed. To register your marketplace (and not the default ones) in Eclipse make sure you have set the following system property:
-Dorg.eclipse.epp.internal.mpc.core.service.DefaultCatalogService.url=http://localhost:8080
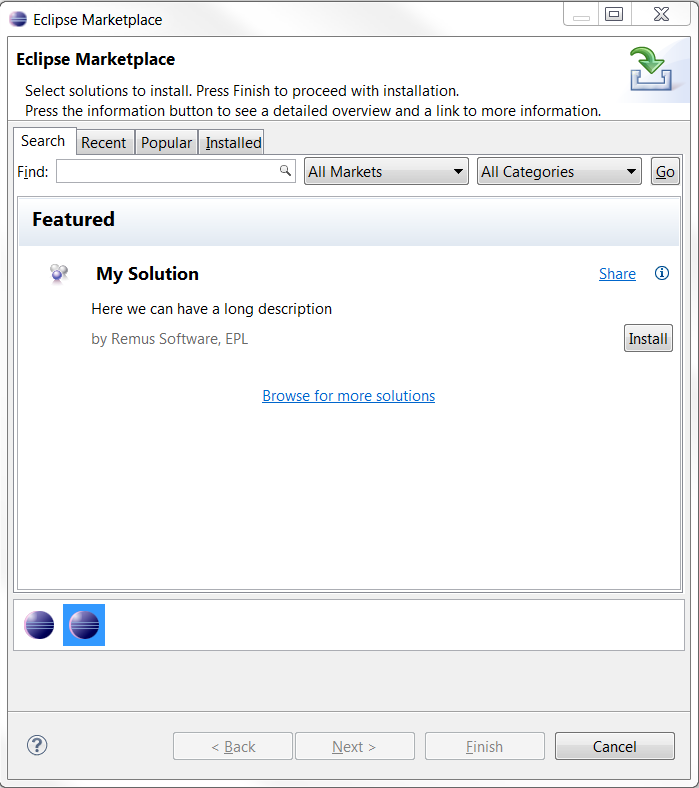
Open MPC
Now you can browse and install solutions from your own marketplace.


