Notice: This Wiki is now read only and edits are no longer possible. Please see: https://gitlab.eclipse.org/eclipsefdn/helpdesk/-/wikis/Wiki-shutdown-plan for the plan.
EDT:Tutorial: RUI With DataBase Lesson 2
Access a database with EGL Rich UI
| < Previous | Next > |
Contents
Lesson 2: Set up the projects
An EGL application is organized in one or more projects, each of which is a physical folder in the workspace. A project contains an EGL source folder that is provided for you, and that folder contains one or more packages, which in turn contain EGL source files. This hierarchy is basic to your work in EGL: a project, then an EGL source folder, then a package with EGL source files.
The EGL source files include EGL custom types, which are type definitions that you create. For example, a Service type contains logic, and a Record type can be the basis of a variable that you declare in your Service type.
Packages are important because they separate types into different contexts, or namespaces:
- A type name might be duplicated in two different packages, and any EGL source code can reference each type precisely. The main benefit of namespaces is that different teams can develop different EGL types without causing name collisions.
- Each type name in a given package is unique within that package:
- A type in one package can easily reference another type in the same package by specifying the type name. For example, here is a declaration of a record that is based on the Record type named MyRecordType: myRecord MyRecordType{};
- A type in one package can also reference a type in a second package by giving the package name and type name, or by a shortcut that involves importing the type.
One project can reference the types in a second project, but only if the EGL build path of the referencing project identifies the referenced project. Again, this tutorial gives examples. However, in all cases, avoid using the same package name in different projects, as that usage can cause problems in name resolution.
Your next task in this tutorial is to create the following projects:
- PaymentService
- Holds an EGL Service type and related definitions
- PaymentClient
- Holds the Rich UI Handler types and related definitions
- PaymentShared
- Holds types used both on the Web client (the browser) by the handlers and on the Web application server by the EGL services.
You can include all your code in a single project, but the separation shown here lets you easily deploy the two kinds of code in different ways.
Types in one project can use types in a different project. EGL uses a build path to search for unresolved references. Later in this lesson, you will add the service project to the build path for the client project and the shared project to the build path for both the service and client projects.
To create the project that contains shared types:
- If you have been working with EGL in the current workspace, click File > New > EGL Project. If you have not been working with EGL, you might need to click File > New > Other and then expend EGL and click EGL Project.
- On the EGL Project window, enter project name PaymentShared, click template Basic, and click Next.
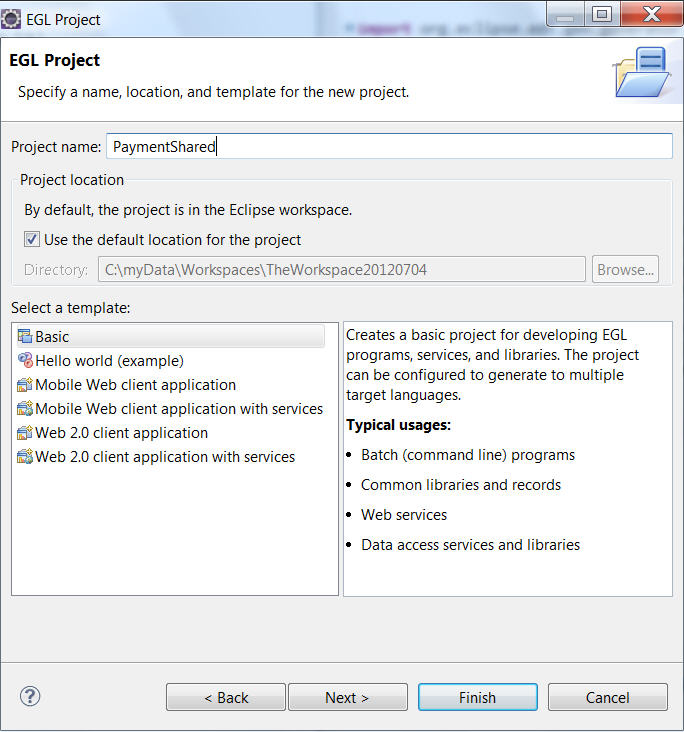
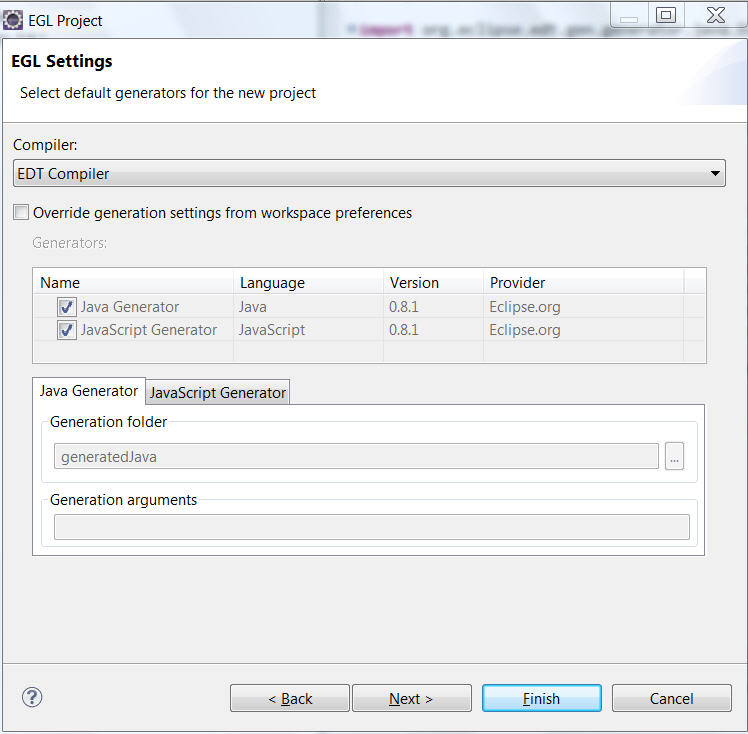
- On the EGL Settings window, accept the default values and click Finish.


EGL creates a project named PaymentShared. Note the folders inside the directory:

- EGLSource
- Put your packages and source files here.
- EDT System Libraries
- Access the read-only type definitions that are already provided.
- src
- Put any custom Java source files here. These files are not overwritten during the generation process.
- JRE System Library
- EGL uses this folder for JAR files that support the Java Runtime Environment.
Once you add your first EGL program, the following additional directories will be added automatically:
- generatedJava
- EGL places the Java files it generates here.
- EDT Java runtime
- EGL uses this folder for JAR files that support the EDT Java Runtime Environment.
Create the PaymentService project
To create an EGL service project:
- Click File > New > EGL Project.
- On the EGL Project window, enter project name PaymentService, click template Basic and then Next.
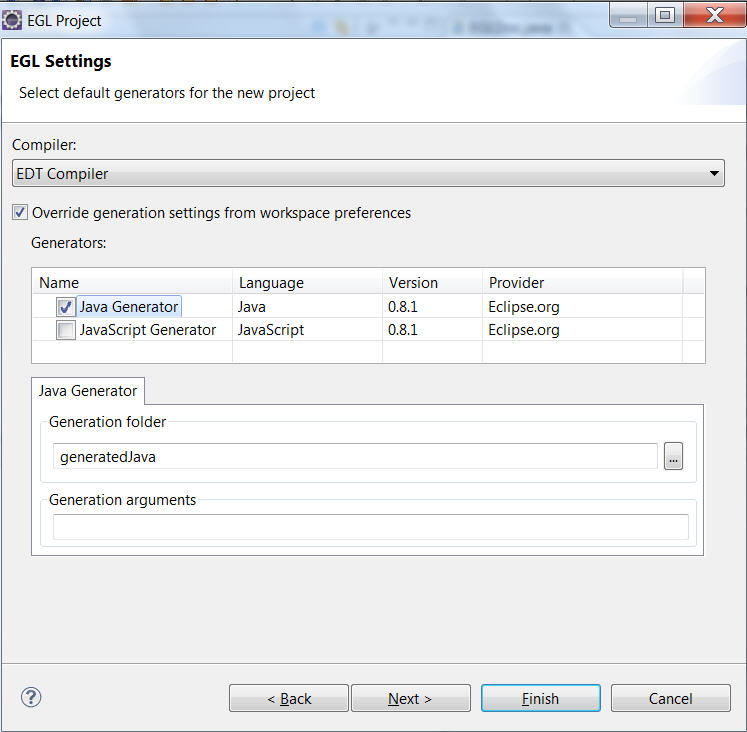
- On the EGL Settings window, check Override Generation Settings, uncheck JavaScript Generator, and click Next.
- On the EGL BuildPath window, check PaymentShared (the service project uses types in the shared project)
and click Finish.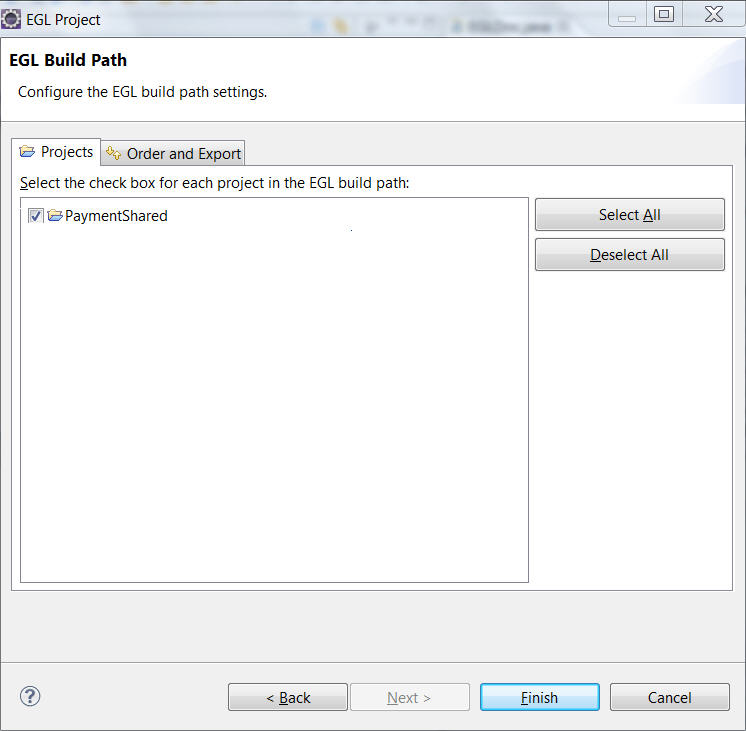
- Change In the Java Build Path, add PaymentShared as the required project.
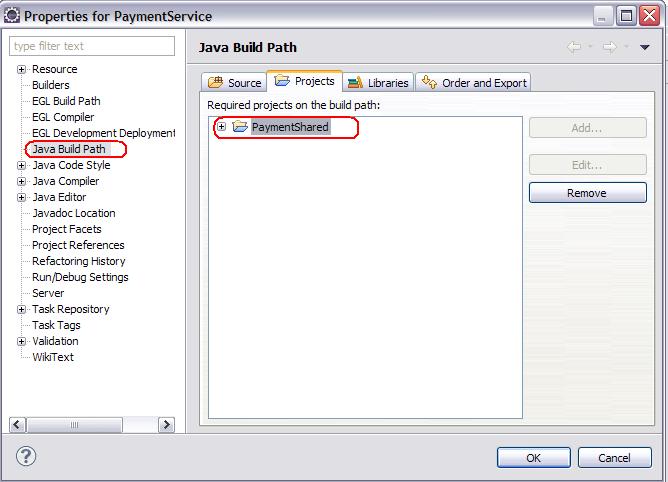


This step ensures that the output generated for PaymentService will be able to access the output generated for PaymentShared.
Create the PaymentClient project
An EGL Rich UI project includes many shortcuts to speed the development of a user interface for the web.
To create an EGL Rich UI project:
- Click File > New > EGL Project.
- On the EGL Project window, enter project name PaymentClient, click template Web 2.0 client application,
and click Next.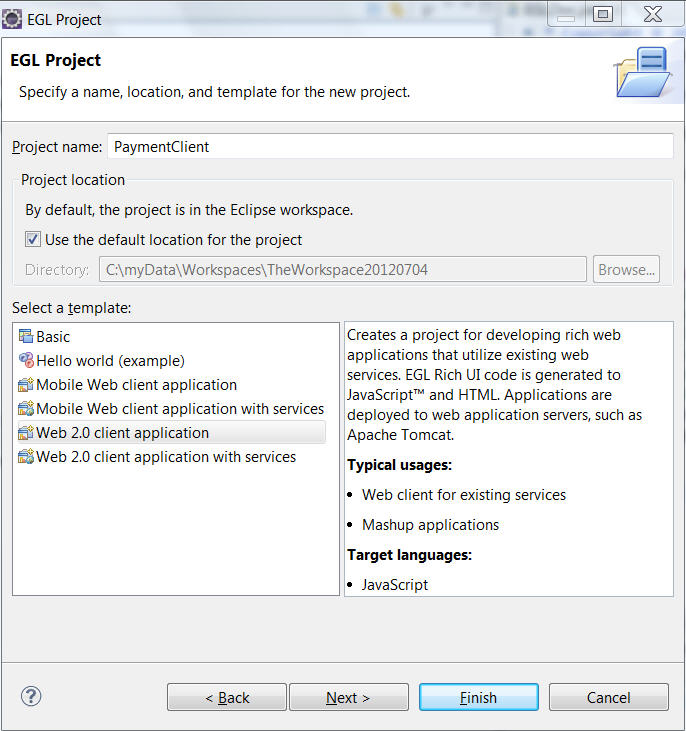
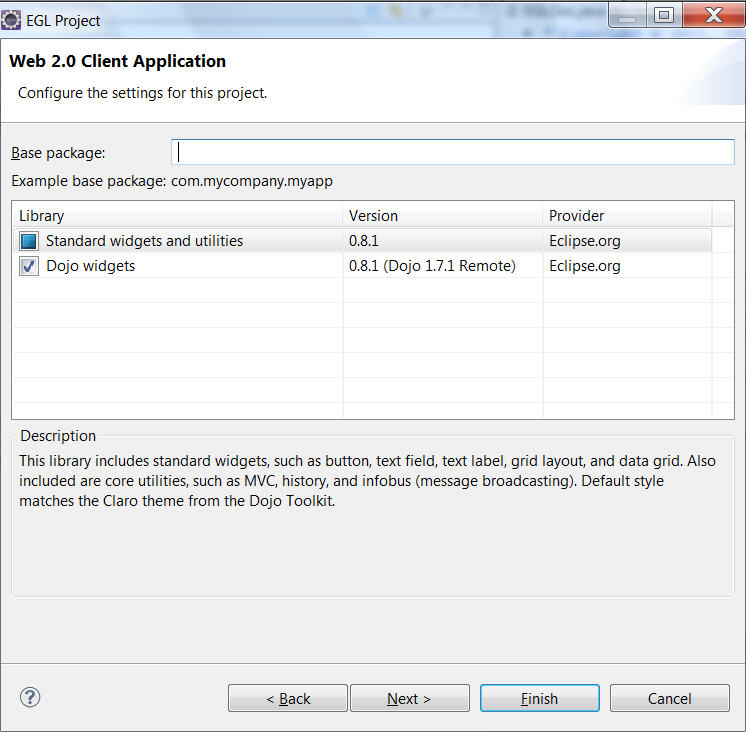
- On the Web 2.0 Client Application Settings window, accept the default values and click Next.
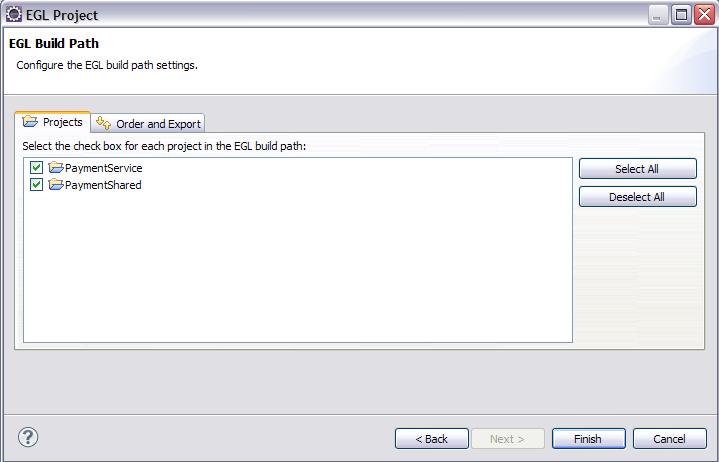
- On the EGL BuildPath window, check PaymentShared and PaymentService (the client project uses types in the shared and service projects) and left click on Finish.
- Configure the Java Build Path of the project by adding the required service project.


.JPG)
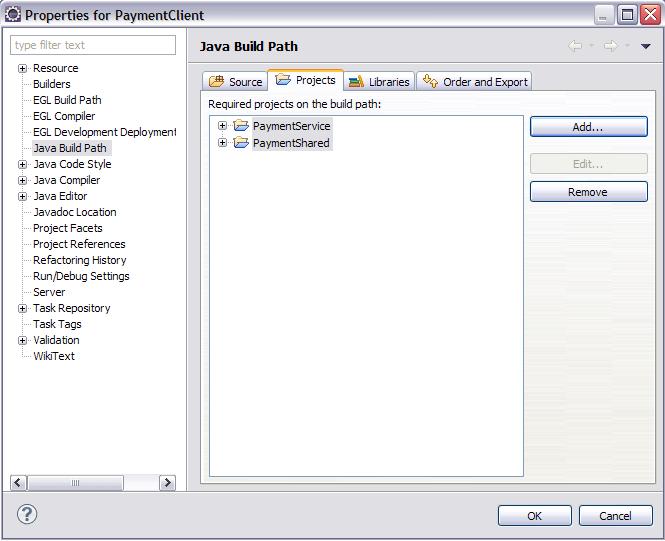

EGL creates a project named PaymentClient. When you first add a Rich UI project to your workspace, two other projects are added automatically:
- org.eclipse.edt.rui.widgets_versionNumber; and
- org.eclipse.edt.rui.dojo.remote_versionNumber or (if you are developing a mobile application) org.eclipse.edt.rui.dojo.mobile.widgets_versionNumber .
The two projects provide access to widgets and other definitions that you use when creating a Rich UI application.
The folder structure for the PaymentClient project includes the WebContent directory, which contains support files such as cascading style sheets (CSS) and images:

Lesson checkpoint
In this lesson, you completed the following tasks:
- Created an EGL project for developing types that are used in both in the service and the Rich UI application
- Created an EGL project for the services used in the application
- Created an EGL project for Web 2.0 Rich UI pages to be used in the application
In the next lesson, you will
- Set up the database connection
- Create the database table
- Create a Record type, retrieving most information from a database.
| < Previous | Next > |