Notice: this Wiki will be going read only early in 2024 and edits will no longer be possible. Please see: https://gitlab.eclipse.org/eclipsefdn/helpdesk/-/wikis/Wiki-shutdown-plan for the plan.
Swordfish Documentation: Setting Up Registry From Galileo Update Site
Revision as of 06:43, 17 June 2009 by Anne.aloysious.sopera.de (Talk | contribs)
Contents
Setting up a Swordfish Registry from the Galileo update site
This section contains instructions on setting up the Swordfish Registry by downloading a specific Swordfish Eclipse Runtime Target Platform from the Galileo Update Site.
Additionally this section contains information about running the Swordfish Registry.
Prerequisites
Eclipse Galileo (Eclipse 3.5) build or later. The examples described here are based on Eclipse 3.5.
Setting up Swordfish Registry Target Platform
To setup the Swordfish Registry Target Platform do the following:
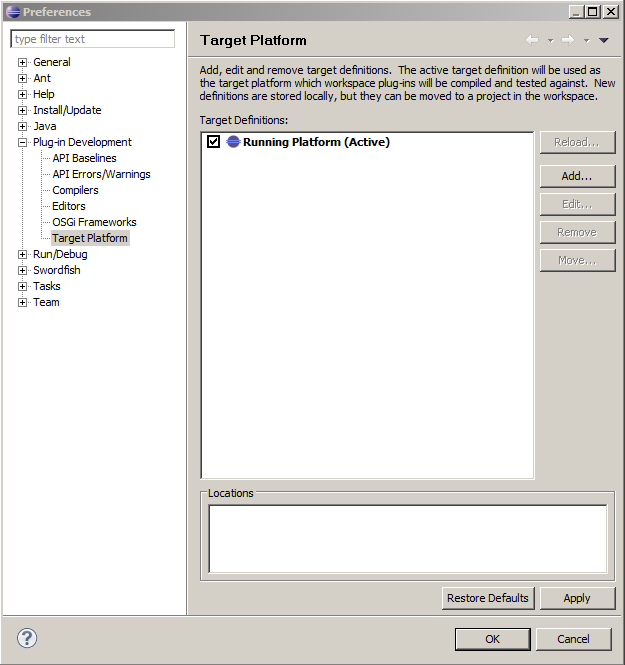
- Create a new Target Platform definition. In the menu, click Window > Preferences > Plug-in Development > Target Platform
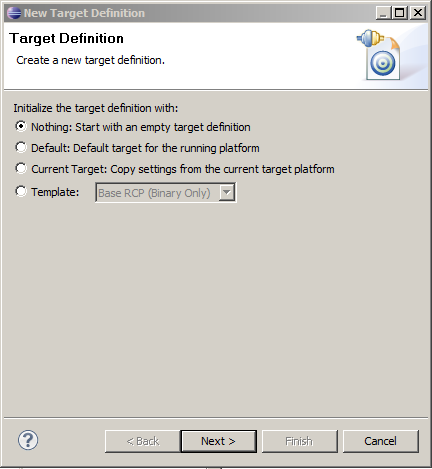
- Click Add and select Nothing: Start with an empty definition in the first page of the New Target Definition project wizard.
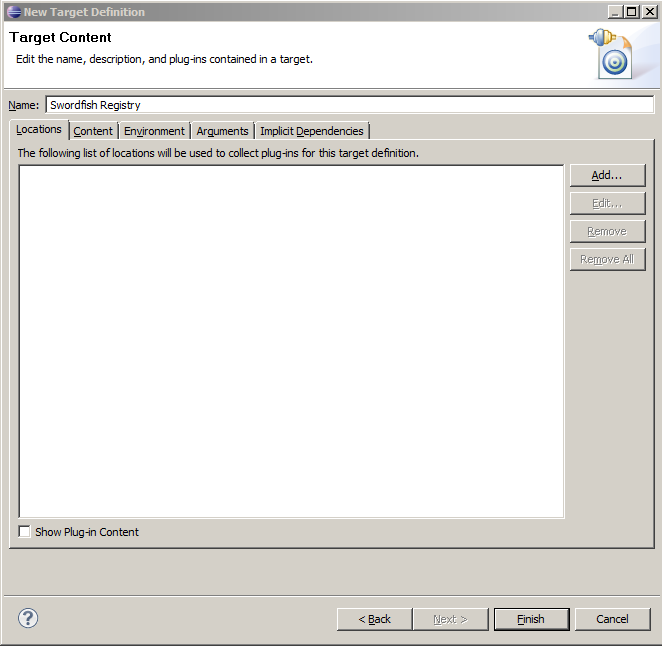
- Type the name of the new Target Platform Definition and click Add under the "Locations" tab.
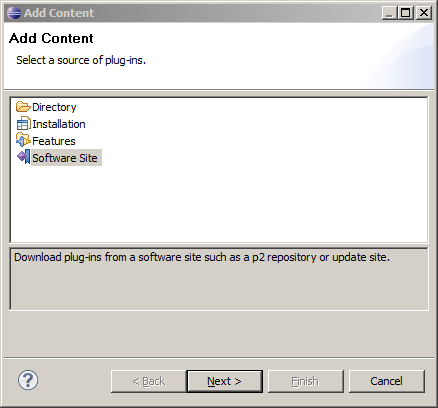
- Select "Software Site" in the Add Content<b> project window and click <b>Next
- In the "Add software site" window expand the list of items next to Work with: and select the "Galileo - http://download.eclipse.org/releases/galileo" item.
NOTE: You may need to wait for several seconds.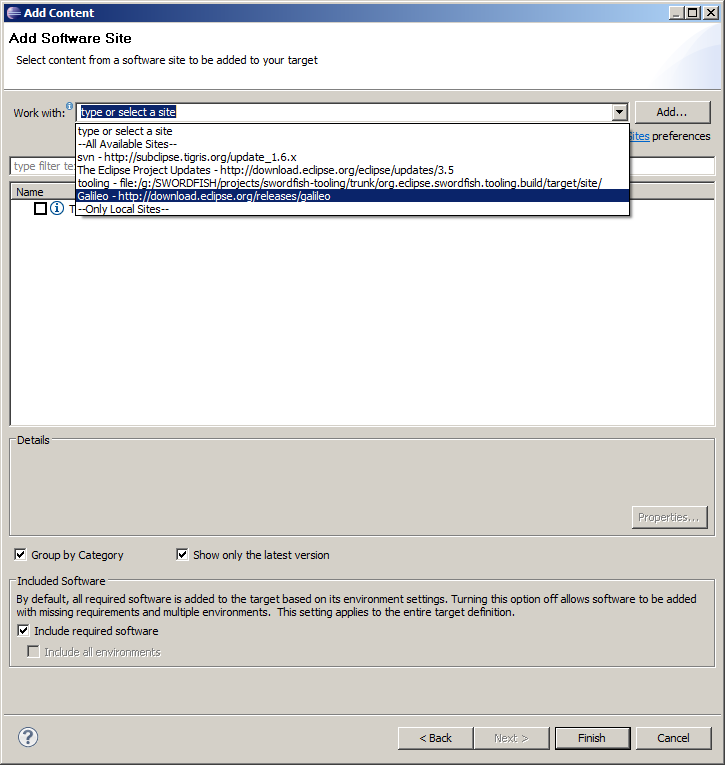
- In the table below the drop-down list mentioned click to expand the "EclipseRT Target Platform Components" category and select the "Swordfish Registry" and "Swordfish Core" items. Click Finish.
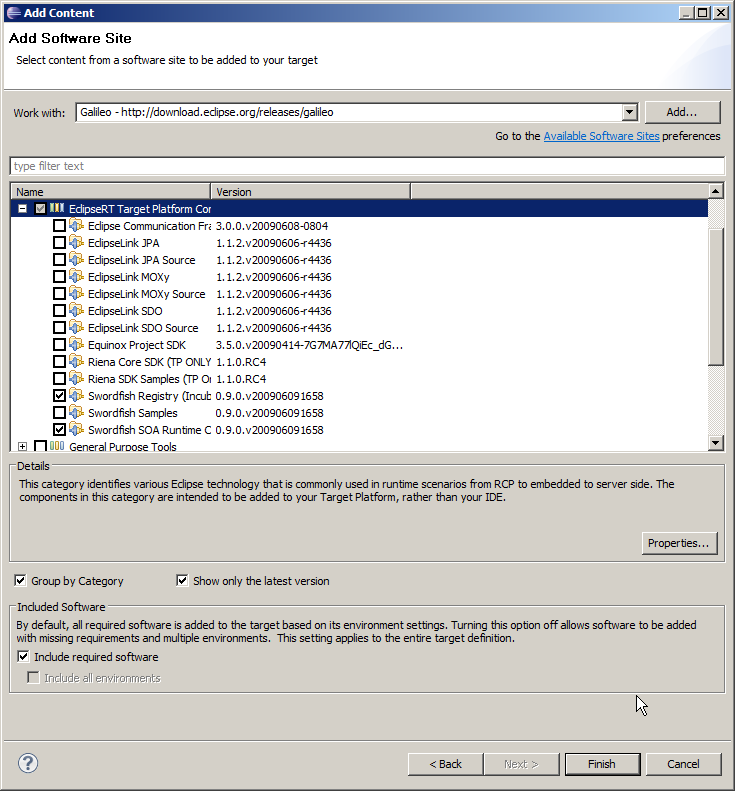
- After the last step, a Swordfish Target Plaftorm consisting of Swordfish Core and Swordfish Registry bundles will be uploaded. See the window below:
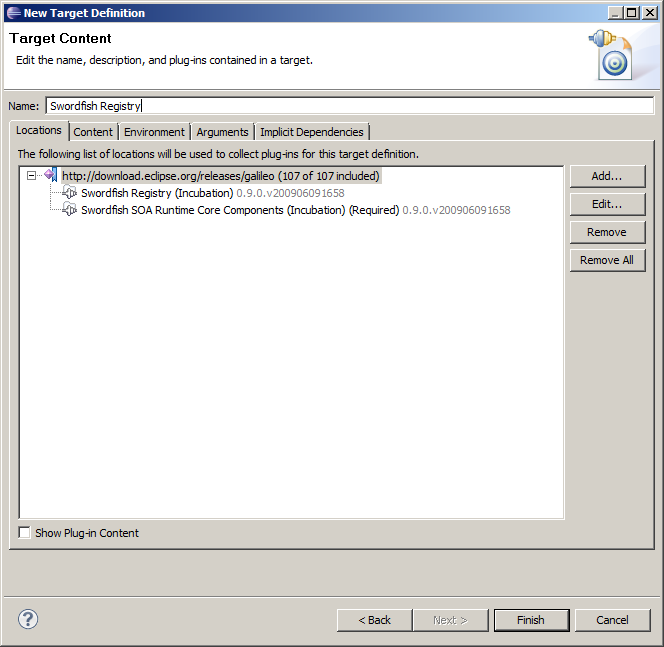
- We are now almost done with this task. However, the Swordfish Core and Registry bundles require some equinox core bundles like org.eclipse.osgi.services, org.eclipse.equinox.common and org.eclipse.equinox.http.servlet. The easiest way to bind these to the current target platform is to take them from your current eclipse installation.
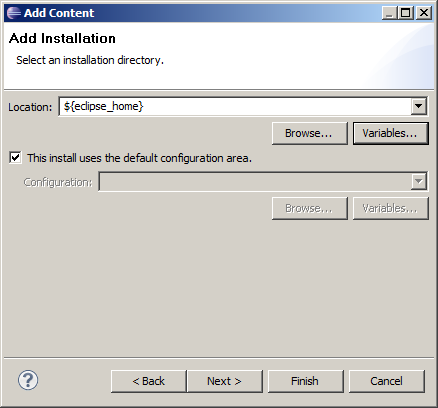
To do this click Add in the Target Definition Window; select "Installation" from the Add content window list.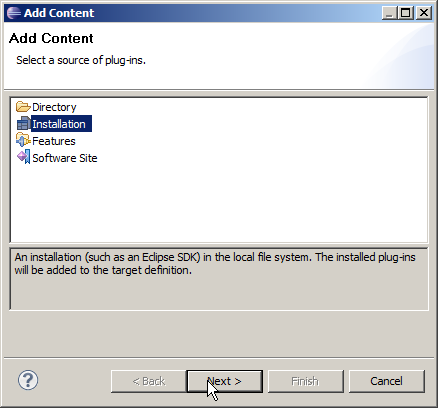
- Click Variables and select eclipse_home from the list. Click Finish
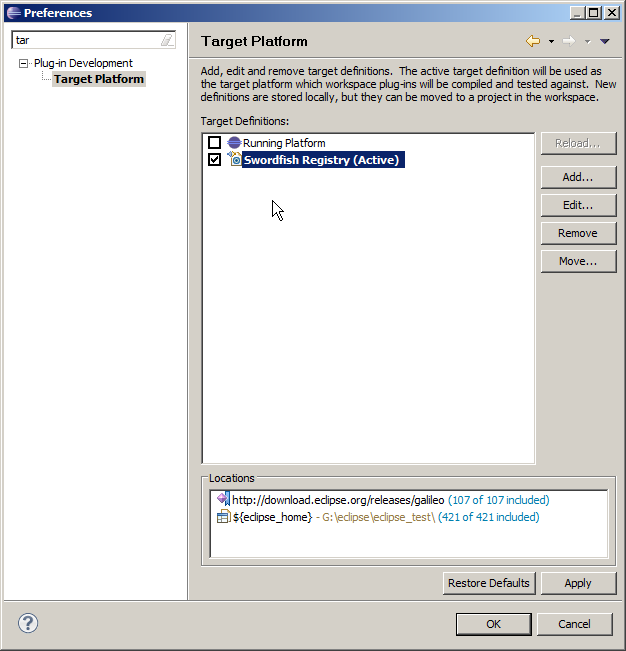
- Now your Target Platform definition should look like the image shown here.

- Click Finish.
- Activate the Swordfish Registry target platform and save your changes.


Running Swordfish Registry
Running Registry Target Platform is the same as running any other target platform.
See: