Notice: This Wiki is now read only and edits are no longer possible. Please see: https://gitlab.eclipse.org/eclipsefdn/helpdesk/-/wikis/Wiki-shutdown-plan for the plan.
Scout/Tutorial/Reorganize the tree and add a webservice
We started out with an application having two table pages. Notice how the list of persons comes just beneath the list of companies. If we want to show different named folders such as "persons" and "search resuilts" for a company, we need to add a page with nodes.
Standard Outline │ ├─Company Table Page │ │ │ └─Person Table Page │ └─Person Table Page |
⇒ |
Standard Outline │ ├─Company Table Page │ │ │ └─Company Details Node Page ← new │ │ │ ├─Person Table Page │ │ │ └─Bing Table Page ← new │ └─Person Table Page |
== Add a node page
In a first step, we're going to aim for the following intermediary structure:
 Standard Outline
  │
  ├─Company Table Page
  │  │
  │  └─Company Details Node Page ← new
  │     │
  │     └─Person Table Page
  │
  └─Person Table Page
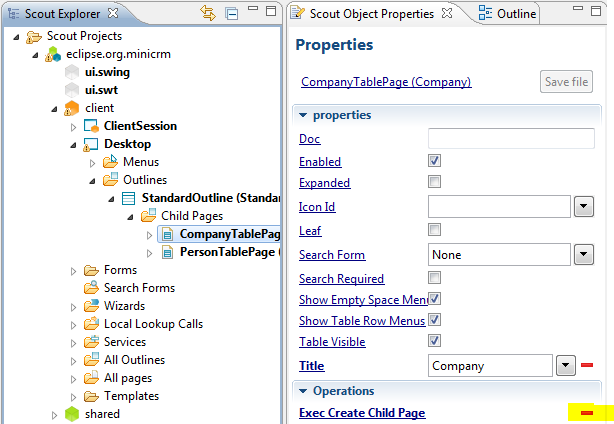
Return to the CompanyTablePage and click on the red cross (✖) next to Exec Create Child Page in order to delete it.

