Notice: this Wiki will be going read only early in 2024 and edits will no longer be possible. Please see: https://gitlab.eclipse.org/eclipsefdn/helpdesk/-/wikis/Wiki-shutdown-plan for the plan.
Difference between revisions of "Scout/Tutorial/3.8/webservices/Create Company Table Page"
(→Create Company Table Page) |
|||
| Line 1: | Line 1: | ||
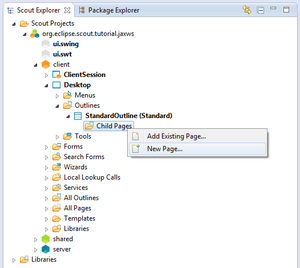
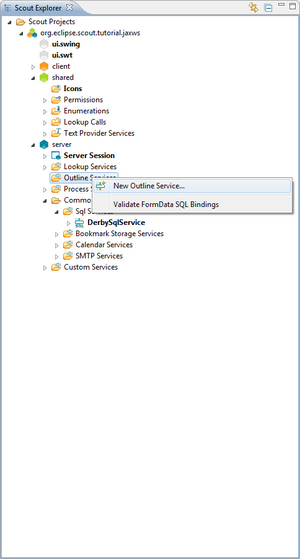
[[Image:org.eclipse.scout.tutorial.jaxws.CreateCompanyTablePage_1.png|thumb|Create Table Page]] | [[Image:org.eclipse.scout.tutorial.jaxws.CreateCompanyTablePage_1.png|thumb|Create Table Page]] | ||
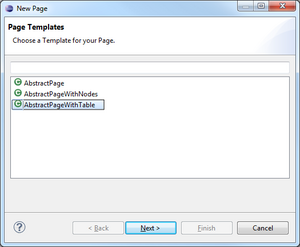
[[Image:org.eclipse.scout.tutorial.jaxws.CreateCompanyTablePage_2.png|thumb|Choose Page Layout]] | [[Image:org.eclipse.scout.tutorial.jaxws.CreateCompanyTablePage_2.png|thumb|Choose Page Layout]] | ||
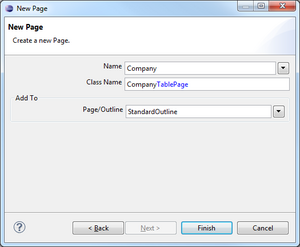
| − | [[Image:org.eclipse.scout.tutorial.jaxws.CreateCompanyTablePage_3.png|thumb|Give Page a name and link with | + | [[Image:org.eclipse.scout.tutorial.jaxws.CreateCompanyTablePage_3.png|thumb|Give Page a name and link with MainOutline]] |
| − | + | ||
| − | + | ||
| − | + | ||
| − | + | ||
| − | + | ||
| − | + | ||
| − | + | ||
| − | + | ||
| − | + | ||
| − | + | ||
| − | + | ||
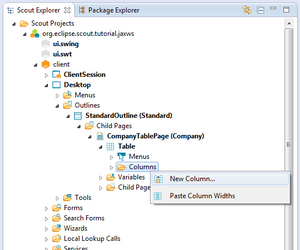
[[Image:org.eclipse.scout.tutorial.jaxws.CreateCompanyTablePage_4.png|thumb|Create Outline - Step 2]] | [[Image:org.eclipse.scout.tutorial.jaxws.CreateCompanyTablePage_4.png|thumb|Create Outline - Step 2]] | ||
[[Image:org.eclipse.scout.tutorial.jaxws.CreateCompanyTablePage_5.png|thumb|Create Outline - Step 2]] | [[Image:org.eclipse.scout.tutorial.jaxws.CreateCompanyTablePage_5.png|thumb|Create Outline - Step 2]] | ||
| Line 24: | Line 13: | ||
[[Image:org.eclipse.scout.tutorial.jaxws.CreateCompanyTablePage_13.png|thumb|Create Outline - Step 2]] | [[Image:org.eclipse.scout.tutorial.jaxws.CreateCompanyTablePage_13.png|thumb|Create Outline - Step 2]] | ||
[[Image:org.eclipse.scout.tutorial.jaxws.CreateCompanyTablePage_14.png|thumb|Create Outline - Step 2]] | [[Image:org.eclipse.scout.tutorial.jaxws.CreateCompanyTablePage_14.png|thumb|Create Outline - Step 2]] | ||
| + | |||
| + | == Create Company Table Page == | ||
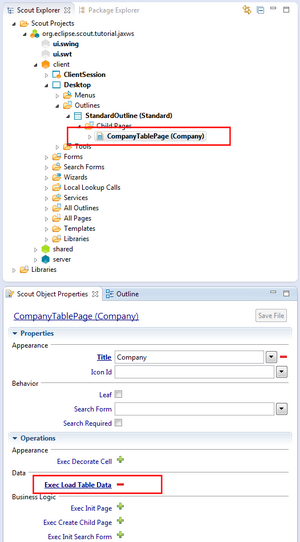
| + | On the client node, go to 'Desktop' | 'Outlines' | 'MainOutline'. Right click on the node to create a new '{{ScoutLink|Concepts|TablePage}}' [http://wiki.eclipse.org/Image:Org.eclipse.scout.tutorial.jaxws.CreateCompanyTablePage_1.png]. As page layout, choose <code>AbstractPageWithTable</code> [http://wiki.eclipse.org/Image:Org.eclipse.scout.tutorial.jaxws.CreateCompanyTablePage_2.png] to create a page representing tabular data. On the next step, enter <code>Company</code> as name for that page and choose to add this page to the <code>MainOutline</code> [http://wiki.eclipse.org/Image:Org.eclipse.scout.tutorial.jaxws.CreateCompanyTablePage_3.png]. By clicking Finish, the page is created and attached to the MainOutline. | ||
| + | |||
| + | == Create columns == | ||
| + | |||
| + | |||
| + | |||
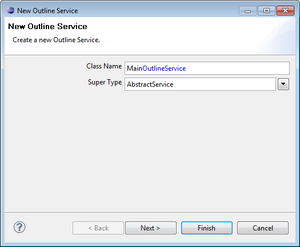
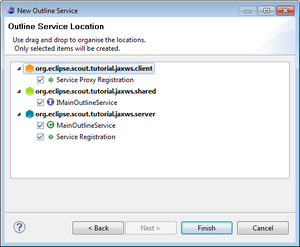
| + | As its name, enter <code>Main</code>. Thereby, the Scout SDK tries to support you in [http://en.wikipedia.org/wiki/Internationalization_and_localization i18N]. Just type in the text you want to have displayed in the application. If the text does not exist yet, choose 'New translated text...' to create a new [http://en.wikipedia.org/wiki/National_Language_Support NLS] text. Please ensure the checkbox 'Add to Desktop' to be checked to attach your outline to the {{ScoutLink|Concepts|Desktop}}. Click finish. | ||
Revision as of 13:55, 8 November 2011
Create Company Table Page
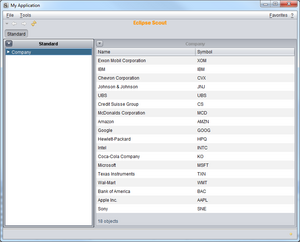
On the client node, go to 'Desktop' | 'Outlines' | 'MainOutline'. Right click on the node to create a new 'The Scout documentation has been moved to https://eclipsescout.github.io/.' [1]. As page layout, choose AbstractPageWithTable [2] to create a page representing tabular data. On the next step, enter Company as name for that page and choose to add this page to the MainOutline [3]. By clicking Finish, the page is created and attached to the MainOutline.
Create columns
As its name, enter Main. Thereby, the Scout SDK tries to support you in i18N. Just type in the text you want to have displayed in the application. If the text does not exist yet, choose 'New translated text...' to create a new NLS text. Please ensure the checkbox 'Add to Desktop' to be checked to attach your outline to the The Scout documentation has been moved to https://eclipsescout.github.io/.. Click finish.

