Notice: this Wiki will be going read only early in 2024 and edits will no longer be possible. Please see: https://gitlab.eclipse.org/eclipsefdn/helpdesk/-/wikis/Wiki-shutdown-plan for the plan.
Difference between revisions of "Scout/Tutorial/3.7/Deploy to Tomcat"
(→Deploy of a Scout Application) |
(→Export Scout Application to WAR File) |
||
| Line 24: | Line 24: | ||
<br clear="all" /> | <br clear="all" /> | ||
| − | * | + | * Product file: |
| − | * | + | * WAR file: |
| − | * | + | * Checkbox Overwrite existing WAR file: |
| − | * | + | * Checkbox Include client application |
<br/>[[Image:Export_to_war_client.png|left]] | <br/>[[Image:Export_to_war_client.png|left]] | ||
<br clear="all" /> | <br clear="all" /> | ||
Revision as of 14:26, 21 March 2011
The Scout documentation has been moved to https://eclipsescout.github.io/.
Deploy of a Scout Application
This page shows how to export and deploy your Scout application to a Tomcat webserver using the Scout SDK.
Install Tomcat
If you have not yet installed Tomcat please go to the Tomcat homepage. Then download and install Tomcat version 6 or 7 using the proposed default settings.
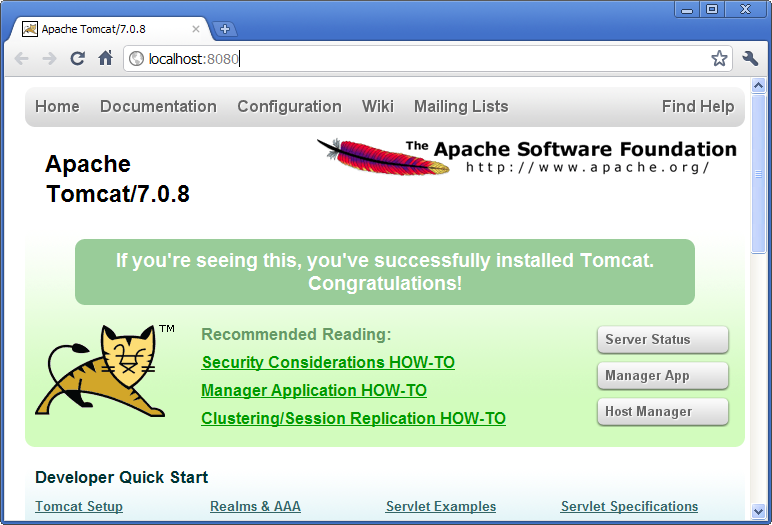
Once you started the webserver you verify the successful running by starting your browser with the address http://localhost:8080. Your browser should display some page similar as shown below.
Export Scout Application to WAR File
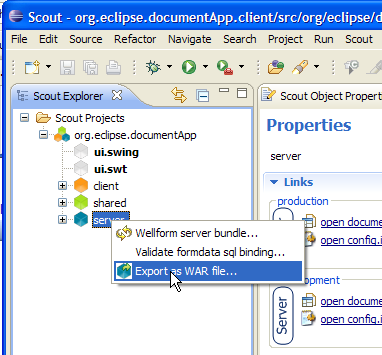
In the Scout SDK perspective use the context menu 'Export to WAR ...' on the server node as shown below.
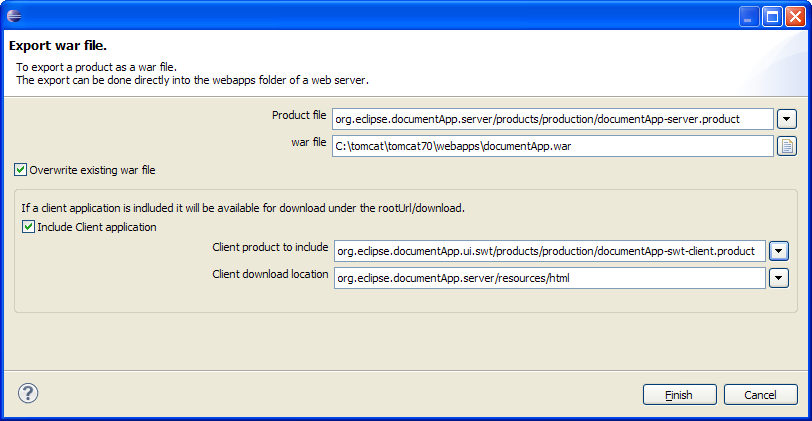
This opens the WAR export wizard dialog
- Product file:
- WAR file:
- Checkbox Overwrite existing WAR file:
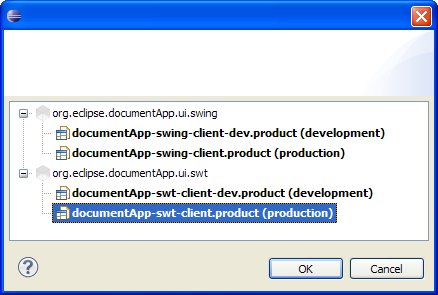
- Checkbox Include client application


