Notice: this Wiki will be going read only early in 2024 and edits will no longer be possible. Please see: https://gitlab.eclipse.org/eclipsefdn/helpdesk/-/wikis/Wiki-shutdown-plan for the plan.
Difference between revisions of "Scout/Tutorial"
< Scout
(→Mini-CRM (Step-by-Step)) |
m (→Mini-CRM (Step-by-Step): link) |
||
| Line 13: | Line 13: | ||
==Mini-CRM (Step-by-Step)== | ==Mini-CRM (Step-by-Step)== | ||
| − | {{ScoutLink|Tutorial| | + | {{ScoutLink|Tutorial|Minicrm Step-by-Step|Mini CRM Tutorial}} |
[[Image:Scout Minicrm with Company Form.png|border|350px]] | [[Image:Scout Minicrm with Company Form.png|border|350px]] | ||
Revision as of 10:19, 10 October 2011
The Scout documentation has been moved to https://eclipsescout.github.io/.
Contents
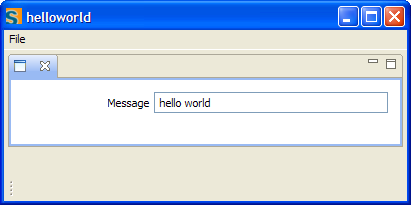
Hello World
The Scout documentation has been moved to https://eclipsescout.github.io/.
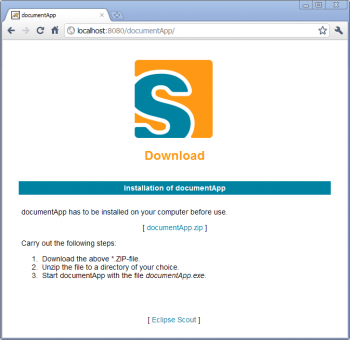
Deploy a Scout Application to Tomcat
The Scout documentation has been moved to https://eclipsescout.github.io/.
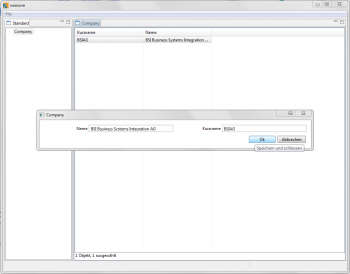
Mini-CRM (Step-by-Step)
The Scout documentation has been moved to https://eclipsescout.github.io/.
- Installation / Set Up
- Setup a New Eclipse Scout Project
- Setup a SQL Service
- Write The First Page
- Add a search form to the table page
- Add a form to edit the data
- Write the second page
- Reorganize the tree and add a webservice
- Use a webservice
IMAP Client
The Scout documentation has been moved to https://eclipsescout.github.io/.
See Also
- The Scout documentation has been moved to https://eclipsescout.github.io/.
- All Tutorial pages
- The Scout documentation has been moved to https://eclipsescout.github.io/.


