Notice: this Wiki will be going read only early in 2024 and edits will no longer be possible. Please see: https://gitlab.eclipse.org/eclipsefdn/helpdesk/-/wikis/Wiki-shutdown-plan for the plan.
Difference between revisions of "OM2M/Build"
< OM2M
(→Prerequisite) |
(→Prerequisite) |
||
| Line 6: | Line 6: | ||
[[File:git_clone5bis.png|thumb|center|600px|Maven marketplace]] | [[File:git_clone5bis.png|thumb|center|600px|Maven marketplace]] | ||
| − | + | ''If the tycho plugin wasn't available on the Maven marketplace, you can install it manually.'' To do this, follow these steps: | |
| − | + | * Select Help -> Install New Software. | |
| − | + | * Click on the Add button. | |
[[File:tycho_install1.png|thumb|center|600px|Tycho install]] | [[File:tycho_install1.png|thumb|center|600px|Tycho install]] | ||
| − | + | * Put in the ''name field'' "tycho0.8" and in the ''location filed'' this url "http://repo1.maven.org/maven2/.m2e/connectors/m2eclipse-tycho/0.8.0/N/LATEST/" | |
| − | + | * Press on on ok button and check the "m2e extensions" and "Tycho Project Configurators" checkboxes and click on next. | |
[[File:tycho_install2.png|thumb|center|600px|Tycho install]] | [[File:tycho_install2.png|thumb|center|600px|Tycho install]] | ||
| − | + | * Select the "Tycho Project Configurators" and click on Next. | |
[[File:tycho_install3.png|thumb|center|600px|Tycho install]] | [[File:tycho_install3.png|thumb|center|600px|Tycho install]] | ||
| − | + | * Accept the terms of the use and click on Finish. | |
== Build OM2M from source using Eclipse == | == Build OM2M from source using Eclipse == | ||
Revision as of 15:54, 4 November 2014
Prerequisite
- Eclipse kepler (for RCP and RAP Developers).
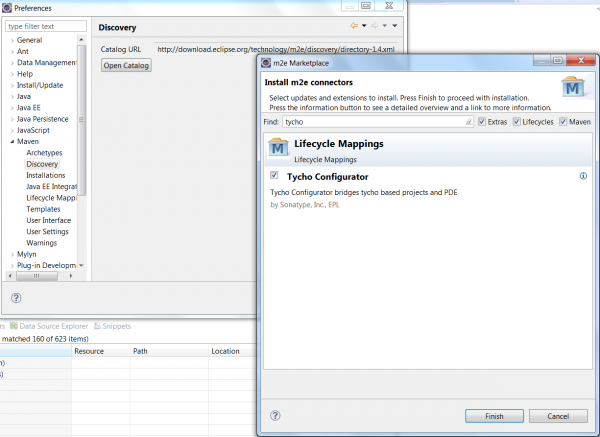
- To build the OM2M project into Eclipse, a Tycho m2e connector is needed. Installation of m2e connectors is accomplished as follows: click Window -> Preferences -> maven -> discovery -> open catalog and type Tycho. Check the “Tycho Configurator” checkbox.
If the tycho plugin wasn't available on the Maven marketplace, you can install it manually. To do this, follow these steps:
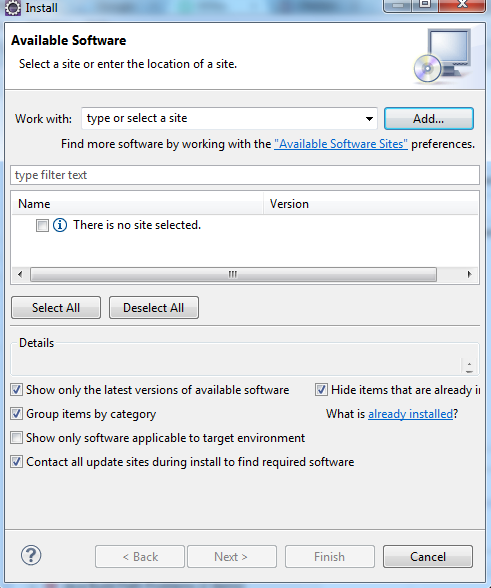
- Select Help -> Install New Software.
- Click on the Add button.
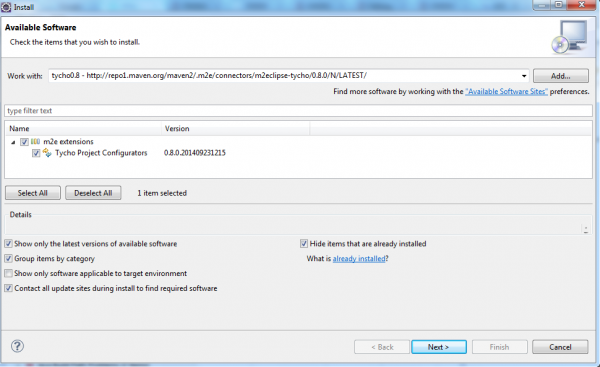
- Put in the name field "tycho0.8" and in the location filed this url "http://repo1.maven.org/maven2/.m2e/connectors/m2eclipse-tycho/0.8.0/N/LATEST/"
- Press on on ok button and check the "m2e extensions" and "Tycho Project Configurators" checkboxes and click on next.
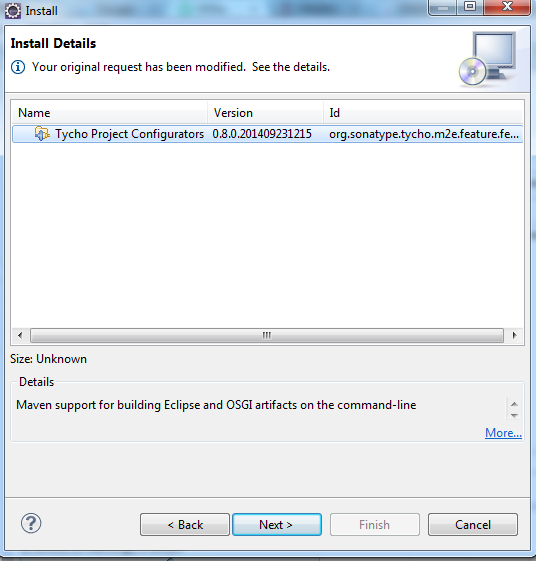
- Select the "Tycho Project Configurators" and click on Next.
- Accept the terms of the use and click on Finish.
Build OM2M from source using Eclipse
Clone The OM2M project
- Select Windiow->Show View -> Other .
- In the dialog box, select the Git view.
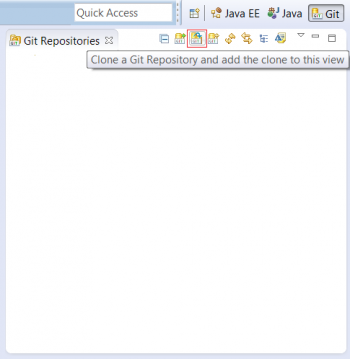
- Click on “Clone a Git repository”.
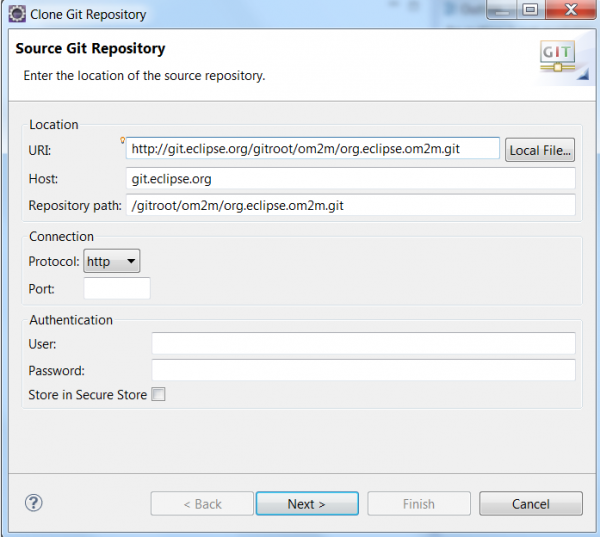
- Clone the OM2M project using the following link: http://git.eclipse.org/gitroot/om2m/org.eclipse.om2m.git. In the first page, enter the mentioned link in the URI’s location field. Click Next .
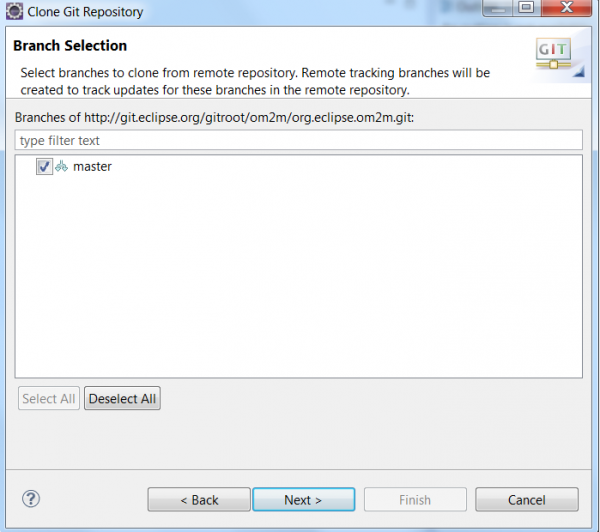
- In the second page, keep the “master” branch checkbox selected and click Next.
- In the third page, check the “import all existing projects after clone finishes” and click “Finish”.
- The OM2M project is now cloned and is visible on the Git repositories’ and Package’ explorers.
- Now we will add the required libraries. This step will be removed when all third libraries will be validated by Eclipse.
- Download the libraries from this link: http://wiki.eclipse.org/OM2M/Download
- Extract OM2M-libs and add the following libraries to "org.eclipse.om2m" repository as follows:
- "db4o-core-java5-8.1-SNAPSHOT.jar" library under "org.eclipse.om2m.core\libs",
- "obix.jar" library under "org.eclipse.om2m.commons\libs",
- "xsd" folder under "org.eclipse.om2m.commons\src\main\resources".
- After adding the required librairies, update the org.eclipse.om2m package. To do so, select the package "org.eclipse.om2m" -> right click -> maven -> update Project.
Build OM2M using maven
- Select “org.eclipse.om2m” package and right click. Select “Run as -> maven install”.
- Two Eclipse products will be generated after a successful built:
- The NSCL product can be found on this directory: "om2m/org.eclipse.om2m/org.eclipse.om2m.site.nscl/target/products/nscl/<os>/<ws>/<arch>"
- The GSCL product can be found on this directory: "om2m/org.eclipse.om2m/org.eclipse.om2m.site.gscl/target/products/gscl/<os>/<ws>/<arch>"

