Notice: this Wiki will be going read only early in 2024 and edits will no longer be possible. Please see: https://gitlab.eclipse.org/eclipsefdn/helpdesk/-/wikis/Wiki-shutdown-plan for the plan.
Difference between revisions of "MOOSE Support in ICE"
| Line 63: | Line 63: | ||
When you select the MOOSE Workflow Item for the first time, you'll be presented with the following form: | When you select the MOOSE Workflow Item for the first time, you'll be presented with the following form: | ||
| − | [[File:new_moose_item.png]] | + | [[File:new_moose_item.png | 1500px]] |
| + | |||
| + | To begin using the MOOSE Workflow Item, you'll need to specify a MOOSE-based application. As you can see in the above picture, this is the first time we've used the MOOSE Workflow Item, so there are no available applications to select and ICE is indicating that we must import one. | ||
| + | |||
| + | [[File:moose-based-app.png]] | ||
| + | |||
| + | This MOOSE-Based Application Entry allows the user to navigate to either a local or remote MOOSE-based application. Once selecting the application, this Entry saves the value for the future, i.e. it persists between ICE executions so that the user can reuse the same application over and over again. To specify an application, click the ''Browse'' button. Upon doing so, you'll be presented with a dialog to specify whether this application is hosted locally or remotely. Select local, for now, and you'll be presented with a File Dialog, search for your application and click finish. | ||
| + | |||
| + | [[File:local_or_remote.png]] | ||
| + | |||
| + | [[File:local_file_browser.png]] | ||
Revision as of 12:06, 16 July 2015
Contents
Introduction
The Multi-physics Object Oriented Simulation Environment (MOOSE) is parallel, finite-element framework developed at Idaho National Laboratory (INL). To learn more about it, check out MOOSE Framework. ICE has always provided strong support for MOOSE input generation, simulation execution, and data visualization as a core part of the platform. As of the summer of 2015, that support has been greatly updated to incorporate comments from the MOOSE internal development team and MOOSE application developers. The updated support provides a unified interface for interacting with the MOOSE framework, and tools for the embedded visualizations of problem meshes, simulation output meshes, and Postprocessor CSV plotting. Additionally, we have improved our MOOSE tooling to incorporate real-time updating from a running MOOSE simulation back to ICE. Users can now specify a list of Postprocessor values they care about, launch their simulation, and see, in real-time, those Postprocessor plots updating.
This article will detail these new updates, and walk you through the use of the new MOOSE support in ICE. It will detail ICE installation, MOOSE input generation, existing MOOSE input file loading, simulation launch, and post-simulation data visualization. Additionally, ICE now supports MOOSE application development. To see a tutorial on that, check out Developing MOOSE Applications with ICE.
ICE Installation
The ICE team has developed a new and improved mechanism for users to install ICE and its dependencies. To do so, users need to simply navigate to File Downloads and download the new ICE_installer.sh script. To install ICE, simply run this script in a directory of your choosing. For example:
mkdir ICE_install
cd ICE_install
wget https://sourceforge.net/projects/niceproject/files/ICE_installer.sh .
chmod +x ICE_installer.sh
./ICE_installer.sh
Running this script will pull down the correct ICE, VisIt, and HDFJava for your operating system, unpack them, and configure ICE to use the downloaded VisIt and HDFJava dependencies. For Mac users, this script will additionally configure ICE to use the current user's environment variables and register those environments with ICE through the Apple Application Launch Service. All of this will enable you to simple double click the created ICE application icon (~/Applications/ICE.app for Mac, and for Linux, an ICE application icon in the Programming category of the applications menu).
For Windows users, we also provide MSI installers at the same files download URL. Just download the installer specific to your architecture, run it, and you'll be ready to use ICE.
Prerequisites
To use the MOOSE support in ICE, you'll need to have MOOSE installed on your system, and any MOOSE-based application you would like to use (could just be moose_test if you don't have any other application). To install MOOSE on your system, check out mooseframework.org/getting-started. If you would like to install MOOSE and create a MOOSE-based application of your own (or clone an existing application) from with ICE itself, check out the Developing MOOSE Applications with ICE article.
MOOSE Perspective
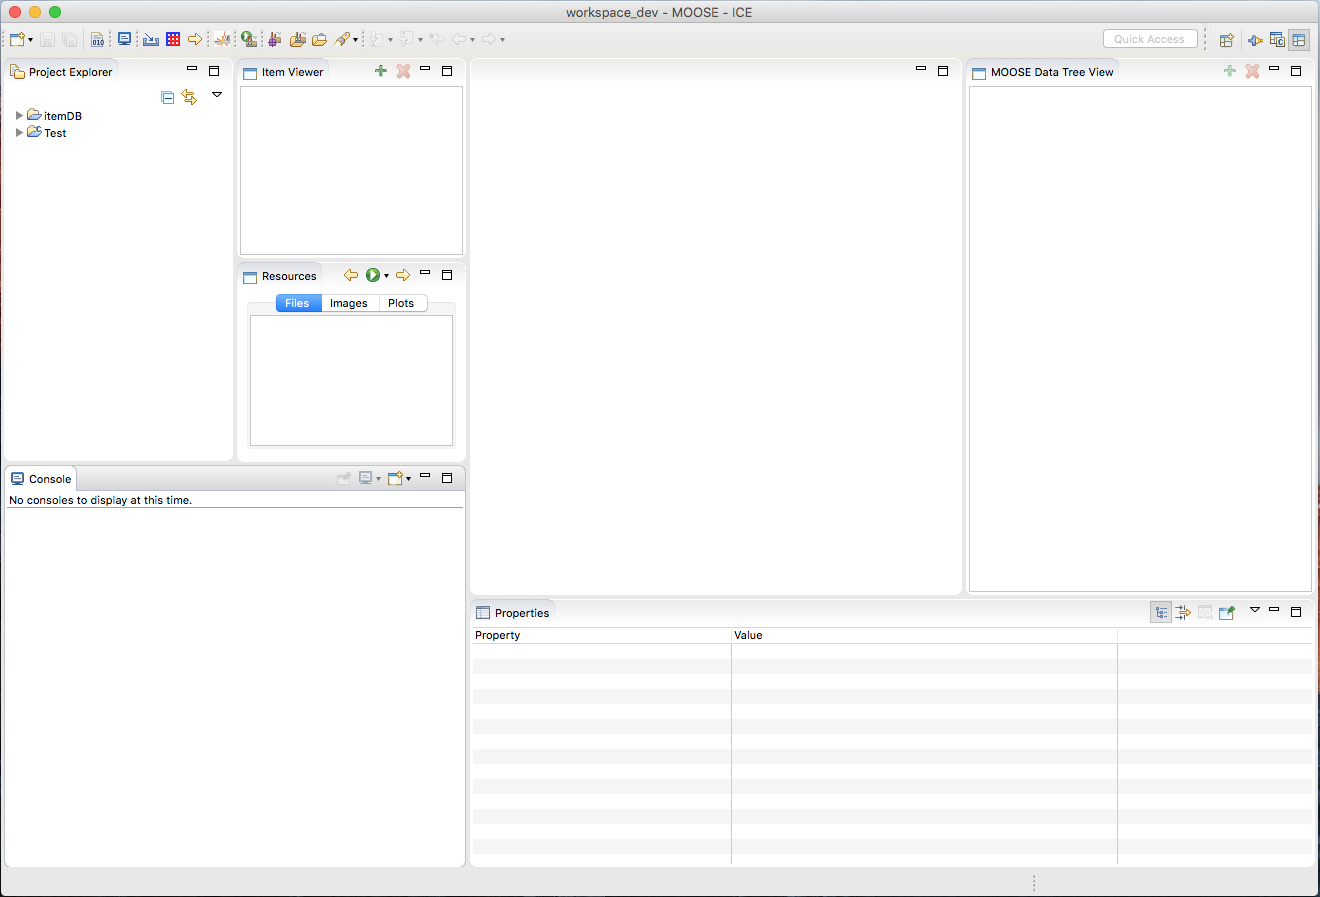
ICE comes bundled with a MOOSE Perspective that organizes the various views and windows that a MOOSE user or developer would need to efficiently work with MOOSE in ICE. The updated MOOSE perspective shows the Item Viewer, Resources View, Project Explorer, MOOSE Data Tree View, and Properties tab to the user to enable efficient interaction with the framework.
To access the MOOSE Perspective, use the the ICE toolbar at the top and navigate to:
Window > Open Perspective > Other...
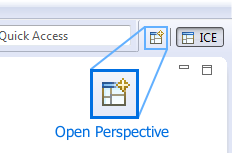
Select MOOSE in the window that pops up and click OK. Alternatively, you can also access the same pop-up menu by clicking the Open Perspective button in the upper right-hand corner of the ICE workbench.
Once the MOOSE Perspective opens, you should notice the workbench now contains fewer UI components, and resembles something like this:
The MOOSE Workflow Item
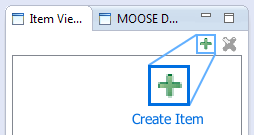
Previous version of MOOSE support in ICE presented the MOOSE user with two separate Items for interaction with MOOSE: the MOOSE Model Builder and the MOOSE Launcher. The ICE team has done away with that separation and now allows users to construct a MOOSE Workflow Item, which presents a unified interface for MOOSE simulation development in a more efficient manner. To create a new MOOSE Workflow Item simply click the green "+" button in the Item Viewer, located on the left-hand side of the ICE workbench and MOOSE perspective.
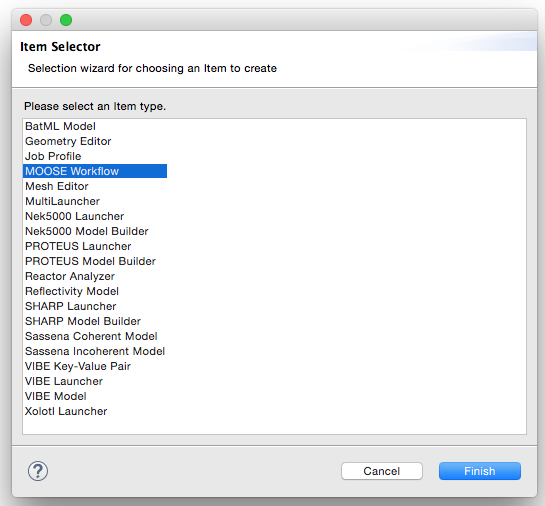
This will prompt a window to pop up; select the MOOSE Workflow Item, and click Finish.
Alternatively, if you'd like to import an existing *.i input file to modify, click the yellow item import arrow located at the top of the ICE workbench.
A wizard will pop up prompting you to specify two things: the *.i file you'd like to import from your filesystem, and what kind of Item you'd like to import it into. Browse to the file and select the MOOSE Workflow Item from the list.
Now let's take a look at the use of the MOOSE Item in each of these two cases.
Creating a new MOOSE Workflow
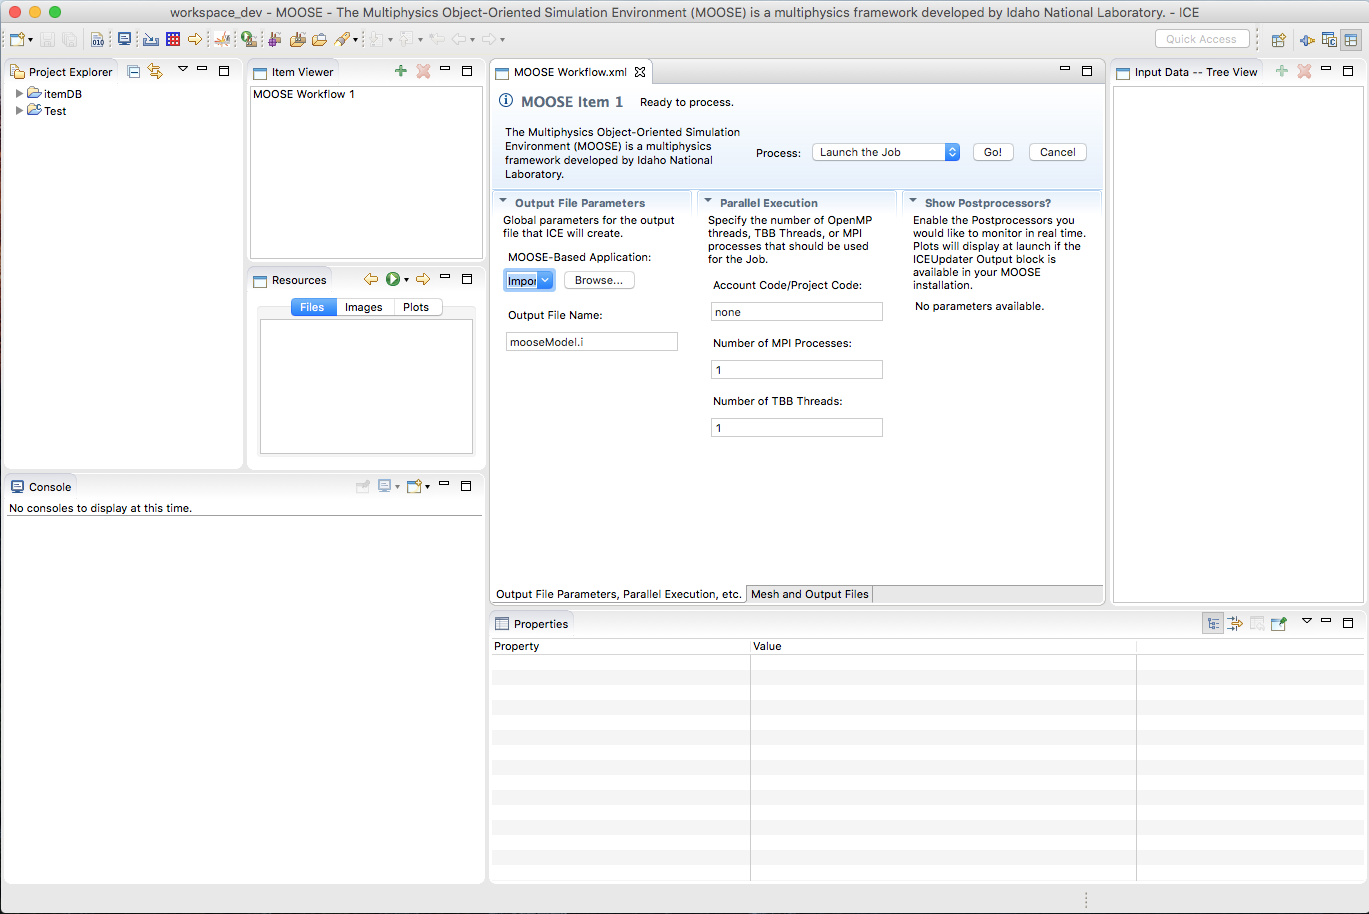
When you select the MOOSE Workflow Item for the first time, you'll be presented with the following form:
To begin using the MOOSE Workflow Item, you'll need to specify a MOOSE-based application. As you can see in the above picture, this is the first time we've used the MOOSE Workflow Item, so there are no available applications to select and ICE is indicating that we must import one.
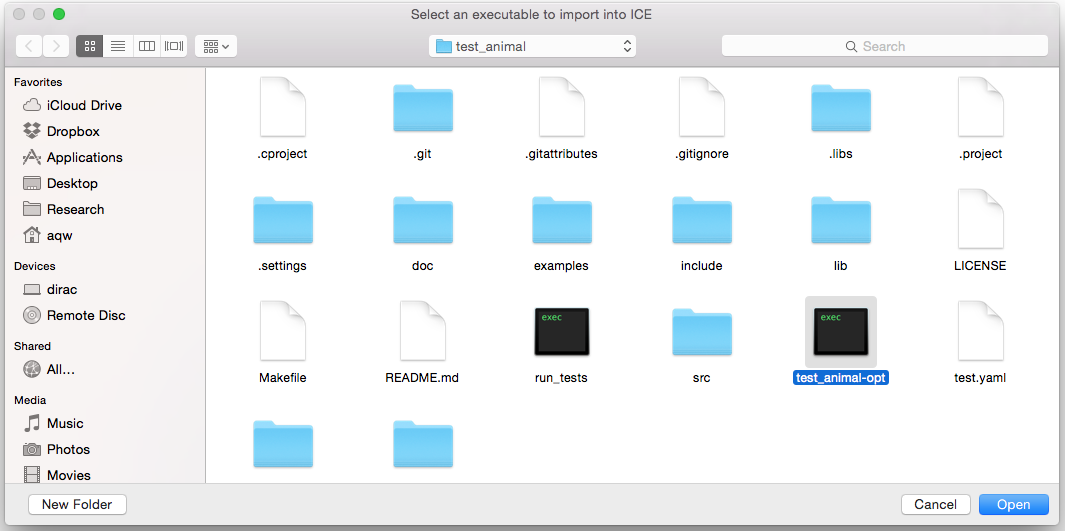
This MOOSE-Based Application Entry allows the user to navigate to either a local or remote MOOSE-based application. Once selecting the application, this Entry saves the value for the future, i.e. it persists between ICE executions so that the user can reuse the same application over and over again. To specify an application, click the Browse button. Upon doing so, you'll be presented with a dialog to specify whether this application is hosted locally or remotely. Select local, for now, and you'll be presented with a File Dialog, search for your application and click finish.

