Notice: this Wiki will be going read only early in 2024 and edits will no longer be possible. Please see: https://gitlab.eclipse.org/eclipsefdn/helpdesk/-/wikis/Wiki-shutdown-plan for the plan.
Efxclipse/Tutorials/Tutorial2
< Efxclipse | Tutorials
Revision as of 15:36, 28 November 2013 by Tom.schindl.bestsolution.at (Talk | contribs) (→Create an Eclipse ViewPart)
Create an Eclipse ViewPart
JavaFX allows you to embed JavaFX scenes into SWT UIs using the FXCanvas class. The following tutorial will guide you through the creation of a JavaFX-enabled ViewPart.
- Setup a target platform
- On first page select "Default: Default target for running platform"
- Click on "Add..." and select "Software Site"
- Point to the p2 repository at http://download.eclipse.org/efxclipse/runtime-nightly/site/
- Expand the "FX Target" entry and select "RCP 3.x Target Platform Feature"
- UNCHECK "Include Required software"
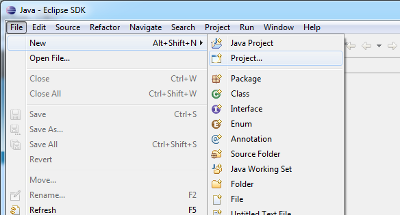
- File > New > Project ...
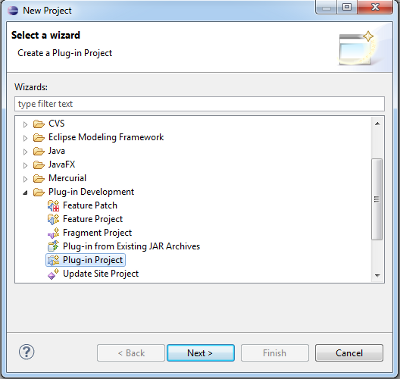
- Select "Plug-in Project" and click the "Next" button.
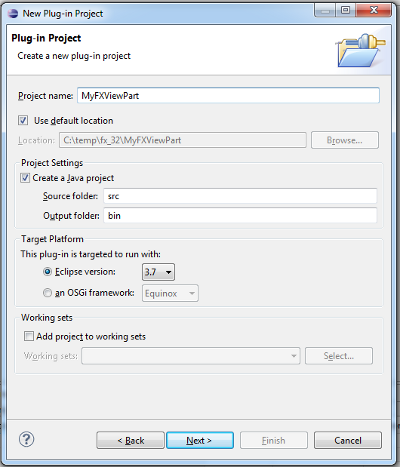
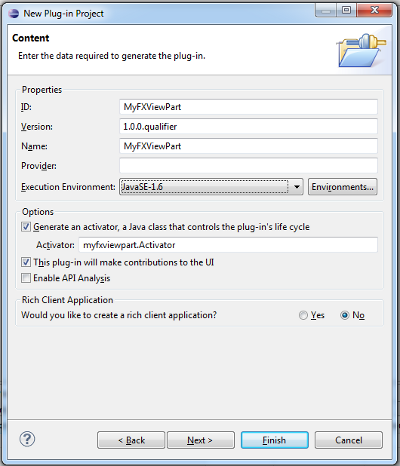
- Enter a project name and click the "Next" button.
- Make sure that "This plug-in will make contributions to the UI" is checked and deselect the RCP creation. Click "Next".
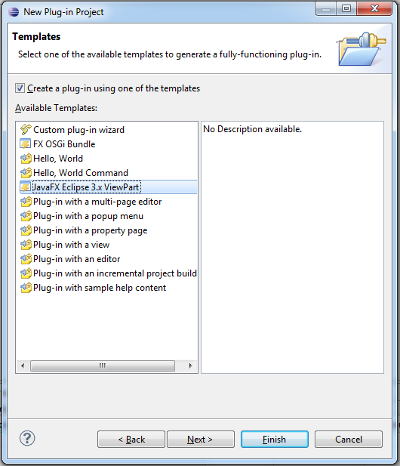
- Select the "JavaFX Eclipse 3.x ViewPart" template and click "Next".
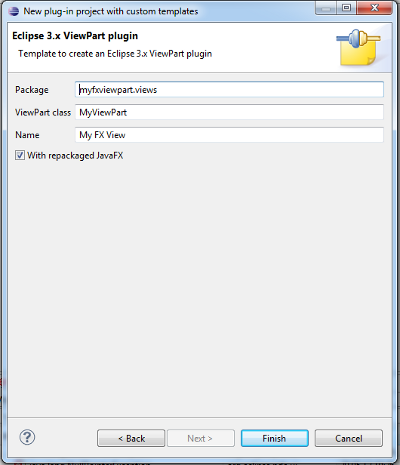
- Keep the default settings and click "Finish".
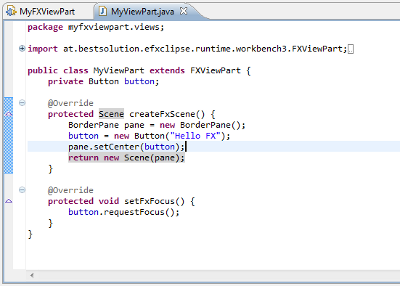
- The result of the wizard is a new OSGi bundle with your ViewPart class.

- Implement your view by adding some JavaFX code to your ViewPart class.
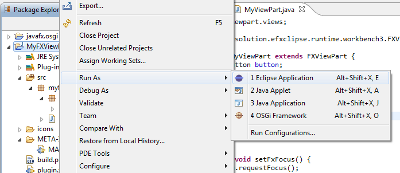
- Launch an "inner Eclipse" by bringing up the context menu on your project and select Run As > Eclipse Application.
- Close the launched instance and open your the Launch Configuration and add -Dosgi.framework.extensions=org.eclipse.fx.osgi to your VM args and launch once more
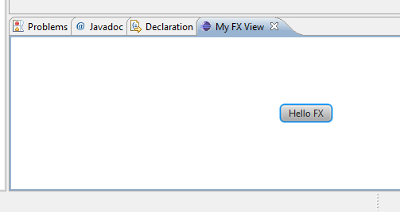
- In the running application, bring up Quick Access (Ctrl+3) and enter "My Fx View". Select the presented choice to open your view.
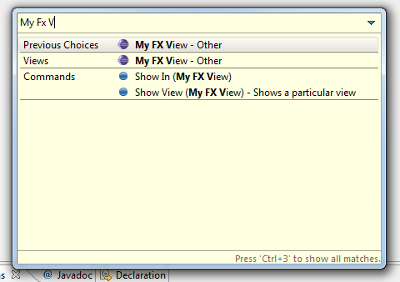
- A view with your JavaFX content will be shown at the bottom.