Notice: this Wiki will be going read only early in 2024 and edits will no longer be possible. Please see: https://gitlab.eclipse.org/eclipsefdn/helpdesk/-/wikis/Wiki-shutdown-plan for the plan.
Difference between revisions of "Efxclipse/Tutorials/Tutorial1"
| Line 1: | Line 1: | ||
<ol> | <ol> | ||
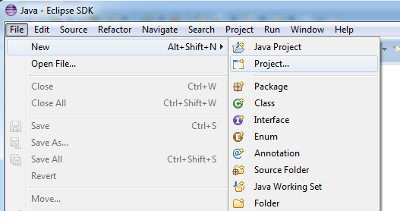
| − | <li>File > New > Project</li> | + | <li>File > New > Project |
| − | <li>Select the "JavaFX Project" entry</li> | + | [[Image:efxclipse_tut1_1.png]] |
| − | <li>Enter a project name and click "Finish". </li> | + | </li> |
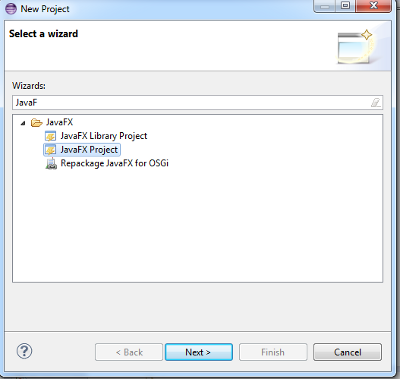
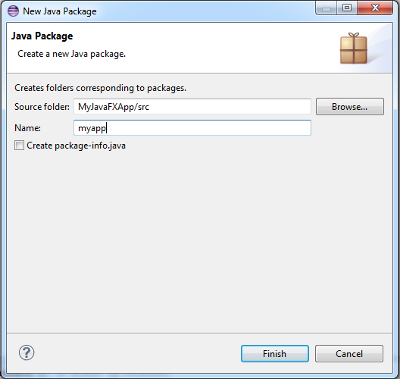
| − | <li>Create a Java package in your new project.</li> | + | <li>Select the "JavaFX Project" entry |
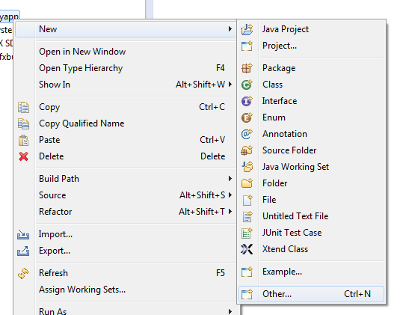
| − | <li>Open the context menu on your package and select New > Other ... </li> | + | [[Image:efxclipse_tut1_2.png]] |
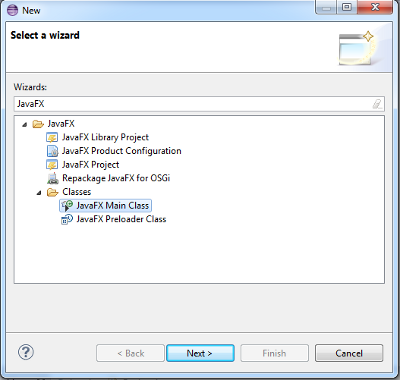
| − | <li>Select "JavaFX Main Class". </li> | + | </li> |
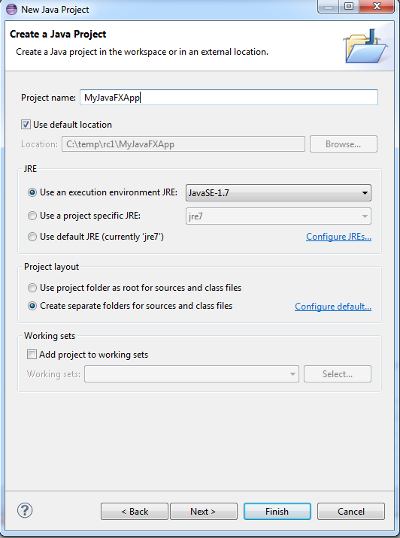
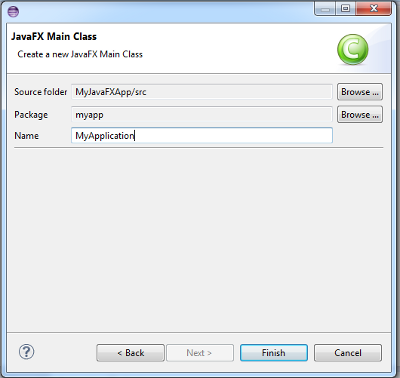
| − | <li>Enter a class name and click "Finish". </li> | + | <li>Enter a project name and click "Finish". |
| − | <li>Add some JavaFX code to the start method of your application.</li> | + | [[Image:efxclipse_tut1_3.png]] |
| − | <li>Set the selection on your application class and hit the "Run" toolbar item. </li> | + | </li> |
| − | <li>Open the build.fxbuild file and fill in the following fields: | + | <li>Create a Java package in your new project. |
| − | + | [[Image:efxclipse_tut1_4.png]] | |
| + | </li> | ||
| + | <li>Open the context menu on your package and select New > Other ... | ||
| + | [[Image:efxclipse_tut1_5.png]] | ||
| + | </li> | ||
| + | <li>Select "JavaFX Main Class". | ||
| + | [[Image:efxclipse_tut1_6.png]] | ||
| + | </li> | ||
| + | <li>Enter a class name and click "Finish". | ||
| + | [[Image:efxclipse_tut1_7.png]] | ||
| + | </li> | ||
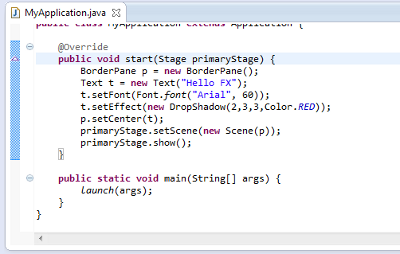
| + | <li>Add some JavaFX code to the start method of your application. | ||
| + | [[Image:efxclipse_tut1_8.png]] | ||
| + | </li> | ||
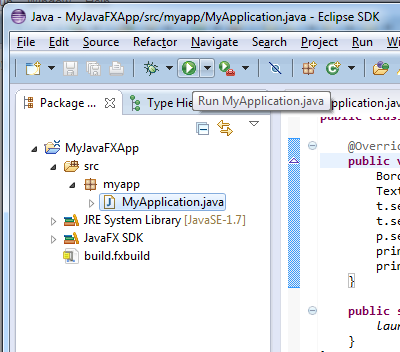
| + | <li>Set the selection on your application class and hit the "Run" toolbar item. | ||
| + | [[Image:efxclipse_tut1_9.png]] | ||
| + | </li> | ||
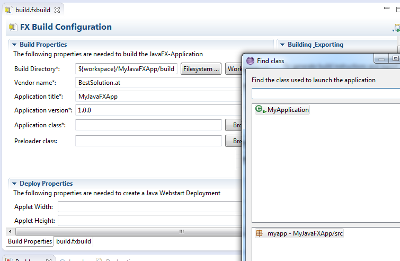
| + | <li>Open the build.fxbuild file and fill in the following fields: | ||
<ul> | <ul> | ||
<li>Vendor name</li> | <li>Vendor name</li> | ||
| Line 16: | Line 33: | ||
</ul> | </ul> | ||
Then, select the "Browse..." button next to the "Application class" entry. | Then, select the "Browse..." button next to the "Application class" entry. | ||
| + | [[Image:efxclipse_tut1_10.png]] | ||
| + | </li> | ||
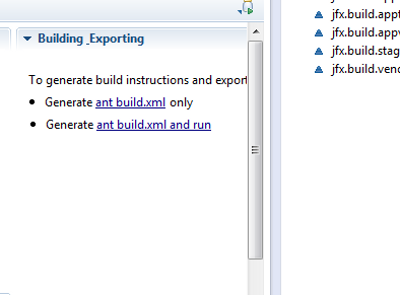
| + | <li>Click on the "ant build.xml and run" link in the build section of the editor. | ||
| + | [[Image:efxclipse_tut1_11.png]] | ||
| + | </li> | ||
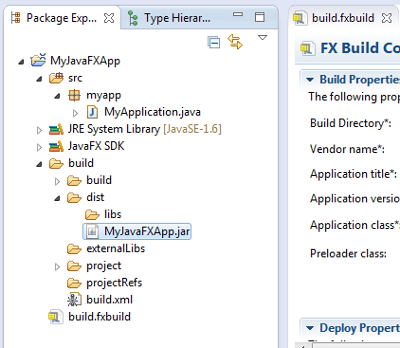
| + | <li>Expand the folders in the "Package Explorer" and double click your jar file. | ||
| + | [[Image:efxclipse_tut1_12.png]] | ||
</li> | </li> | ||
| − | |||
</ol> | </ol> | ||
Revision as of 07:51, 26 July 2013
- File > New > Project
- Select the "JavaFX Project" entry
- Enter a project name and click "Finish".
- Create a Java package in your new project.
- Open the context menu on your package and select New > Other ...
- Select "JavaFX Main Class".
- Enter a class name and click "Finish".
- Add some JavaFX code to the start method of your application.
- Set the selection on your application class and hit the "Run" toolbar item.
- Open the build.fxbuild file and fill in the following fields:
- Vendor name
- Application version
Then, select the "Browse..." button next to the "Application class" entry.
- Click on the "ant build.xml and run" link in the build section of the editor.
- Expand the folders in the "Package Explorer" and double click your jar file.