Notice: this Wiki will be going read only early in 2024 and edits will no longer be possible. Please see: https://gitlab.eclipse.org/eclipsefdn/helpdesk/-/wikis/Wiki-shutdown-plan for the plan.
Eclipse Platform SDK Provisioning
This page provides step-by-step instructions for how to provision a dedicated development environment for the complete set of projects that comprise the Eclipse Platform's SDK, i.e., the projects used to build the downloads of the Eclipse Platform Project. The provisioning process is entirely automated, except for course from user input to choose configurable options, e.g., where in the file system to place the installation, but even for these, defaults are provided.
Launch the Eclipse Installer
If you don't already have the Eclipse Installer on your system, download the installer that is appropriate for your operating system's architecture. Launch the installer.
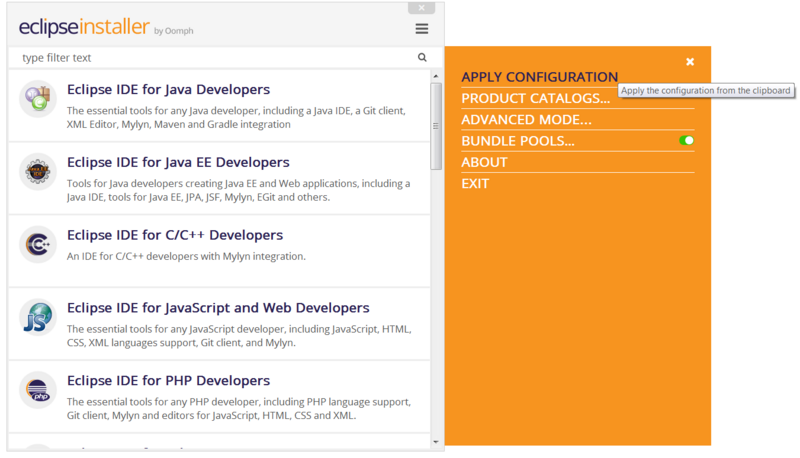
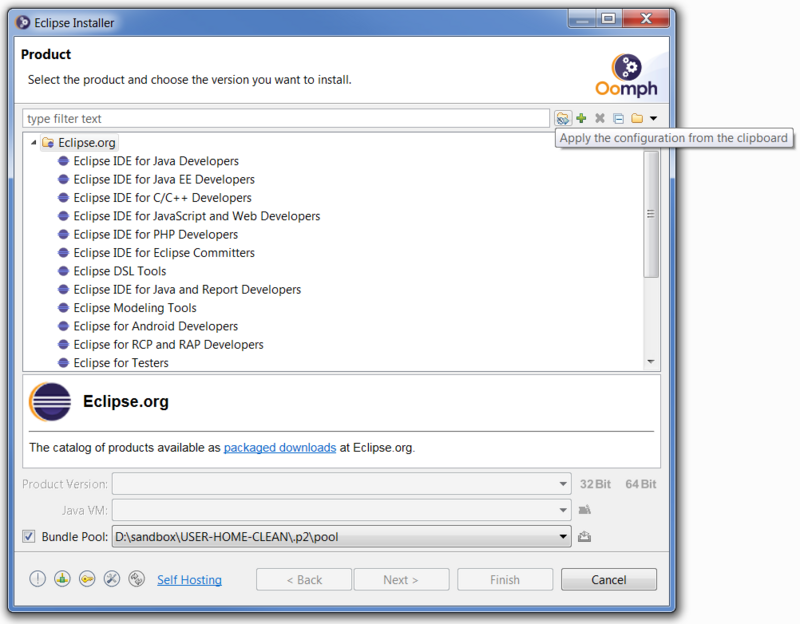
We will use a so-called Oomph configuration to automate the selection of the product and projects to provision. Drag and drop the Platform SDK Configuration link on the title area of the installer. If the installer is in simple mode, it will ask to "Switch to Advanced Mode"; confirm that prompt. When the configuration is successfully applied, the installer will be in advanced mode and will automatically turn to the Variables page. As an alternative to drag-and-drop, you can copy Platform SDK Configuration link, and apply it to the installer. In advanced mode, this is done via the menu action:
In simple mode, this is done via the first button in the toolbar; this button will only appear if the clipboard contains a valid configuration:


