Notice: this Wiki will be going read only early in 2024 and edits will no longer be possible. Please see: https://gitlab.eclipse.org/eclipsefdn/helpdesk/-/wikis/Wiki-shutdown-plan for the plan.
Developing MOOSE Applications with ICE
Contents
Introduction
This article is designed to guide users through a typical workflow for developing MOOSE-based applications in ICE. Since ICE is built on top of the Eclipse platform, a large variety of sophisticated tools and technologies for developing scientific software can be leveraged for developing MOOSE applications.
Version control, code editing, code completion, code building, and code generation are just a few of the technologies available to MOOSE-based application developers using ICE. Additionally, after the user develops a custom MOOSE application, the usual MOOSELauncher and MOOSEModel items—along with the ICE Visualization perspective—are still at their disposal for constructing input files, launching jobs, and visualizing results.
Prerequisites
To use the MOOSE support in ICE, the user will need to have MOOSE installed on their system along with any MOOSE-based application that the user would like to run (the user can simply use "moose_test" if no other application is available).
Please note that installing MOOSE requires the user to add several packages (prerequisites) to their system. For more information on how to install MOOSE, check out the MOOSE Getting Started guide.
For Mac OS X users, ICE developers also recommend installing the Homebrew package manager.
To install MOOSE and create a MOOSE-based application from scratch (or clone an existing application) from within ICE itself, check out the Developing MOOSE Applications with ICE article.
Cloning MOOSE
The latest version of ICE makes cloning MOOSE very simple.
In the main ICE window, click Developer > Framework > MOOSE > Clone Moose.
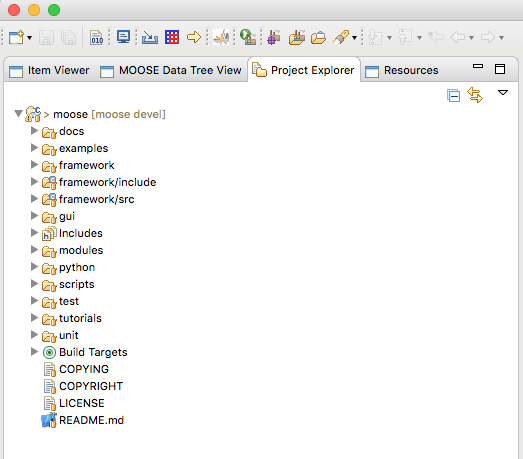
This step will automatically connect to the MOOSE GitHub repository, create a local clone on the user's disk, and import the MOOSE into the 'Project Explorer.'
Building MOOSE
The Cloning MOOSE step above also creates the two required 'Build Targets' used to build Libmesh and MOOSE. Libmesh is required for MOOSE to build, so the user should start there.
Building Libmesh
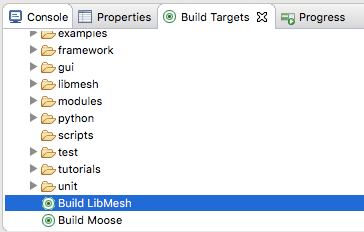
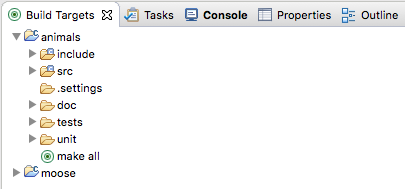
The 'Build Libmesh' build target will appear in the 'Build Targets' view pane.
Double clicking the 'Build Libmesh' target will execute the sh update_and_rebuild_libmesh.sh script with the output streaming in the 'Console' view pane.
Note that this process will take some time.
Building MOOSE
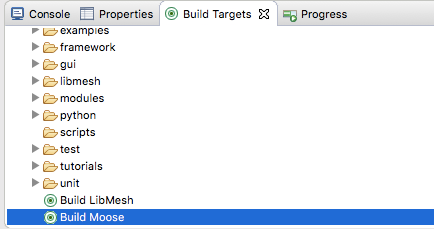
Once the Libmesh build completes, the user can then execute the 'Build MOOSE' target.
Run Make All
Double clicking the new 'Make All' Build target will execute the MOOSE build, and the output should stream in the 'Console' view pane.
Forking the Stork
The MOOSE development team provides a GitHub repository called 'stork' (located at https://github.com/idaholab/stork) that includes the base structure needed to create a new MOOSE application. So, 'Forking the Stork'—as the MOOSE team coined it—implies forking this repository, changing its name to the name of the user's new MOOSE application, and cloning the contents of the repository to the user's local disk.
ICE provides this functionality through a simple interface, allowing an ICE user to 'Fork the Stork' in a few short steps.
First, in the main ICE menu, select Developer > Framework > MOOSE > Fork the Stork.
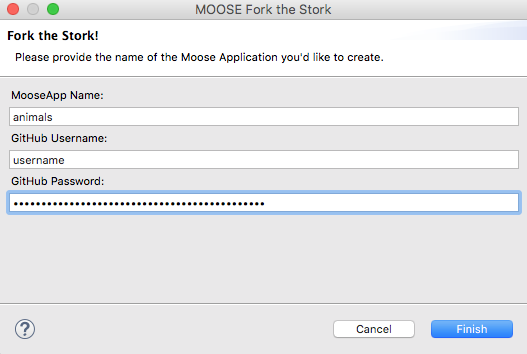
The resulting dialog will prompt the user for the name of their new MOOSE application ("animal" in this case), as well as their GitHub username and password.
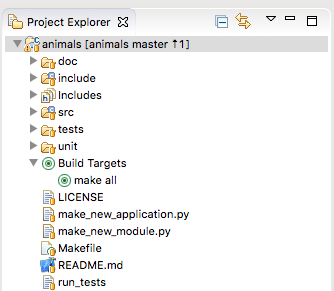
Once the user has provided this information and clicked Finish, ICE will fork the https://github.com/idaholab/stork repository, rename it to the provided application name, clone it to ~/ICEFiles on the user's local disk, and import it into ICE as a new C++ project in the C/C++ perspective's 'Project Explorer' view pane.
Additionally, the import generates a fully configured 'Build Target' in the 'Build Target' view pane and sets up the C++ Indexer to point to the new ICE/MOOSE project's include files. This is essential for facilitating code completion and MOOSE code search MOOSE application development.
To look at a MOOSE class referenced in one of the new MOOSE application's source files, simply click the class name or the header file and click F3. ICE will take the user directly to the declaration for that MOOSE class so they can peruse and look up its method definitions.
Adding a New Kernel
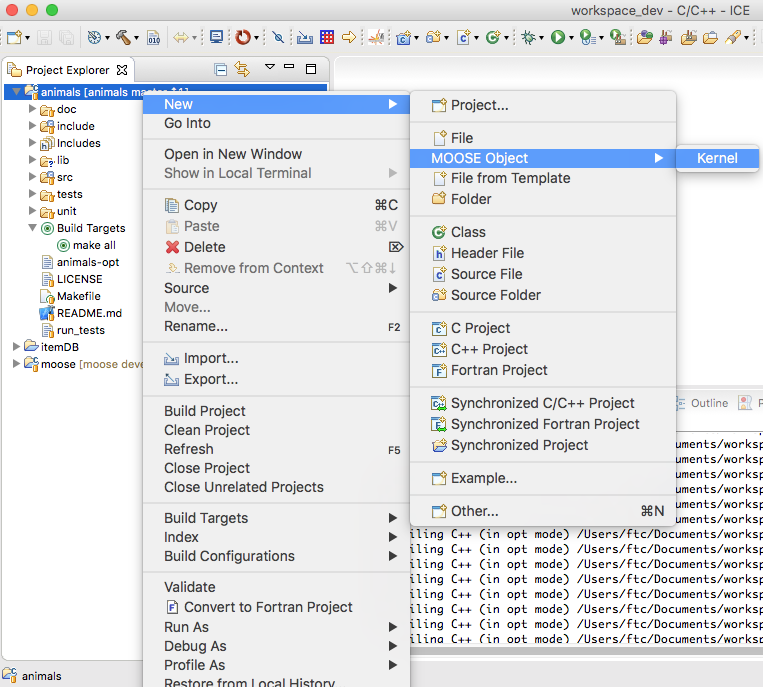
Once you've cloned and built MOOSE, and Forked the Stork to produce a new MOOSE application ready for development, you can easily create custom Kernels with ICE. To create a new Kernel, right click on your new MOOSE-based application project and select New > MOOSE Object > Kernel.
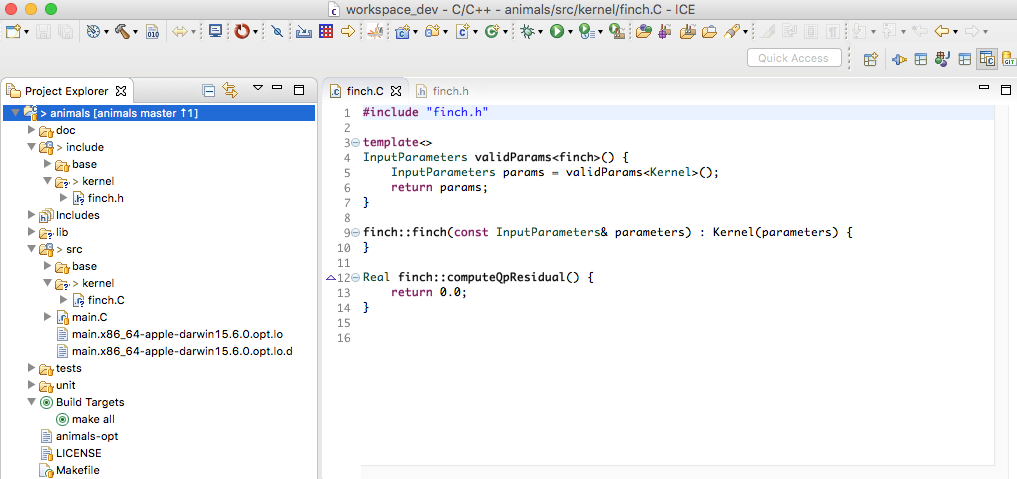
This action will display an input prompt asking for the name of your new Kernel subclass. Simply enter the name and push 'Ok'. Then ICE will automatically generate a new include and source file in include/kernel and source/kernel, respectively. The new files are the stubbed out, base implementation of a subclassed Kernel that you can then add to and modify.
Building your MOOSE App
Building your MOOSE application is simple because the 'Fork the Stork' action produced a Make Target for you. Simply double-click that make target and you application will build, producing the application executable.
Pushing Changes Back to GitHub
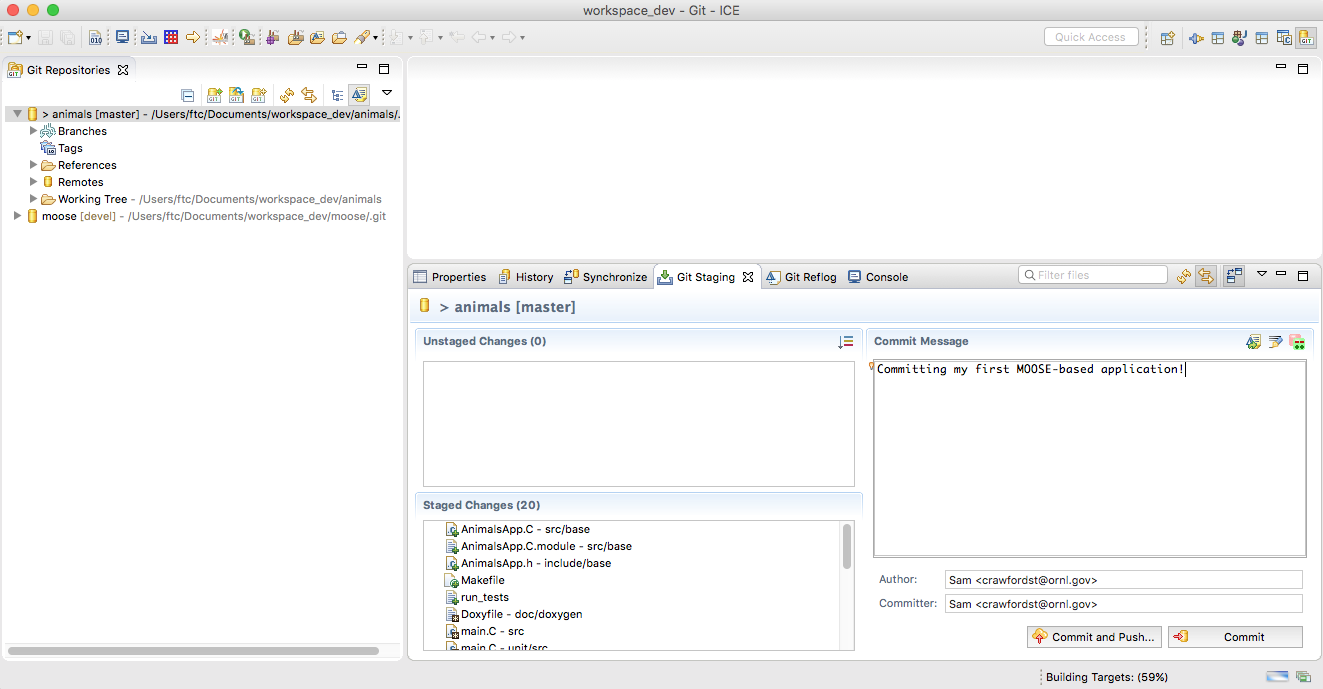
To push changes to the remote GitHub repository at https://github.com/username/animal, switch back to the Git perspective and click your applications git repository in the Git Repositories view. On the bottom right of the screen, you should see another set of tabbed views, one of them being the Git Staging view.
Click the Git Staging View and drag any Unstaged Changes to the Staged Changes section. Now provide a brief commit message and click 'Commit and Push', enter your GitHub credentials, and watch as your files are committed to the remote repository!
Executing Built MOOSE Application
Now that you've developed a new MOOSE application you need to develop input files for it and execute it to see your desired results. This is simple with ICE: just use the built in MOOSE Model Builder and MOOSE Launcher Items. Detailed instructions can be found at Using MOOSE with ICE.


