Notice: This Wiki is now read only and edits are no longer possible. Please see: https://gitlab.eclipse.org/eclipsefdn/helpdesk/-/wikis/Wiki-shutdown-plan for the plan.
Efxclipse/Tutorials/Tutorial5
< Efxclipse | Tutorials
Revision as of 08:09, 6 November 2013 by Unnamed Poltroon (Talk) (→Create a Mobile iOS with RoboVM app on OS-X)
Create a Mobile iOS with RoboVM app on OS-X
In this tutorial we'll guide you through the creation of JavaFX iOS application using e(fx)clipse tooling. While development of the application is possible with the default e(fx)clipse tooling. You need to install an additional plugin to get the robovm support.
- Install additional Eclipse Plugin (if you have not downloaded the all in one package)
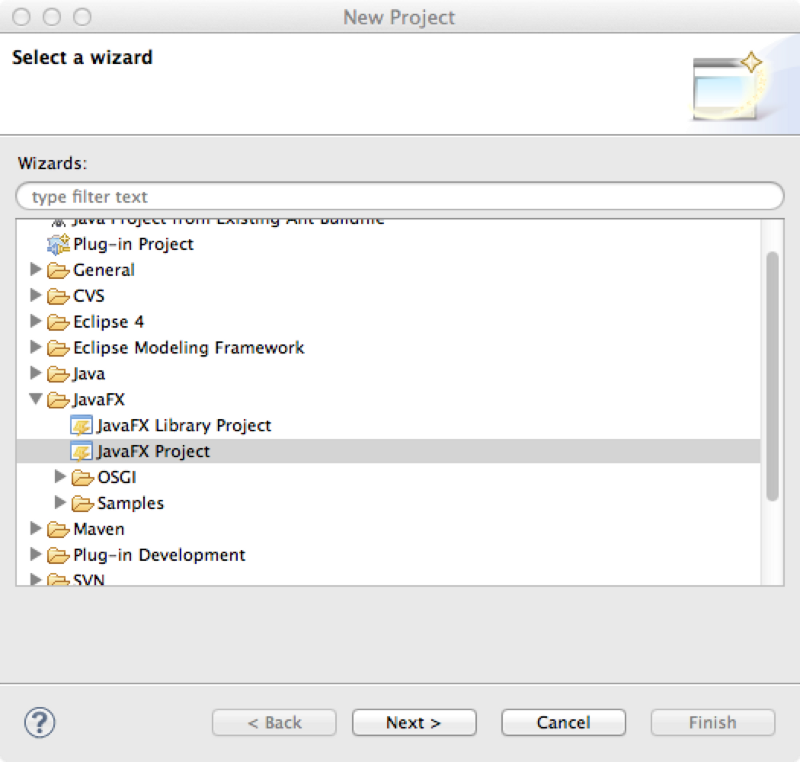
- Navigate to the JavaFX project wizard
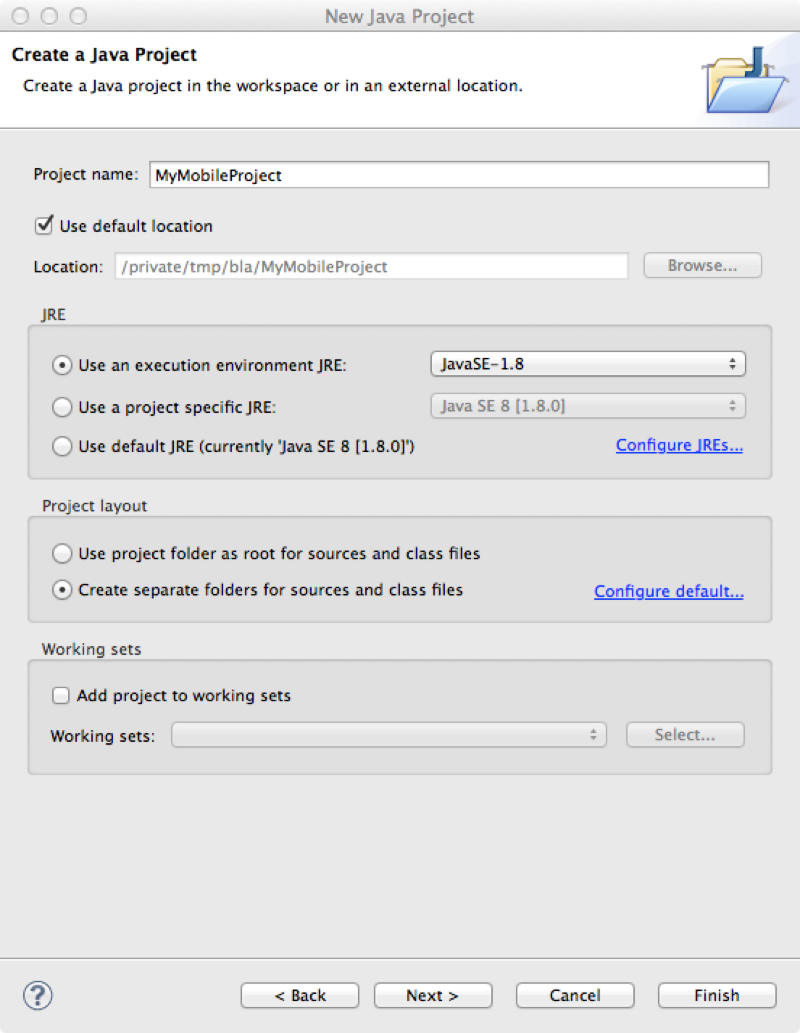
- Give the project a name
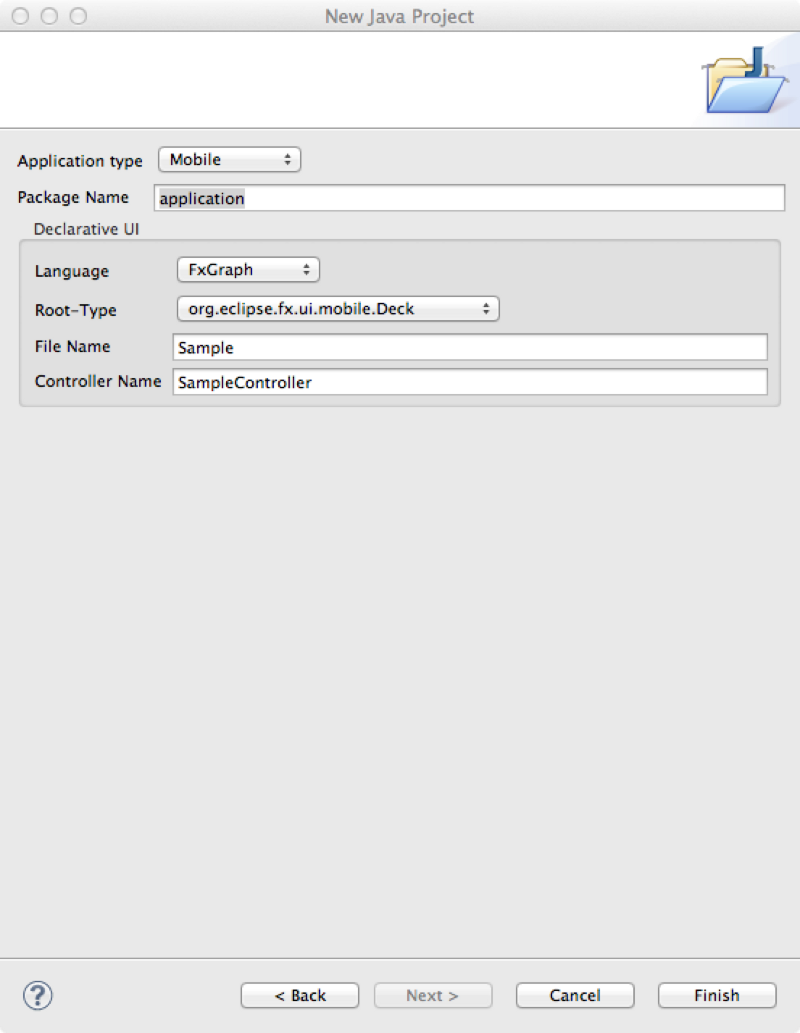
- Navigate to the last page
- The resulting project should look like this
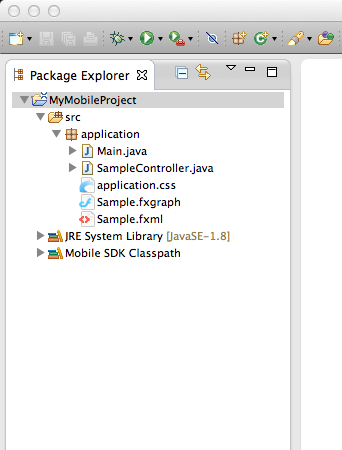
- Open the Sample.fxgraph-File and add the following code
package application

import org.eclipse.fx.ui.mobile.Deck
import application.SampleController
import org.eclipse.fx.ui.mobile.Card
import javafx.scene.shape.Rectangle

component Sample styledwith "application.css" controlledby SampleController {
	Deck id deck {
		cards : [
			Card {
				name : "c1",
				center : Rectangle {
					^id : "r1",
					width : 100,
					height : 100,
					onMouseClicked : controllermethod c1
				}
			},
			Card {
				name : "c2",
				center : Rectangle {
					^id : "r2",
					width : 100,
					height : 100,
					onMouseClicked : controllermethod c2
				}
			}
		]
	}
}
- Open the application.css and add the following selector definitions
Rectangle#r1 {
	-fx-fill: red;
}

Rectangle#r2 {
	-fx-fill: green;
}
- Open the SampleController and make it look like this
package application;

import javafx.fxml.FXML;

import org.eclipse.fx.ui.mobile.Deck;
import org.eclipse.fx.ui.mobile.TransitionType;

public class SampleController {

	@FXML Deck deck;

	@FXML public void c1() {
		deck.moveTo("c2", TransitionType.SLIDE_LEFT);
	}

	@FXML public void c2() {
		deck.moveTo("c1", TransitionType.FADE);
	}

}
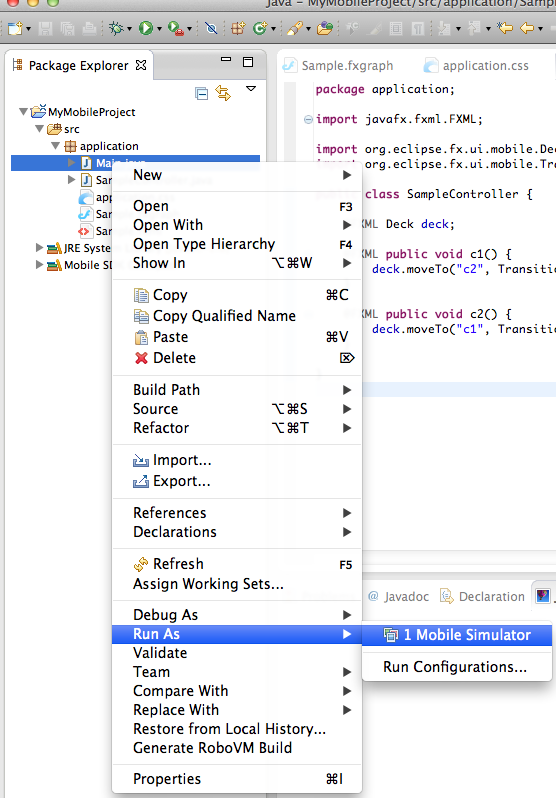
- Bring up the Context-Menu on the Main.java and navigate to Run As > Mobile Simulator