Notice: This Wiki is now read only and edits are no longer possible. Please see: https://gitlab.eclipse.org/eclipsefdn/helpdesk/-/wikis/Wiki-shutdown-plan for the plan.
E4/Resources/Semantic File System/Demos/Running e4 Photo Demo with SFS Support
Prerequisite: Download and install e4 1.0 build from here.
1. Start e4 with an empty workspace
2. Import the following projects from Eclipse CVS:
- org.eclipse.e4.demo.e4photo
- org.eclipse.e4.demo.e4photo.withSFS
- org.eclipse.core.resources.semantic
You may use following Project Set files for convenience:
- SFS APIs, SPIs and implementation: e4.resources.sfs.psf
- SFS examples including e4 Photo Demo: e4.resources.sfs.examples.psf
3. Create a launch configuration to run org.eclipse.e4.demo.e4photo.withSFS.product as a product. For that, select the file "e4photowithSFS.product" that resides org.eclipse.e4.demo.e4photo.withSFS project. Then select "Run As" -> "Eclipse Application".
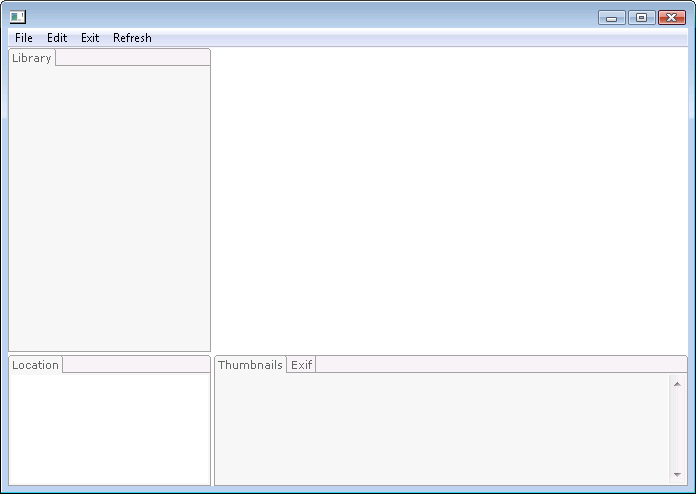
4. Start the e4 photo app. You should be able to see the following screen:
5. Select "File" > "Create Album on Semantic File System". This will create a new project located on Semantic File System. The SFS location will be printed to your Eclipse console. NB, contrary to the standard e4 photo app, you will not find anything for the created project (e.g. “.project” file) in the workspace root folder. Don’t be confused.
6. Now you can assemble your album by using the application menu: “Edit” -> “Add Image from Internet” or “Edit” -> “Add Image from File”. You can combine images from many different locations on your local hard drive or on the Internet within the same project.
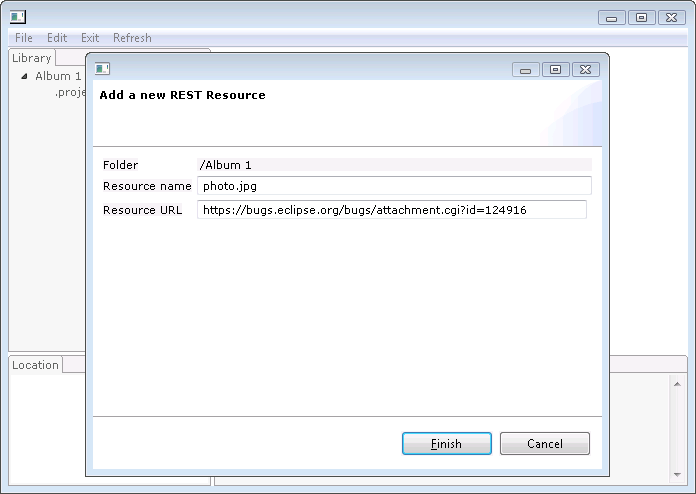
8. When using “Add Image from Internet”, you can add a URL pointing to an image accessible via Internet. For example, you can point to a test photo provided in Eclipse Bugzilla ( https://bugs.eclipse.org/bugs/attachment.cgi?id=124916) as shown here:
You should be able to see the following screen after pressing finish:
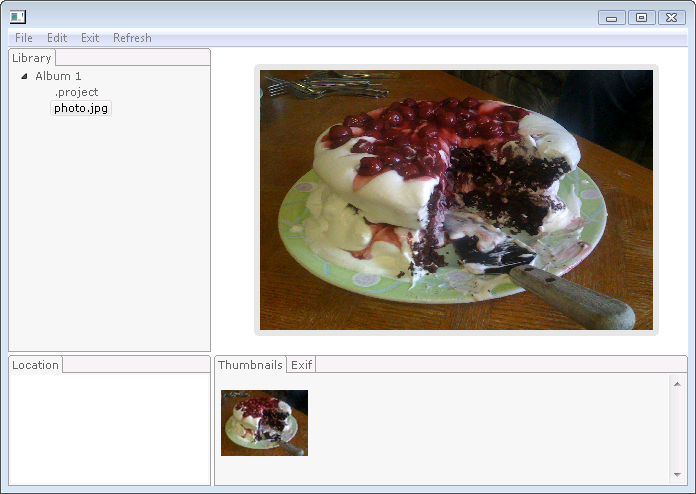
NB, you may have problems to connect to the Internet from the e4 Photo app when using an HTTP/HTTPS proxy. In such a case, use "Edit" -> "Set Proxies" for setting required proxy parameters.
9. When using “Add Image from File”, select a file or folder that contains some images like shown on the following screen:
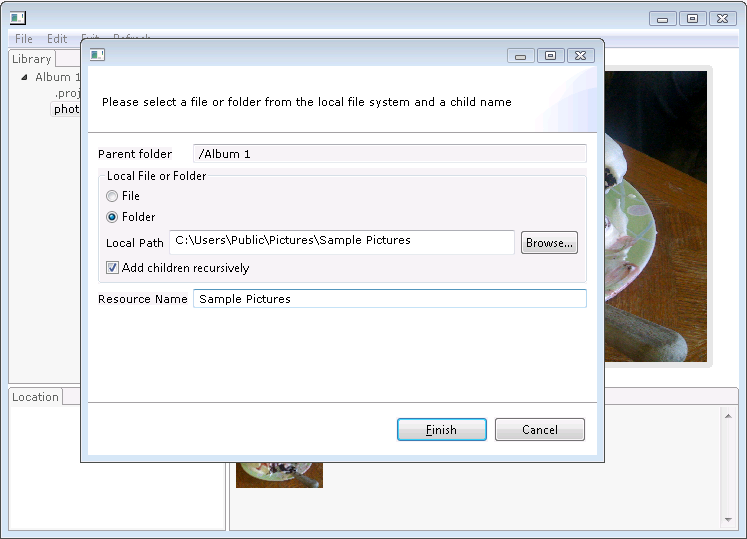
10. After pressing “Finish”, you will see the following resource structure that you can examine and see the pictures and thumbnails:
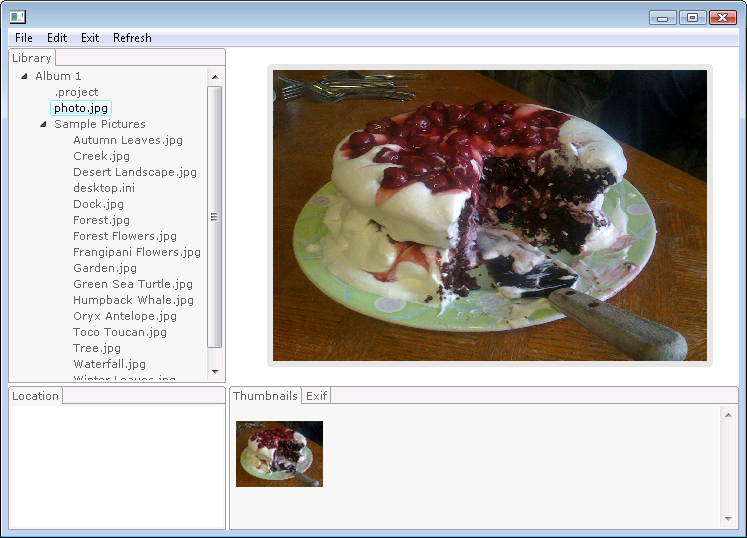
11. The retrieved content is cached by Semantic File System after first access. If you want to refresh the picture content (e.g. because you selected a URL of a Webcam that regularly provides picture updates), you may use “Refresh” -> “Refresh Album”.
NB:
- This will refresh all images in the selected project.
- If the source of an image is deleted meanwhile, the entry will show nothing.
- The refresh policy of the underlying content provider is that new images will not be added and deleted images will not be removed during refresh. Only the content of the images will be refreshed. There are other samples of SFS content providers that are capable to also add/delete resources during refresh operation.

