Notice: this Wiki will be going read only early in 2024 and edits will no longer be possible. Please see: https://gitlab.eclipse.org/eclipsefdn/helpdesk/-/wikis/Wiki-shutdown-plan for the plan.
Difference between revisions of "VJET/VJET JavaScript IDE Installation Guide"
| Line 20: | Line 20: | ||
# From within Eclipse, select '''Help > Install New Software...'''. | # From within Eclipse, select '''Help > Install New Software...'''. | ||
| − | # Click '''Add...''' copy and paste the location: | + | # Click '''Add...''' copy and paste the location: <nowiki>http://www.ebayopensource.org/svn/vjet/tags/RELEASE/plugin/</nowiki>. Click '''OK'''. |
# Select '''VJET''' and finish the installation. | # Select '''VJET''' and finish the installation. | ||
# You will be prompted to restart Eclipse. Select '''Restart Now'''. | # You will be prompted to restart Eclipse. Select '''Restart Now'''. | ||
Revision as of 20:55, 30 November 2012
Contents
Introduction
This document describes how to install VJET JavaScript IDE. VJET JavaScript is comprised of 2 components:
- VJET JavaScript IDE - an Eclipse IDE plugin
- VJET JavaScript Type Libraries - Type libraries for popular 3rd party JavaScript libraries
Requirements
Before you can install VJET IDE, you must install:
- [Eclipse Helios] (VJET JavaScript IDE has been tested with the Eclipse IDE for Java EE Developers version; but you can use any version of Helios)
If you are not already familiar with Eclipse, please refer to the Eclipse Workbench User Guide for an overview of Eclipse concepts.
Install VJET IDE
- From within Eclipse, select Help > Install New Software....
- Click Add... copy and paste the location: http://www.ebayopensource.org/svn/vjet/tags/RELEASE/plugin/. Click OK.
- Select VJET and finish the installation.
- You will be prompted to restart Eclipse. Select Restart Now.
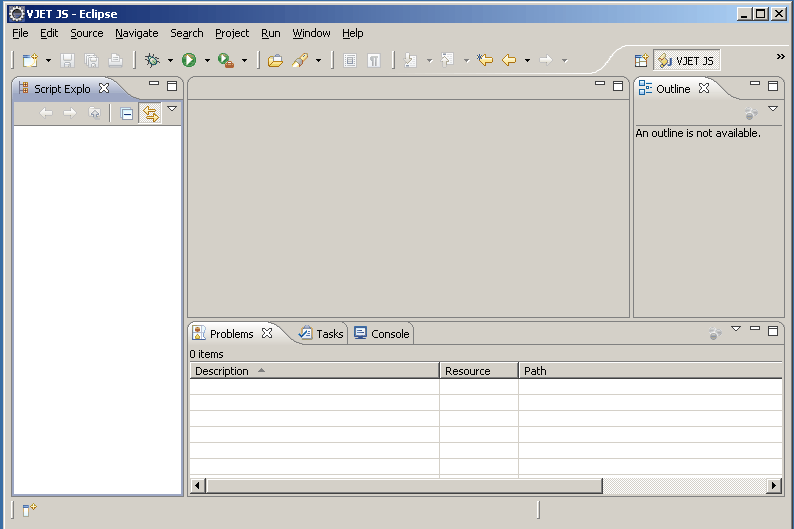
- After restart, Eclipse opens in the Eclipse Java EE perspective. You must switch to the VJET JS Perspective in order to use the VJET features
- Select Window -> Open Perspective -> Other...
- Select VJET JS (VJET JS Browsing Perspective not yet supported). You are now in the default VJET JavaScript work environment.
What's Next?
The fastest way to become proficient with VJET JavaScript IDE is to code. VJET JavaScript documentation is available in 2 forms: open source wiki and Eclipse (cheat sheets, Help)
Since VJET JavaScript IDE is an Eclipse plugin, most of the documentation will be available in Eclipse. In Eclipse, you can step through tutorials or view documentation while writing code at the same time.
Install VJET JavaScript Type Libraries
For those of you interested in [Using VJET JavaScript Type Libraries ] click on the link for instructions on importing VJET JavaScript type libraries into Eclipse and configuring your project(s) to use them.
VJET JavaScript Wiki Documentation
Begin with VJET:Getting Started, which will walk you through creating a VJET project and introduce you to the code assist features.. The other documents provide overviews of major VJET JavaScript IDE features.
- Getting Started - Create a VJET Project and begin using the code assist features
- [Code Assistance Features] - An overview of the code assist features
- [Code Search Features] - An overview of the code search features
- [Importing VJET JavaScript Type Libraries] - Import the VJET JavaScript type libraries and configure your project to use them
VJET JavaScript Documentation in Eclipse
If you prefer to view documentation in Eclipse, begin with an overview of VJET JavaScript features and a simple Hello JavaScript tutorial.
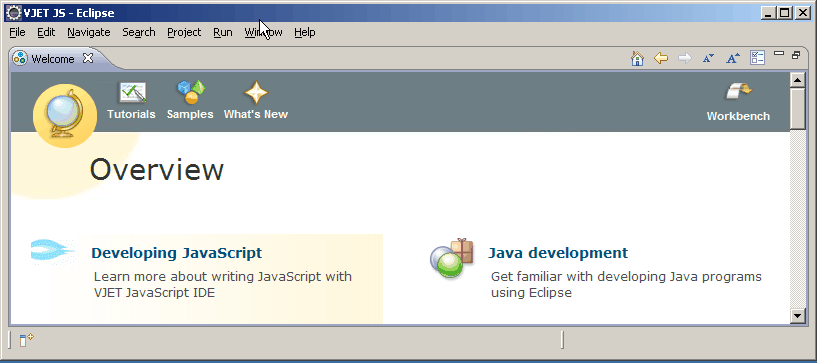
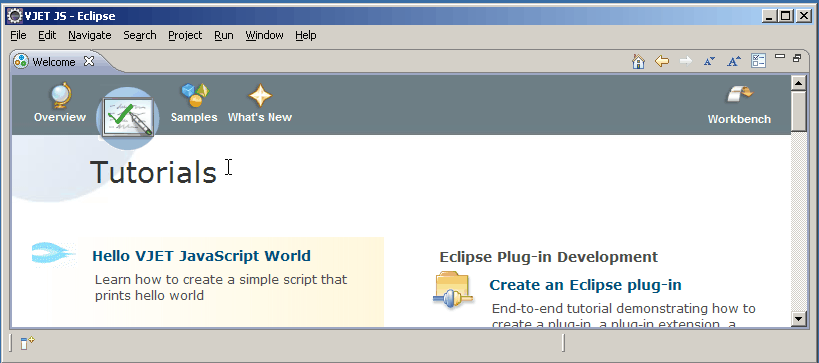
Select the menu item Help > Welcome
- VJET JavaScript Overview - On the Overview page, click on Developing JavaScript, which will walk you through creating a VJET Project and the code assist and development features.
- VJET JavaScript Hello World - On the Tutorials page, click on Hello VJET JavaScript World, which will walk you through creating the familiar Hello World application in VJET JavaScript.
Eclipse Cheat Sheets
With Eclipse cheat sheets you can step through tutorials and write code at the same time.
Support
For more information or support, please visit our [forums].


