Notice: this Wiki will be going read only early in 2024 and edits will no longer be possible. Please see: https://gitlab.eclipse.org/eclipsefdn/helpdesk/-/wikis/Wiki-shutdown-plan for the plan.
Difference between revisions of "Stardust/Knowledge Base/Getting Started/RTE on AWS"
(→VM Settings) |
(→VM Settings) |
||
| Line 89: | Line 89: | ||
| 8 CPU 12 GB RAM '''(m1.xlarge)''' | | 8 CPU 12 GB RAM '''(m1.xlarge)''' | ||
| <source lang="bash">set CATALINA_OPTS=%CATALINA_OPTS% -Dtrue=true -Xms8g –Xmx8g -XX:NewSize=2g -XX:MaxNewSize=2g -XX:PermSize=256m -XX:+UseTLAB -XX:+UseParNewGC -XX:+UseConcMarkSweepGC</source> | | <source lang="bash">set CATALINA_OPTS=%CATALINA_OPTS% -Dtrue=true -Xms8g –Xmx8g -XX:NewSize=2g -XX:MaxNewSize=2g -XX:PermSize=256m -XX:+UseTLAB -XX:+UseParNewGC -XX:+UseConcMarkSweepGC</source> | ||
| − | | - | + | |- |
| > 100 | | > 100 | ||
| >= 8 CPU >= 12 GB RAM | | >= 8 CPU >= 12 GB RAM | ||
Revision as of 15:21, 14 October 2013
Contents
Set Up
To create a full Stardust Runtime Environment on Amazon Web Services EC2 Infrastructure,
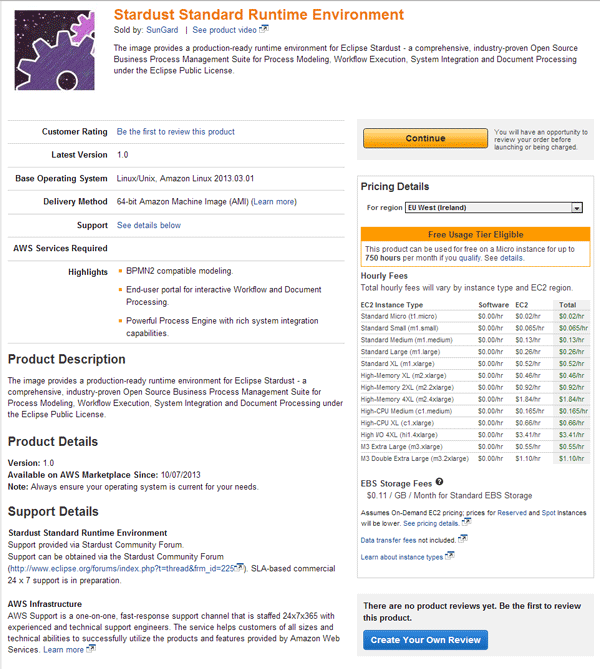
- go to the Stardust Procurement Page in the AWS Marketplace and click Continue or
- click here.
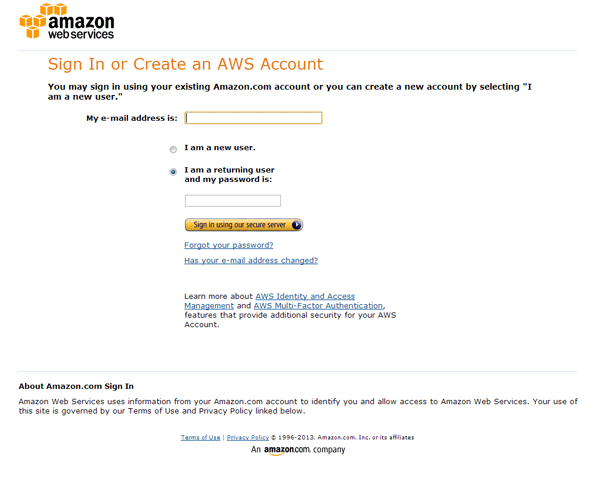
You will be asked to login with an existing Amazon account or to register for one:
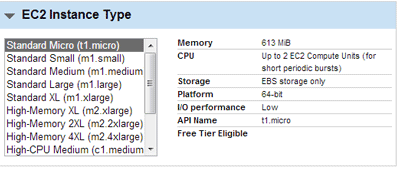
Launch with one 1-Click will launch the Stardust Runtime on your EC2 Instance Type of choice:
The AWS Virtual Machine Image (AMI) is configured to run on all Instance Types including the Standard Micro (t1.micro) type and your choice depends entirely on the expected load profile. For first experiments the Standard Micro is sufficient, however with increased use, you will soon see issues because of the limited memory (see Troubleshooting).
Please consider that although there are no charges for Stardust, Amazon charges you for most of the EC2 configurations.
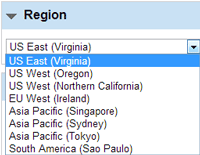
Select your data center region of choice - the Stardust AMI is available for all AWS data center regions:
You will be prompted to confirm that you do not want to create a Key Pair:
You need a Key Pair this if you intend to login to operating system of the EC2 instance via Secure Shell (SSH) and modify the setup there, e.g. for
- troubleshooting (see below),
- tuning for larger deployments or
- adding application specific Java byte code.
Hence, we recommend to generate Key Pair and and use it.
If you just intend to run and configure Stardust via the Stardust Web Portal, there is no need to create a Key Pair and you can consider the installation a block box.
Login
After you have launched your instance and the instance is available, lookup the Public DNS Name for the instance and login via
http://<Public DNS Name>:8080/stardust-standard
and
- User: motu
- Password: motu
This is the Stardust root user. Make sure that you can change the password later.
After successful login you can use the Stardust Portal.
Process Model Creation and Deployment
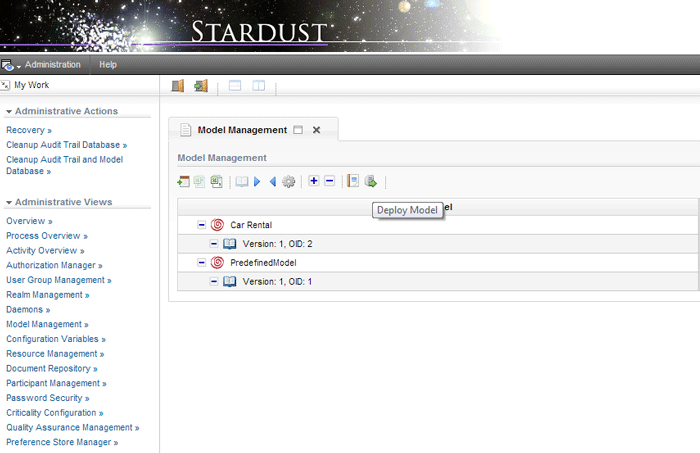
If you are keen to start playing and do not bother to create your own Process Model at this point, pick one of the sample process models from Git e.g. the Car Rental Example (right-click the link before and save the file) and just upload and deploy under Administration > Model Management (more details here).
If you intend to create your own Process Models, you can either use the Browser Modeler which is immediately available in the Stardust Portal of your Amazon EC2 Instance or use the Stardust Eclipse Modeler - which requires you to download Eclipse and install Stardust.
User Creation and Role Assignment
Do not forget to create users and assign to roles so that you can start processes and perform activities in your process.
VM Settings
The Tomcat installation of the Stardust EC2 Image is configured with a minimal memory size for its Java VM which fits with the settings of a Standard Small (t1.small) Instance Type. For broader use (more users, high process volumes) you may need to adjust the settings.
Insufficient memory configuration will show as sudden unavailability of the application in the browser which can only be recovered via reboot.
Login to your EC2 Instance using your Key Pair and modify/add the following to /home/ec2-user/apache-tomcat-6.0.32/bin/catalina.sh depending on the expected load:
| Number of parallel Users | Machine Configuration (Matching EC2 Instance) | catalina.sh Settings |
|---|---|---|
| 5 | 1 CPU, 1.7 GB RAM (m1.small) | set CATALINA_OPTS=%CATALINA_OPTS% -Dtrue=true -Xms800m -Xmx800m -XX:NewSize=200m -XX:MaxNewSize=200m -XX:PermSize=256m -XX:+UseTLAB -XX:+UseParNewGC -XX:+UseConcMarkSweepGC |
| 50 | 4 CPU 6-8 GB RAM (m1.large) | set CATALINA_OPTS=%CATALINA_OPTS% -Dtrue=true -Xms4g –Xmx4g -XX:NewSize=1g -XX:MaxNewSize=1g -XX:PermSize=256m -XX:+UseTLAB -XX:+UseParNewGC -XX:+UseConcMarkSweepGC |
| 100 | 8 CPU 12 GB RAM (m1.xlarge) | set CATALINA_OPTS=%CATALINA_OPTS% -Dtrue=true -Xms8g –Xmx8g -XX:NewSize=2g -XX:MaxNewSize=2g -XX:PermSize=256m -XX:+UseTLAB -XX:+UseParNewGC -XX:+UseConcMarkSweepGC |
| > 100 | >= 8 CPU >= 12 GB RAM | (see above) |
Consider the Stardust tuning recommendations for details.
Troubleshooting
Below a few things which might help you if you are facing problems. If nothing helps, search and/or post in the Stardust Forum. You will very likely find help there.
Tomcat Out of Memory Issue
Brute Force Troubleshooting
If something totally unexpected happens in the Portal, try a reboot of your EC2 instance after making sure that no other user is working on the system.

