Notice: this Wiki will be going read only early in 2024 and edits will no longer be possible. Please see: https://gitlab.eclipse.org/eclipsefdn/helpdesk/-/wikis/Wiki-shutdown-plan for the plan.
Scout/Tutorial/4.0/cloud/deploy on cloud
The Scout documentation has been moved to https://eclipsescout.github.io/.
We analyzed several PaaS vendors and made a list of vendors which are able to run the eclipse scout server application. See section "Suitable PaaS Providers" in this blog post for a brief overview.
As Amazon is a big player in the cloud environment and one of the few vendors who offer running multiple server nodes for free, this tutorial is based on the Amazon AWS Elastic Beanstalk offering to describe the installation and deployment of a Scout application to a PaaS environment.
If your don't have an Amazon AWS Acount just sign up here.
Contents
Preparation
Before you can upload your Scout application, you have to configure the necessary database, cache and message queue services.
For the configuration of those services login to your Amazon [Console].
Memcached
- Under the category Database open the point "ElastiCache - In-Memory Cache".
- Select "Launch Cache Cluster"
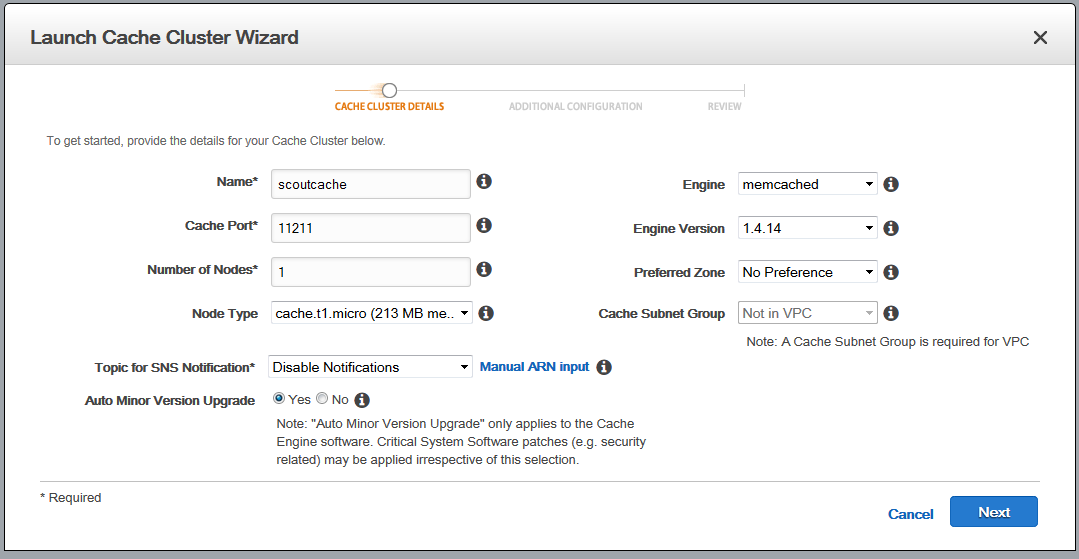
- Fill the Cluster Details like in the Graphic below.
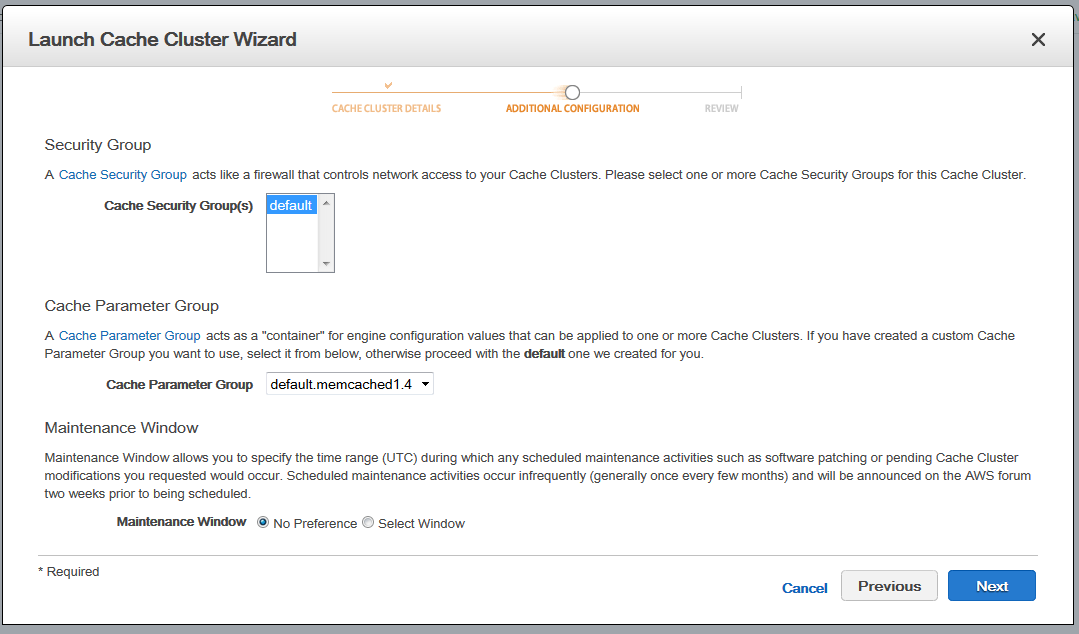
- In the additional cluster configuration are no changes needed. Click next.
- Finally you get an overview over your cluster configuration. If everything is fine click "Launch Cache Cluster"
RabbitMQ
Amazon provides with AWS SNS & AWS SQS a Pub/Sub Messaging-System but its not easy to build a dynamic environment with this solution. Its easier to use to offer of cloudamqp.com. They are providing the RabbitMQ Message Queue as a Service, hosted in the Amazon Cloud. So create an Account at cloudamqp.com for later use.
MySQL (optionally)
If you later want to use a database follow this steps, if not continue with "Create Beanstalk Application"
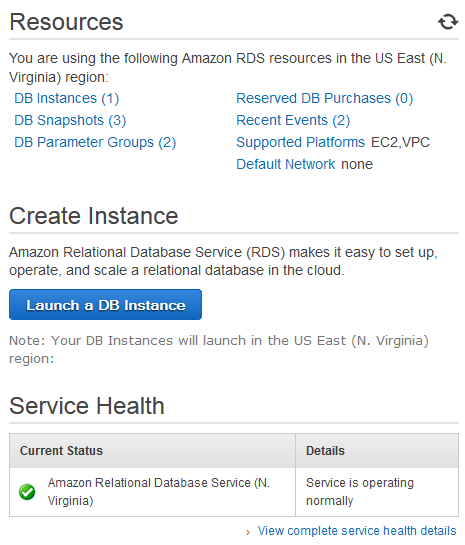
- Under the category Database open the point "RDS - Managed Relational Database Service".
- Create a new Database Instance by clicking "Launch a DB Instance".
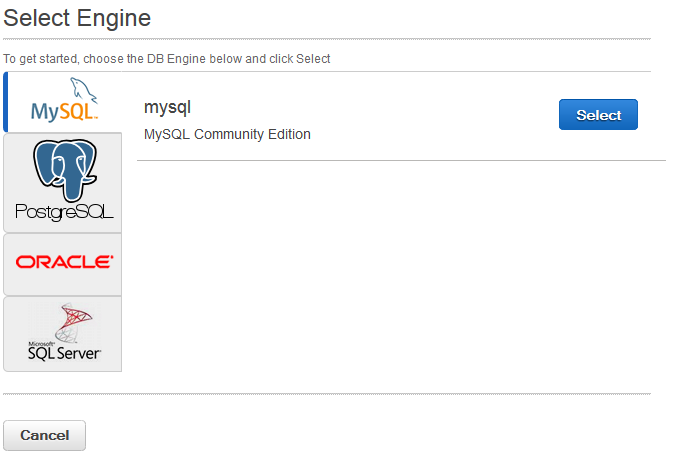
- Select MySQL as Engine.
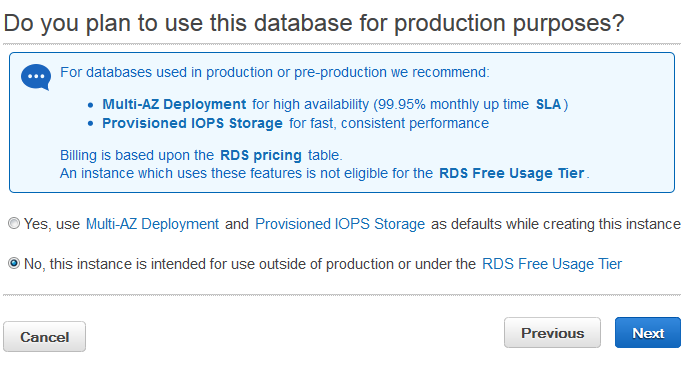
- Select the option "No, this instance is intended for use outside of production or under the RDS Free Usage Tier"
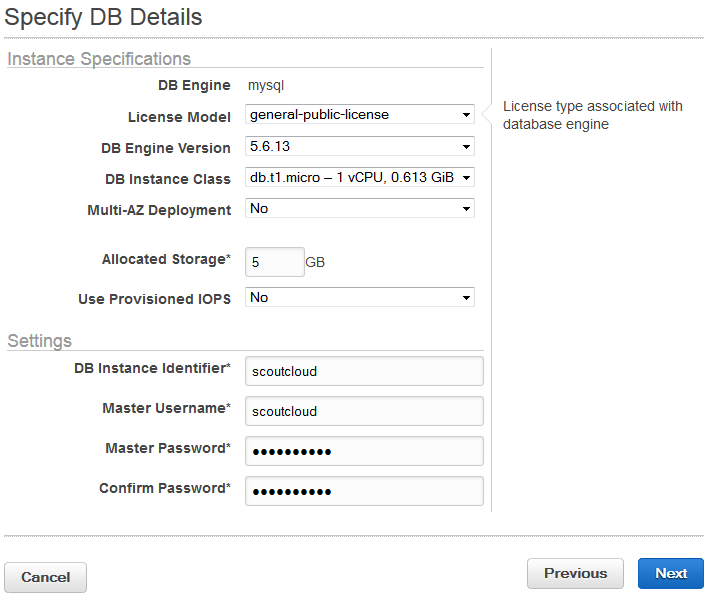
- In the next step you can specify your DB details.
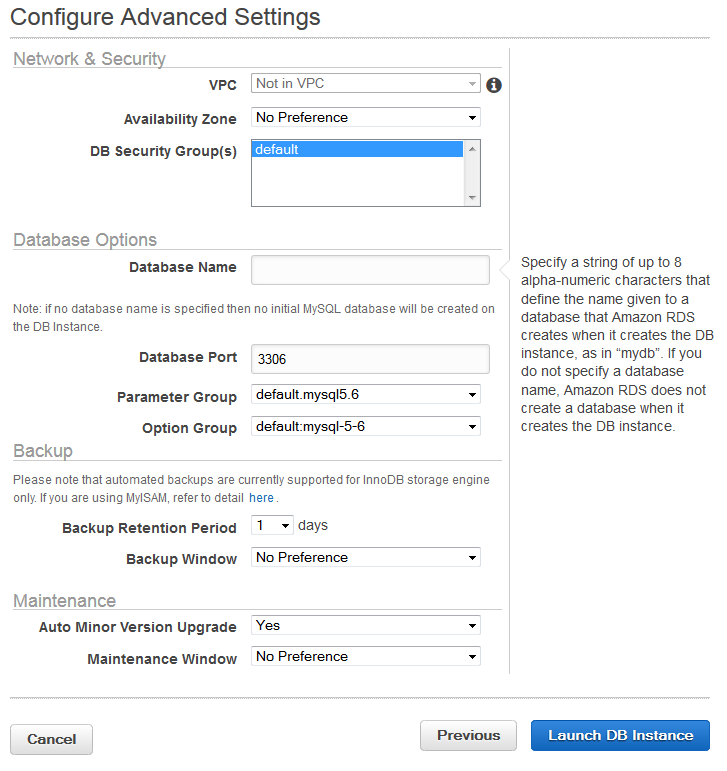
- In the advanced settings set the Database Name to "scoutcloud"
- Finally launch the DB Instance.
Configure your Application & Build War-File for your server application
That your applications runs correctly on your AWS Cloud you have to insert your service parameter into the config.ini of your server application. Then open the Scout Explorer, right-click on "org.eclipse.scout.helloworld". Then click "Export Scout Projekt ..." and follow the wizard.
Create Beanstalk Application
- Open the AWS Elastic Beanstalk Console
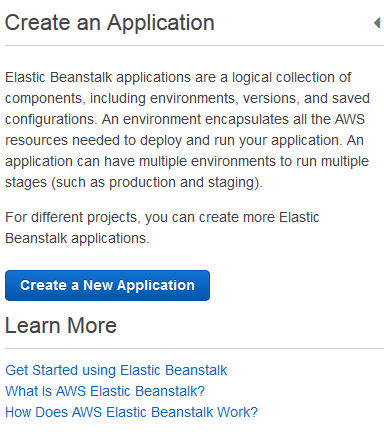
- Click the button "Create New Application"
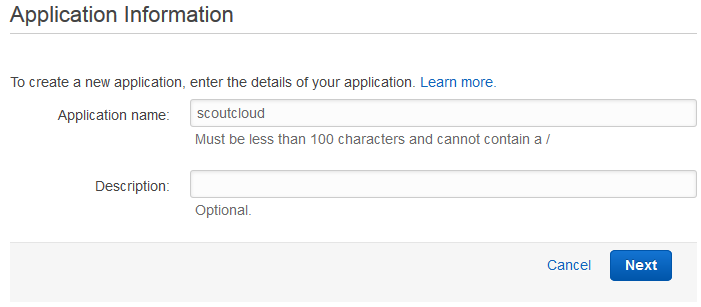
- Define a name for your Application
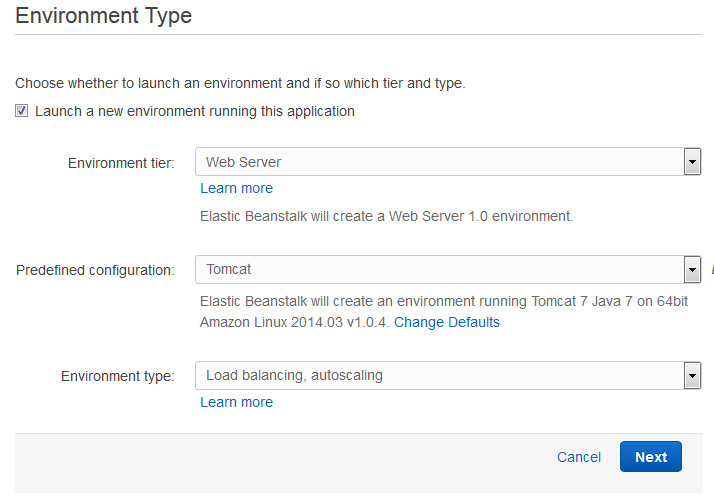
- In the next Step you have to choose the option web server as your environment tier and tomcat as your predefined configuration. As environment type please choose load balancing, autoscaling.
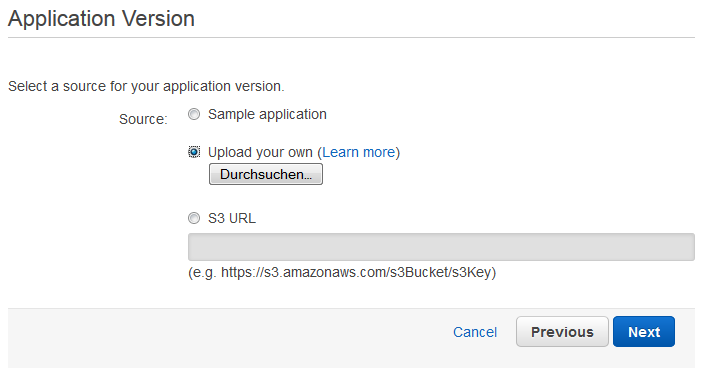
- Upload your -File, which your build here.
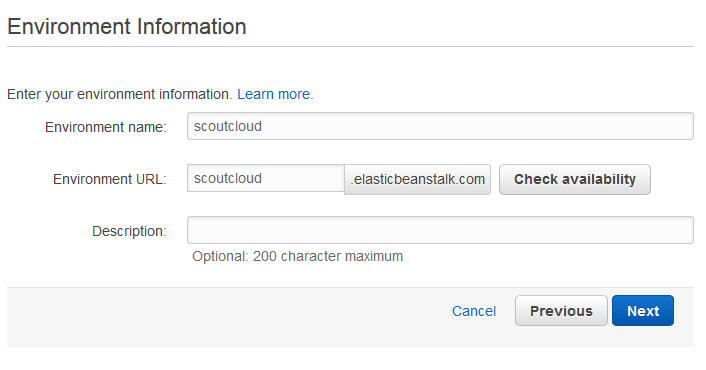
- Specify the name and url of your environment
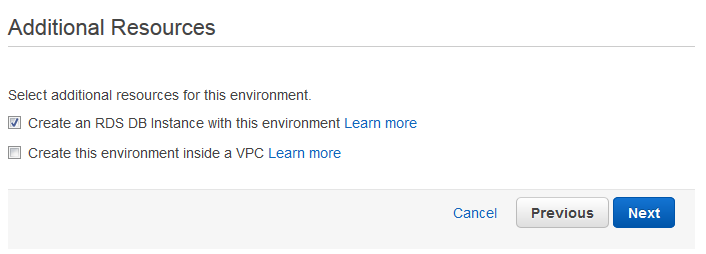
- Additional Resources are not needed, click next.
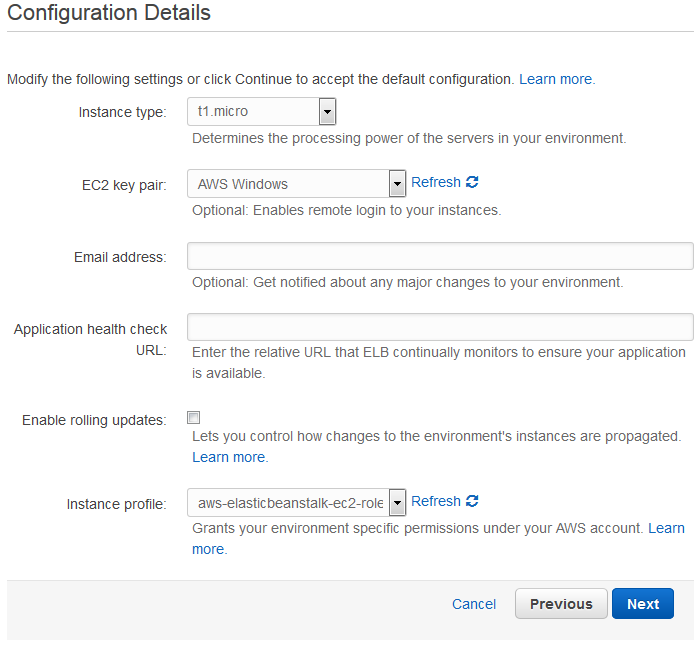
- Select your t1.micro as your instance type and AWS Windows as EC2 key pair.
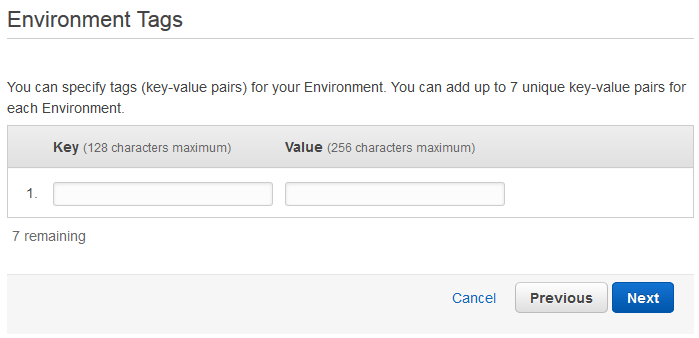
- Setting Environment Tags is not necessary, click next.
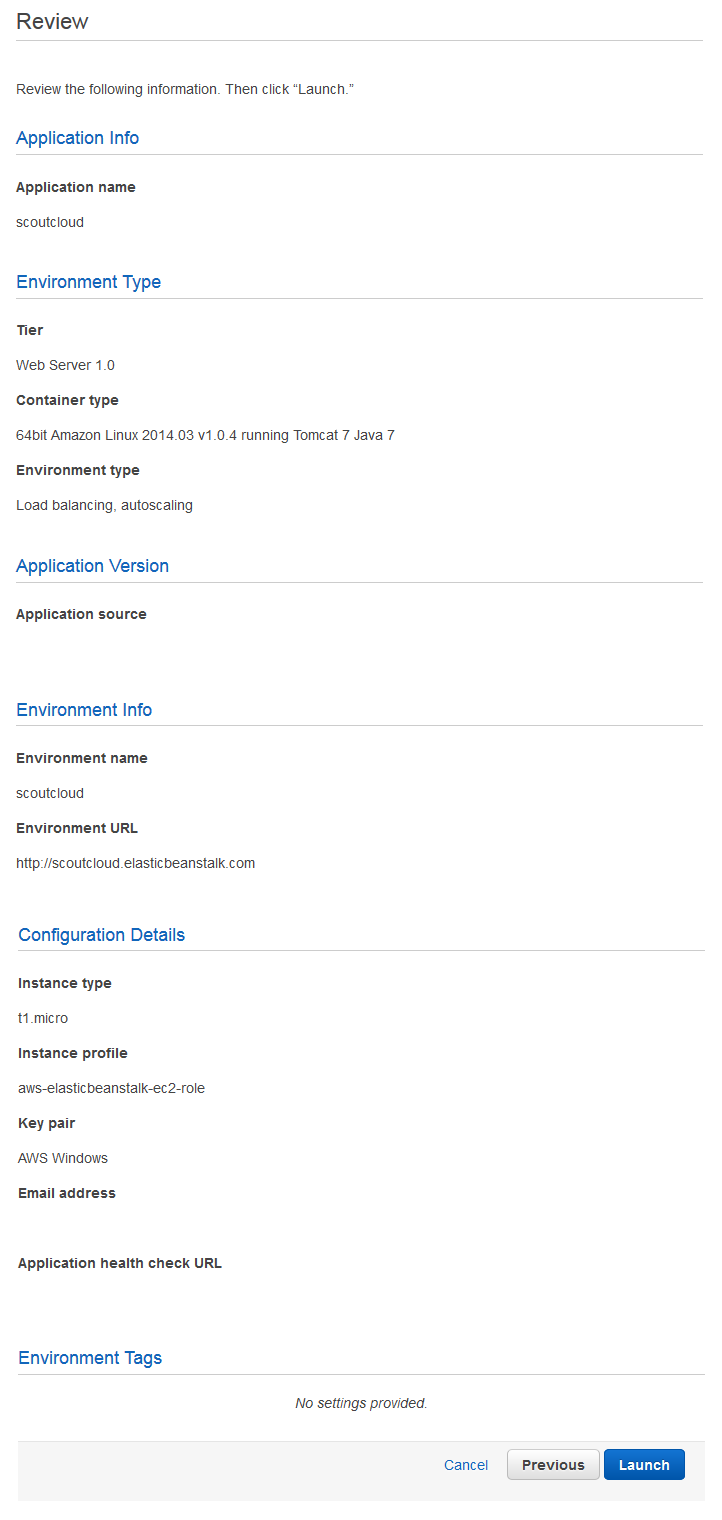
- Review your configuration and click Launch.
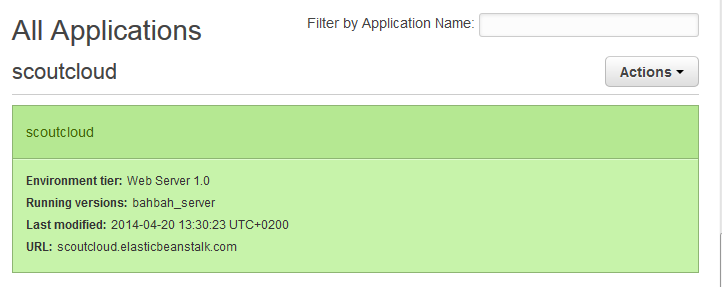
- Check your application by clicking on your URL in the AWS application overview
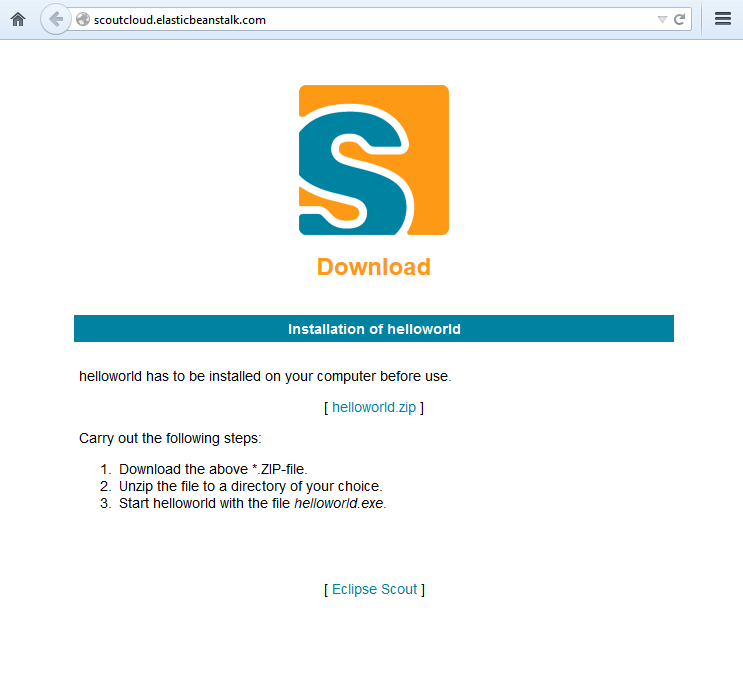
- If the deploy was successful, you will see the Eclipse Scout Welcome Screen as in the graphic below
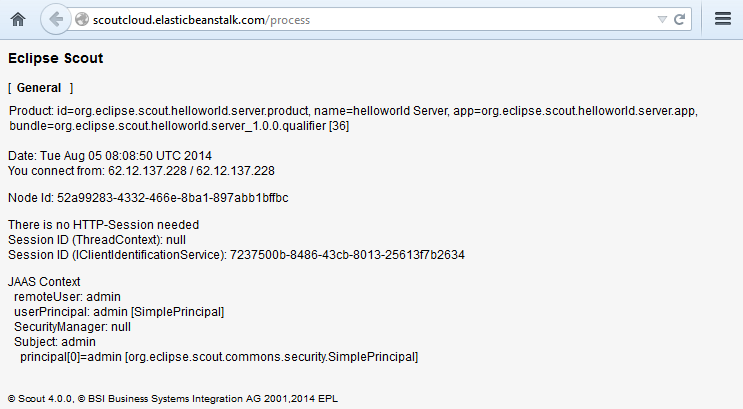
- To check if the interaction with the configured services is working append /process to your URL and login with Admin/Admin

