Notice: this Wiki will be going read only early in 2024 and edits will no longer be possible. Please see: https://gitlab.eclipse.org/eclipsefdn/helpdesk/-/wikis/Wiki-shutdown-plan for the plan.
Scout/Demo
The Scout documentation has been moved to https://eclipsescout.github.io/.
Applications
Widgets
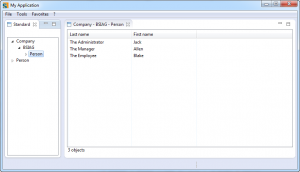
Small Demo Application (client-side only) that displays the common scout fields.
- Blog post:
- Path in repository: /widgets directory (see on GitHub)
- Downloads from cloudbees (client applications for windows as zip or war file to deploy on tomcat for rap):
- Swing (rayo): org.eclipsescout.demo.widgets.ui.swing.rayo.product-3.10.0-SNAPSHOT.zip
- Swing (nimbus): org.eclipsescout.demo.widgets.ui.swing.product-3.10.0-SNAPSHOT.zip
- Swt: org.eclipsescout.demo.widgets.ui.swt.product-3.10.0-SNAPSHOT.zip
- RAP: org.eclipsescout.demo.widgets.ui.rap.product-3.10.0-SNAPSHOT.war
- Jenkins job at CloudBees: here
- Local build result location:
- Swing (rayo): {git_repository}/widgets/org.eclipsescout.demo.widgets.ui.swing.rayo.product/target/widgets.zip
- Swing (nimbus): {git_repository}/widgets/org.eclipsescout.demo.widgets.ui.swing.product/target/widgets.zip
- Swt: {git_repository}/widgets/org.eclipsescout.demo.widgets.ui.swt.product/target/widgets.zip
- RAP: {git_repository}/widgets/org.eclipsescout.demo.widgets.ui.rap.product/target/widgets.war (in einen Tomcat deployen)
MiniCRM
Result of the The Scout documentation has been moved to https://eclipsescout.github.io/. tutorial.
Path in repository: /minicrm directory (see on GitHub)
Bahbah Chat Application
Presented at EclipseCon and EclipseCon Europe in 2012. More information in this blog article about BahBahChat
Repository: http://github.com/BSI-Business-Systems-Integration-AG/org.eclipsescout.demo/tree/3.8/bahbah
Talks:
- Eclipse Con 2012: "BahBahChat: A Chat Application based on Eclipse Scout (presented by BSI)"
- EclipseCon Europe 2012: Tutorial [1.5 MB] "A Multi-Frontend Chat Application based on Eclipse Scout".
Minifig Application
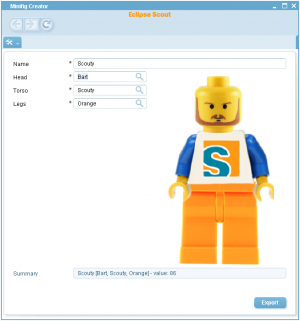
The minifig Application was created for EclipseCon 2013, to illustrate how Scout Applications could be tested. It is a small client-server application, using The Scout documentation has been moved to https://eclipsescout.github.io/. and The Scout documentation has been moved to https://eclipsescout.github.io/.
3 testing possibilities are illustrated:
- Plain JUnit tests
- JUnit test with a Scout context
- UI-Test using Jubula
The application is build with maven and tycho. Tests are executed using the Scout test runner.
Links:
- Presentation: Testing a Scout Application with JUnit and Jubula
- Blog post: Testing Scout Applications
- Slides [1.07 MB]
- Sources on GitHub: minifigcreator
- The Scout documentation has been moved to https://eclipsescout.github.io/.
iBug Application
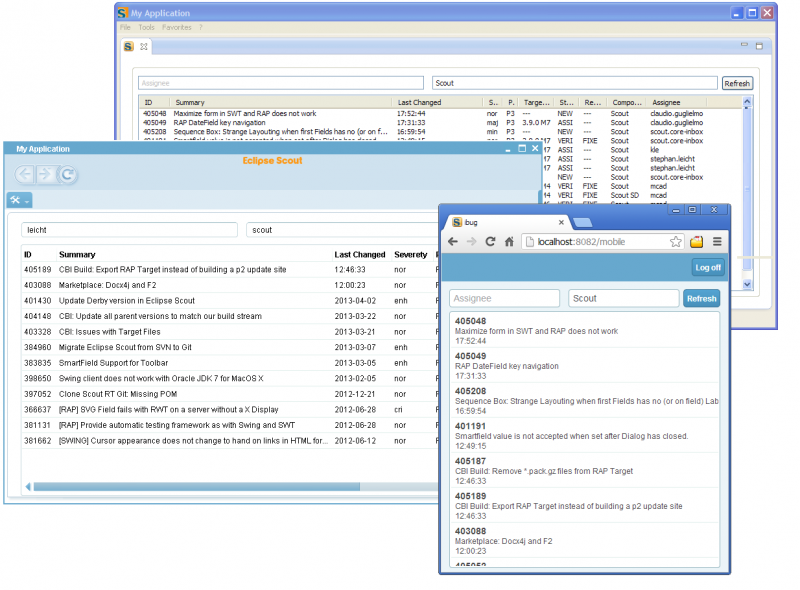
The iBug application displays the most recent Bugzilla bugs in the UI. The primary goal of this application is to demonstrate the Scout mobile support coming with the Kepler release. As secondary goal it can be used to show the The Scout documentation has been moved to https://eclipsescout.github.io/..
Links:
- Blog post: Scout blog
- Sources on GitHub: iBug
Git Repository
The project is hosted on GitHub: scout demo project page.
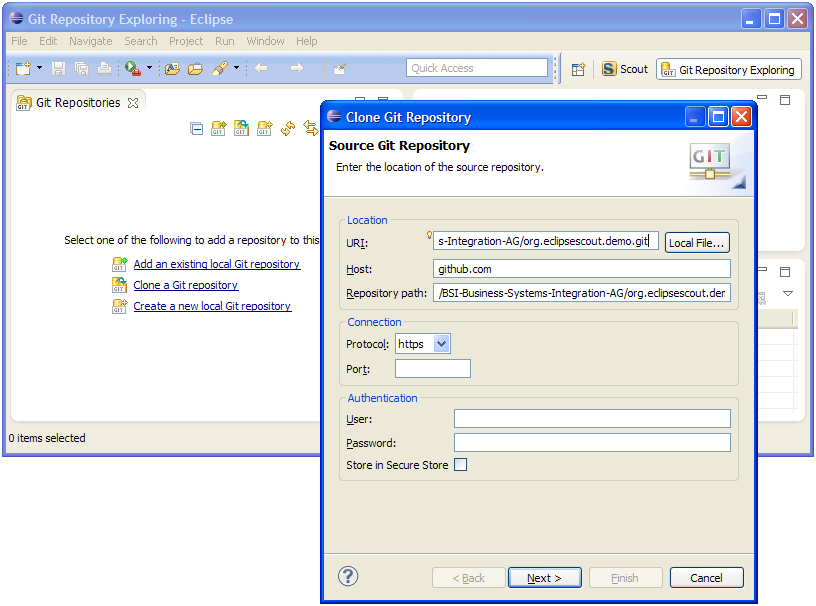
Clone URL: https://github.com/BSI-Business-Systems-Integration-AG/org.eclipsescout.demo.git
Branches
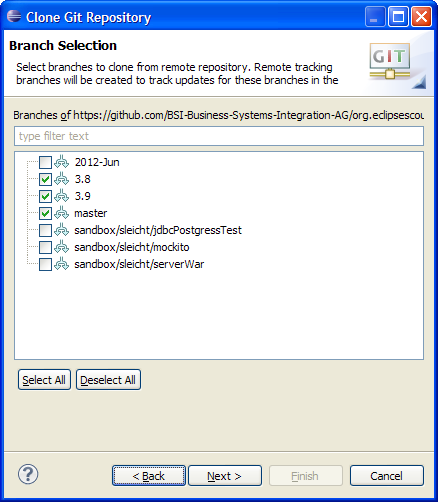
Different git branches allow the possibility to work simultaneously on different Eclipse Scout versions with different Eclipse Runtime Versions:
- master: Luna - Scout 3.10 with Eclipse 4.3 (TODO: will be Eclipse 4.4)
- 3.9: Kepler - Scout 3.9 with Eclipse 4.3
- 3.8: Juno - Scout 3.8 with Eclipse 4.2
Structure
The idea of the structure is to share commons parts across the demo applications (CBI Build, configuration files). This is a proposal:
Git Repository: org.eclipsescout.demo
|
+---pom.xml (root pom, has [1.1] as maven module).
+---build
|   +---org.eclipsescout.demo.master            <-- [1] preferences, version, plugin management...
|   +---org.eclipsescout.demo.parent            <-- [1.1] extends [1] und has {[1.2], [1.3], [2], [3], [4]} as module (aggregation)
|   +---org.eclipsescout.demo.repository        <-- [1.2] p2 update site
|   +---org.eclipsescout.demo.settings          <-- .prefs files for demo projects
|   +---org.eclipsescout.demo.target            <-- [1.3] Target Plattform for all projects.
|   +---org.eclipsescout.demo.team-project-sets <- .psf project set files for individual demo applications
|   +---org.eclipsescout.demo.webapp            <-- Template for building the .war
|
+---bahbah
|   +---org.eclipsescout.demo.bahbah.parent <-- aggregation for bahbah
|   |   \---pom.xml <-- [2] extends [1]
|   +---org.eclipsescout.demo.bahbah.client
|   +---org.eclipsescout.demo.bahbah.security
|   +---org.eclipsescout.demo.bahbah.server
|   +---org.eclipsescout.demo.bahbah.shared
|   +---org.eclipsescout.demo.bahbah.ui.rap
|   +---org.eclipsescout.demo.bahbah.ui.swing
|   \---org.eclipsescout.demo.bahbah.ui.swt
|
+---jaxws
|   +---org.eclipsescout.demo.jaxws.parent <-- aggregation for jaxws
|   |   \---pom.xml <-- [3] extends [1]
|   +---org.eclipsescout.demo.jaxws.client
|   +---org.eclipsescout.demo.jaxws.database
|   +---org.eclipsescout.demo.jaxws.server
|   +---org.eclipsescout.demo.jaxws.shared
|   +---org.eclipsescout.demo.jaxws.ui.swing
|   \---org.eclipsescout.demo.jaxws.ui.swt
|
\---widgets
    +---org.eclipsescout.demo.widgets.parent <-- aggregation for widget
    |   \---pom.xml <-- [4] extends [1]
    +---org.eclipsescout.demo.widgets-feature
    +---org.eclipsescout.demo.widgets.client
    +---org.eclipsescout.demo.widgets.shared
    +---org.eclipsescout.demo.widgets.ui.rap
    +---org.eclipsescout.demo.widgets.ui.swing
    \---org.eclipsescout.demo.widgets.ui.swt
Clone, Build and Run the Demos
Download and Run Locally
Before downloading the demo applications to your Scout installation, make sure to:
- Successfully create and run a hello world application according to the Hello World tutorial.
- Install the Rayo package
- Install the Docx4j package
For downloading and opening of a demo application you go through the following steps:
- Open the Eclipse IDE with a new workspace
- Import a demo application via a corresponding team project set
- Set the target platform, and add the product launchers
- Run the demo application
Import a Demo Application
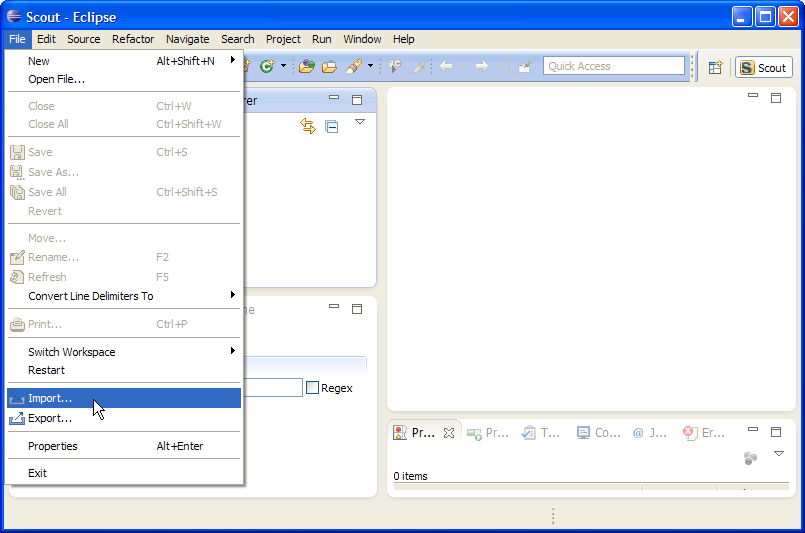
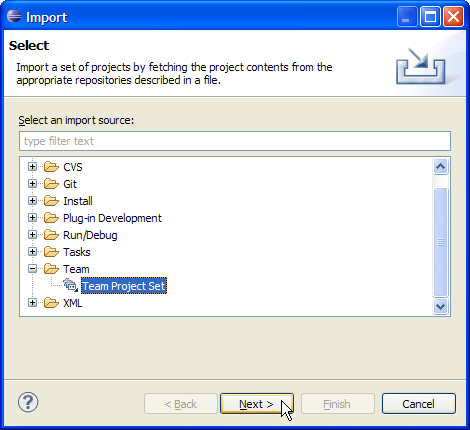
Start your Eclipse Scout with a new (empty) workspace. Then, start the project import wizard using menu File, Import ... as shown below.
Then:
- In the first step of the import wizard select the entry Team Project Set and click Next as shown below.
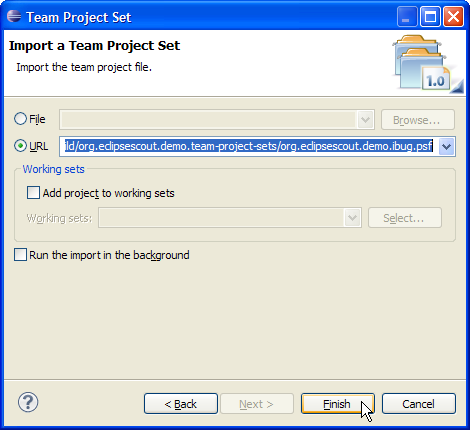
- In the second wizard step, select the URL field and enter the link to the project set file corresponding to the desired application.
For the URL field use any of the following project set files:
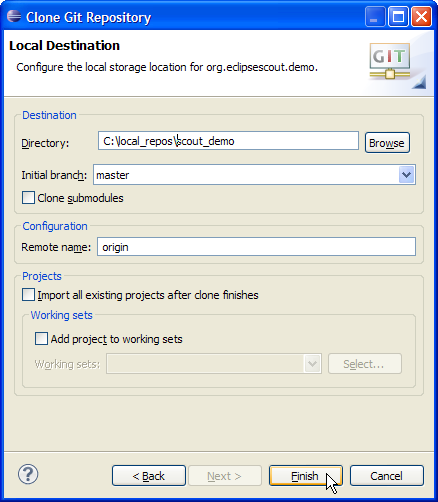
Clone the Demo Application Repository
Add text.
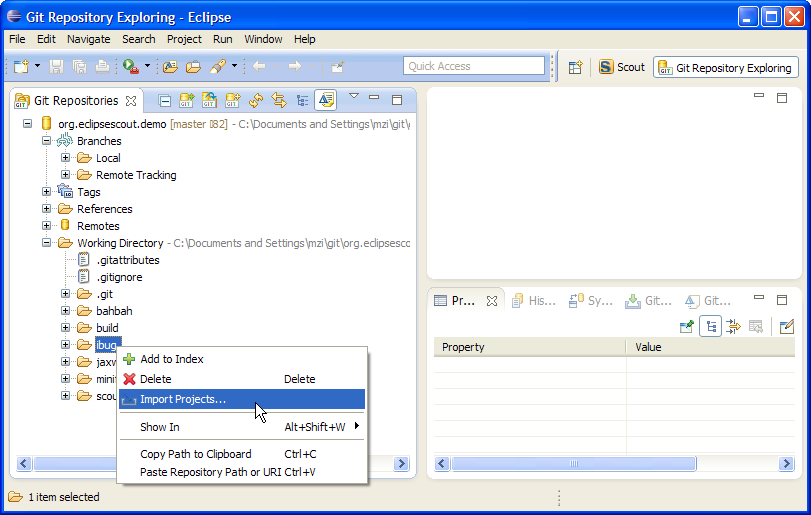
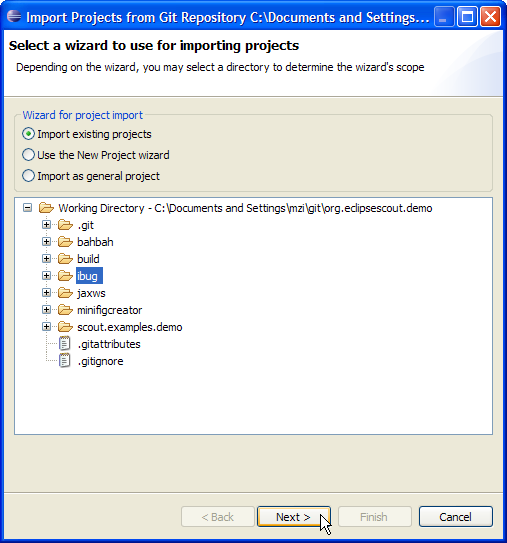
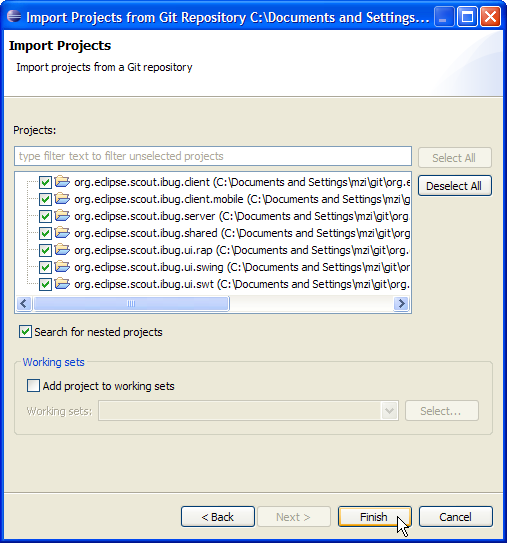
Import a Demo Application
Add text.
Build Locally
The chosen project setup allows to build the Scout demo apps locally using Apache Maven. If you are new to Maven (or don't have a running Maven installation yet), have a look at Maven in 5 Minutes for installation instructions.
To verify if you have installed maven type in your console
mvn --version
And you should get some meaningful output similar to
 Apache Maven 3.0.5 (r01de14724cdef164cd33c7c8c2fe155faf9602da; 2013-02-19 14:51:28+0100)
 Maven home: D:\apache-maven-3.0.5\bin\..
 Java version: 1.6.0_25, vendor: Sun Microsystems Inc.
 Java home: C:\Program Files\Java\jdk1.6.0_25\jre
 Default locale: nl_NL, platform encoding: Cp1252
 OS name: "windows 7", version: "6.1", arch: "amd64", family: "windows"
Then, in your local demo repository change into the main directory ...\local_repos\demo that contains the root pom.xml (according to the directory organisation shown above) and start the maven build:
 C:\...\local_repos\scout_demo>mvn clean install
 [INFO] Scanning for projects...

 ...

 [INFO] Eclipse Scout Demo - Root ......................... SUCCESS [0.047s]
 [INFO] ------------------------------------------------------------------------
 [INFO] BUILD SUCCESS
 [INFO] ------------------------------------------------------------------------
 [INFO] Total time: 9:41.939s
 [INFO] Finished at: Wed Sep 11 17:36:44 CEST 2013
 [INFO] Final Memory: 57M/247M
 [INFO] ------------------------------------------------------------------------
 C:\...\local_repos\scout_demo>
The interesting artefacts are then found in the following target directories:
 1. C:\...\local_repos\scout_demo\XY\org.eclipsescout.demo.XY.server.product\target\XY_server.war
 2. C:\...\local_repos\scout_demo\XY\org.eclipsescout.demo.XY.ui.rap.product\target\XY.war
 3. C:\...\local_repos\scout_demo\XY\org.eclipsescout.demo.XY.ui.swt.product\target\XY.zip
 4. C:\...\local_repos\scout_demo\XY\org.eclipsescout.demo.XY.ui.swing.product\target\XY.zip
In the above paths replace XY by the name of the demo application (i.e. 'bahbah', 'ibug', 'minicrm', etc.). The above artefacts represent the following products:
- The Scout server war file. It is used by all Scout client applications (desktop, web, mobile).
- The Scout RAP client war file. It is used to provide the Scout web, tablet, and mobile clients.
- The Scout SWT client. To start the client, unzip this file and start the contained XY executable file.
- The Scout Swing client. To start the client, unzip this file and start the contained XY executable file.
Before starting any of the clients, deploy the war files to your web server. For this, you can follow the steps described in tutorial Deploy a Scout application (skipping the step to export the Scout application).
Configurations
Line Endings
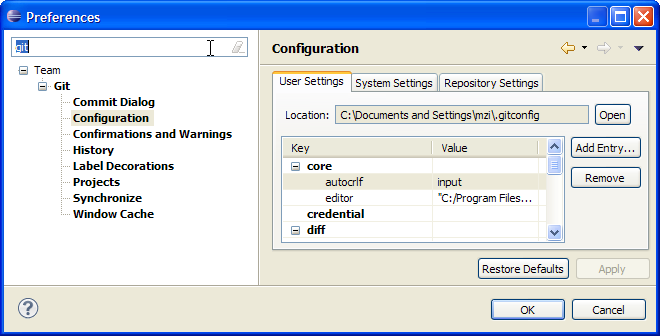
We want to have Unix Line endings in the repository. Try to configure your Git client (EGit, GitExtensions, Git Bash...) in order to rewrite the windows line endings to Unix line endings on commit.
core.autocrlf=input
In the Eclipse Preferences dialog the line ending setting can be accessed as follows


