Notice: this Wiki will be going read only early in 2024 and edits will no longer be possible. Please see: https://gitlab.eclipse.org/eclipsefdn/helpdesk/-/wikis/Wiki-shutdown-plan for the plan.
SMILA/5 Minutes Tutorial
Contents
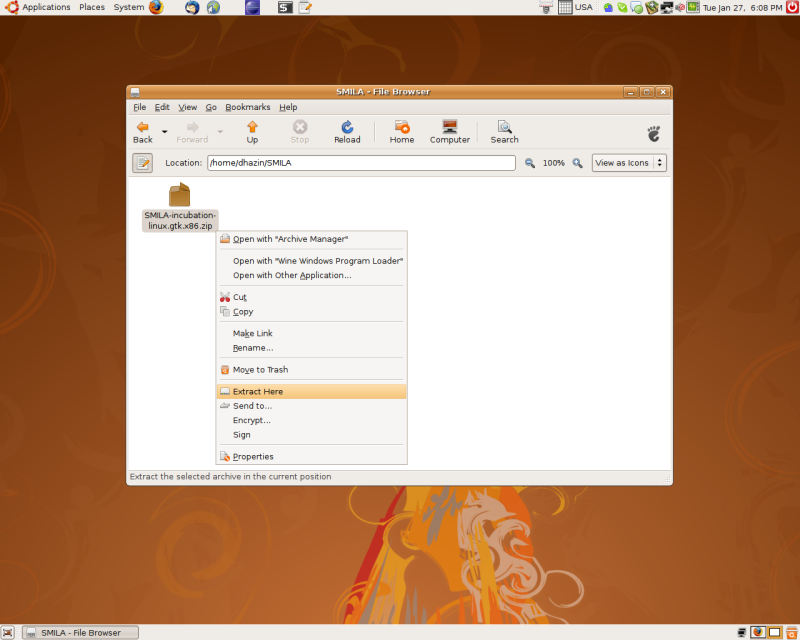
1. Download and unpack EILF application.
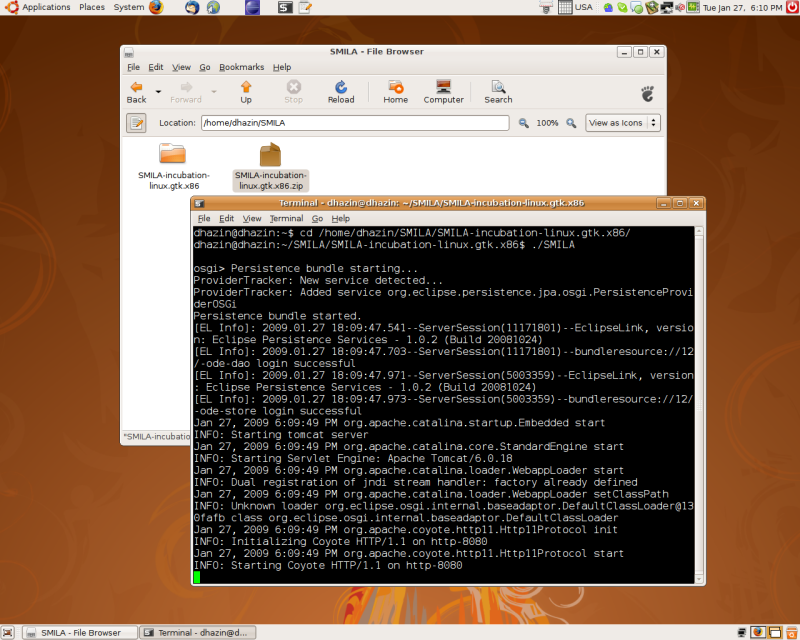
2. Start EILF engine.
To start EILF engine open terminal, navigate to directory that contains extracted files and run EILF executable. Wait until the engine is fully started. You should see output similar to one on the screenshot below
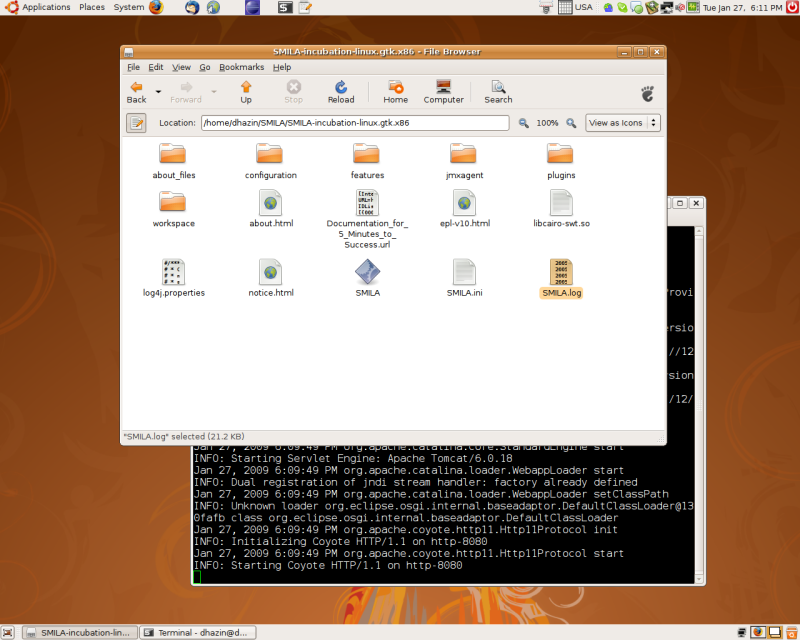
3. Log file.
You can check what's happening from the log file. Log file is placed into the same directory as EILF executable and is named EILF.log
4. Managing crawling jobs.
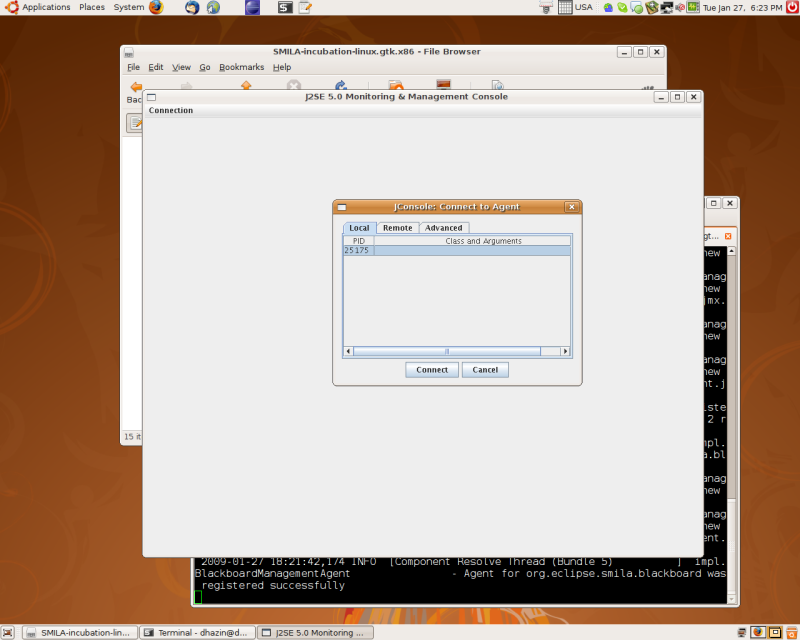
Now when EILF engine is up and running we can start and manage crawling jobs. Crawling jobs are managed over JMX protocol, that means that we need to connect to EILF with some JMX client. Let's use JConsole that is available with Sun Java distribution.
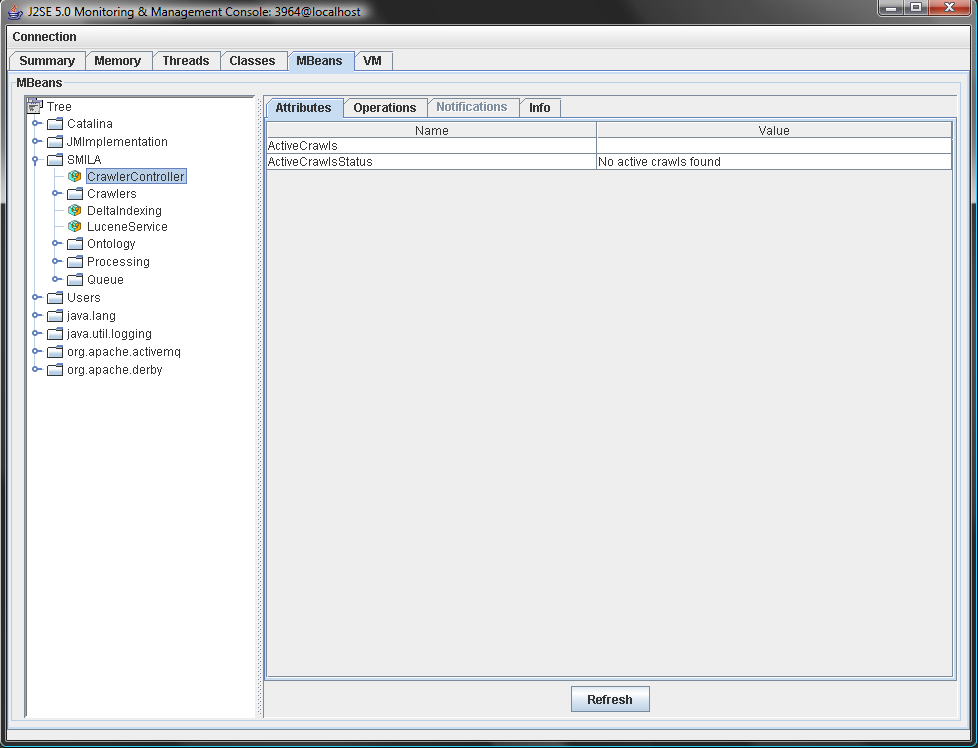
Next, open MBeans tab, expand the EILF node in the MBeans tree to the left and click on org.eclipse.eilf.connectivity.framework.CrawlerController node.
It's the point from where all crawling activities are managed and monitored. You can see some crawling attributes at the right pane.
5. Starting filesystem crawler.
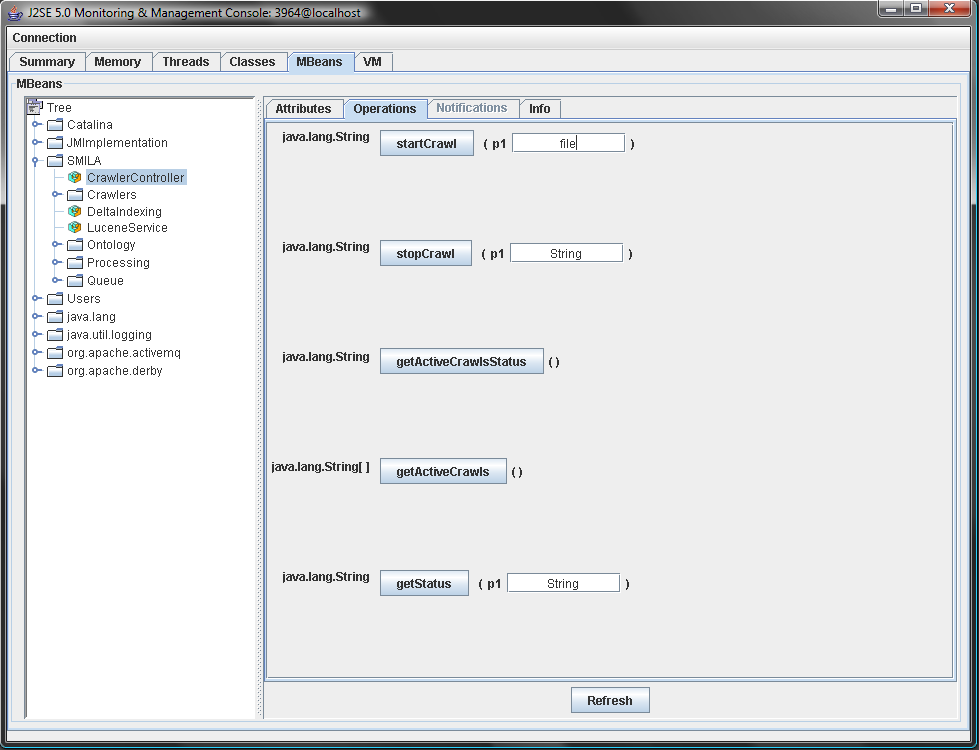
To start a crawler, open Operations tab at the right pane, type 'file' in the inputbox next to the startCrawl button and press the startCrawl button.
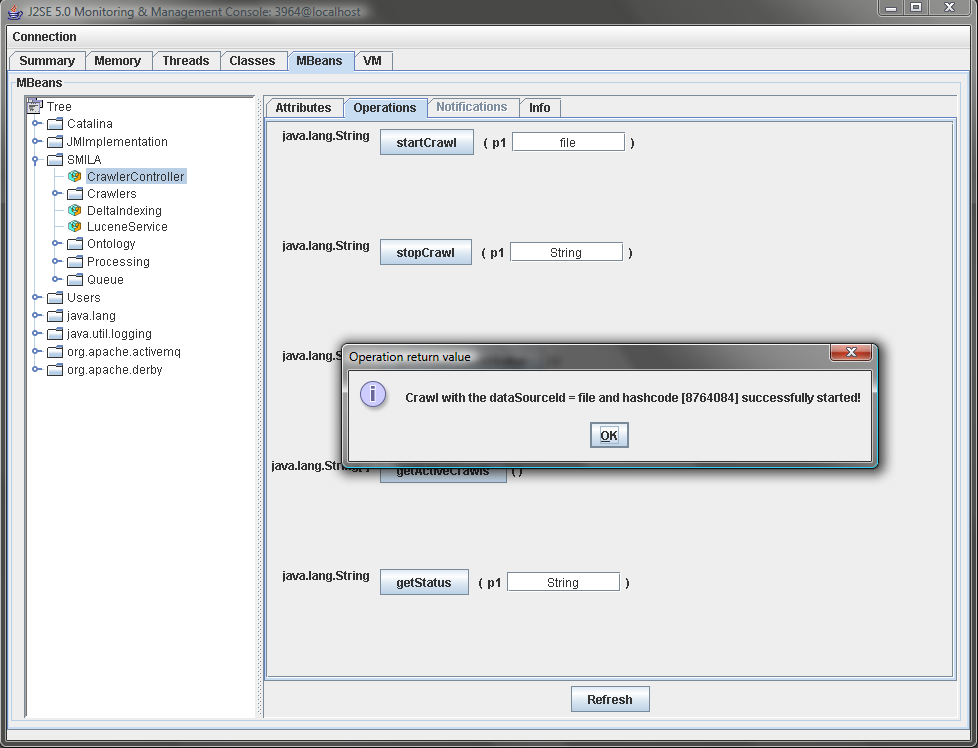
You should get a message that says that crawler was successfully started:
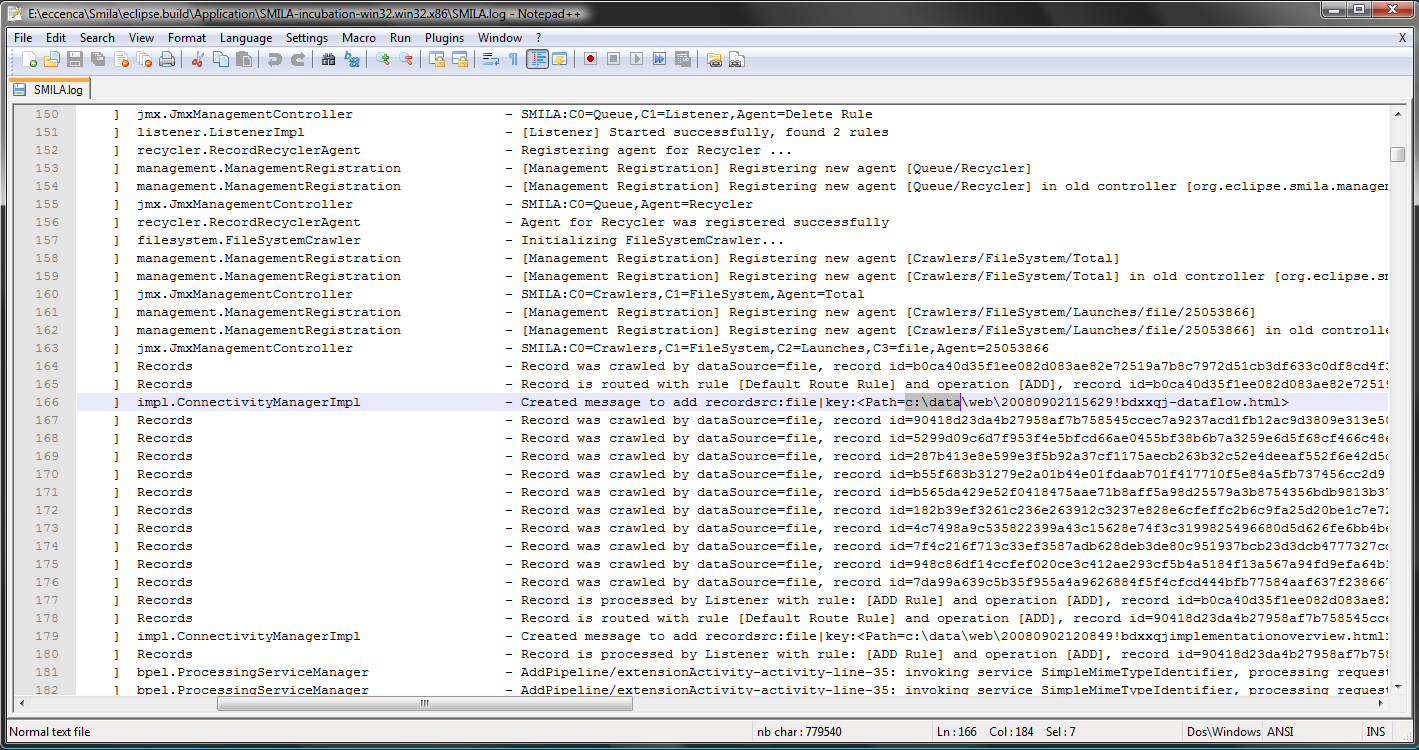
Now we can check a log to see what happened:
6. Configuring filesystem crawler.
You could notice that there was a error message in the log output in the previous screenshot that said the following:
2008-09-11 18:14:36,059 [Thread-13] ERROR impl.CrawlThread - org.eclipse.eilf.connectivity.framework.CrawlerCriticalException: Folder "c:\data" is not found
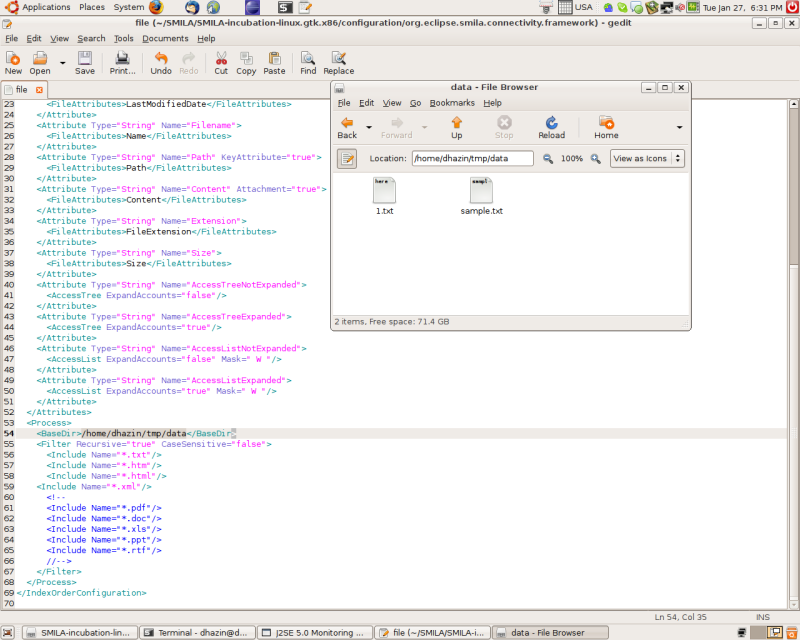
This means that crawler tried to index the c:\data folder that was not present in the filesystem. Let's create folder with sample data, say ~/tmp/data, put some dummy text files into it and say filesystem crawler to index it. Filesystem Crawler configuration file is located at configuration/org.eclipse.eilf.connectivity.framework directory of the EILF distribution and is named 'file'. Let's open this file in text editor and modify BaseDir value. Put there absolute path to our sample directory that was created in previous step and save the file.
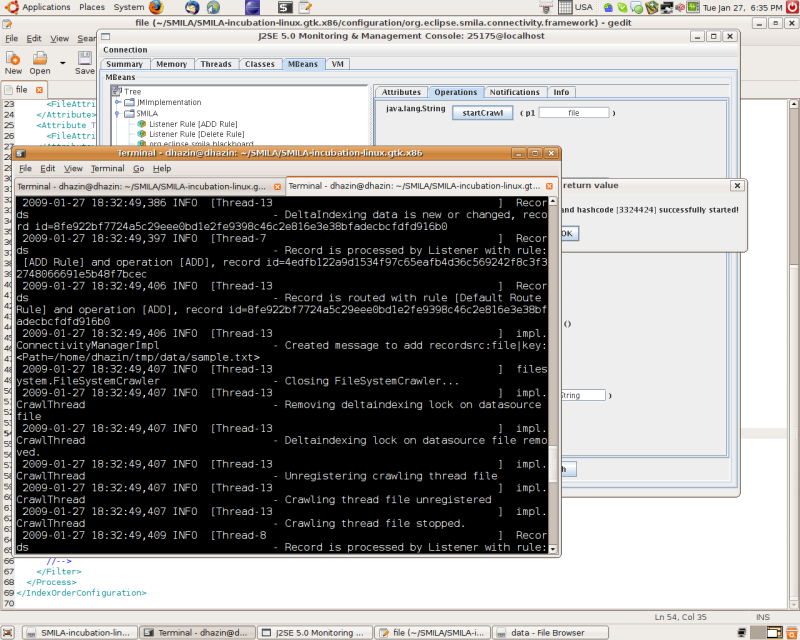
Now let's start filesystem crawler with JConsole again (see step 5). This time there is something interesting in the log:
It looks like something was indexed. In the next step we'll try to search on the index that was created.
7. Searching on the indexes.
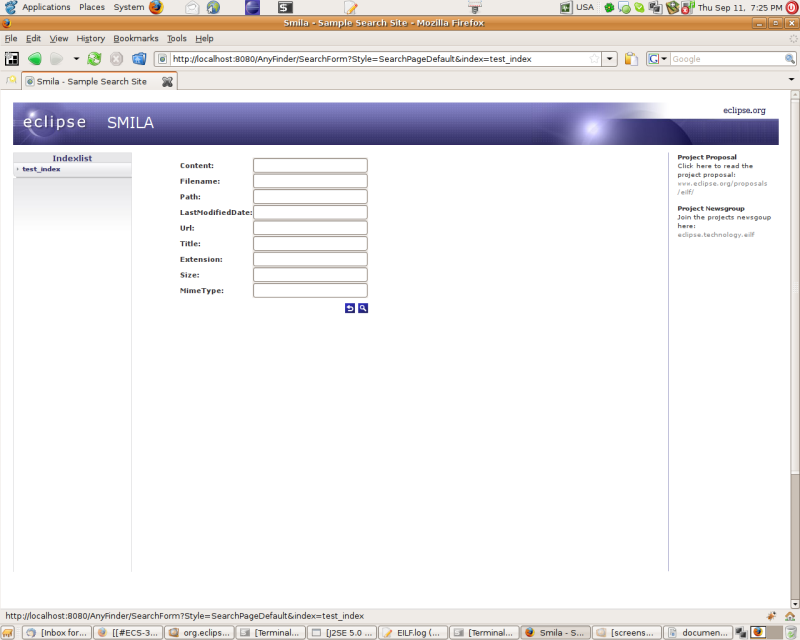
To search on the indexes that were created by crawlers, point your browser to the http://localhost:8080/AnyFinder/SearchForm Left column on the page opened is named Indexlist and currently there is only one index in this list. Click on it's name, test_index. The test_index search form should open:
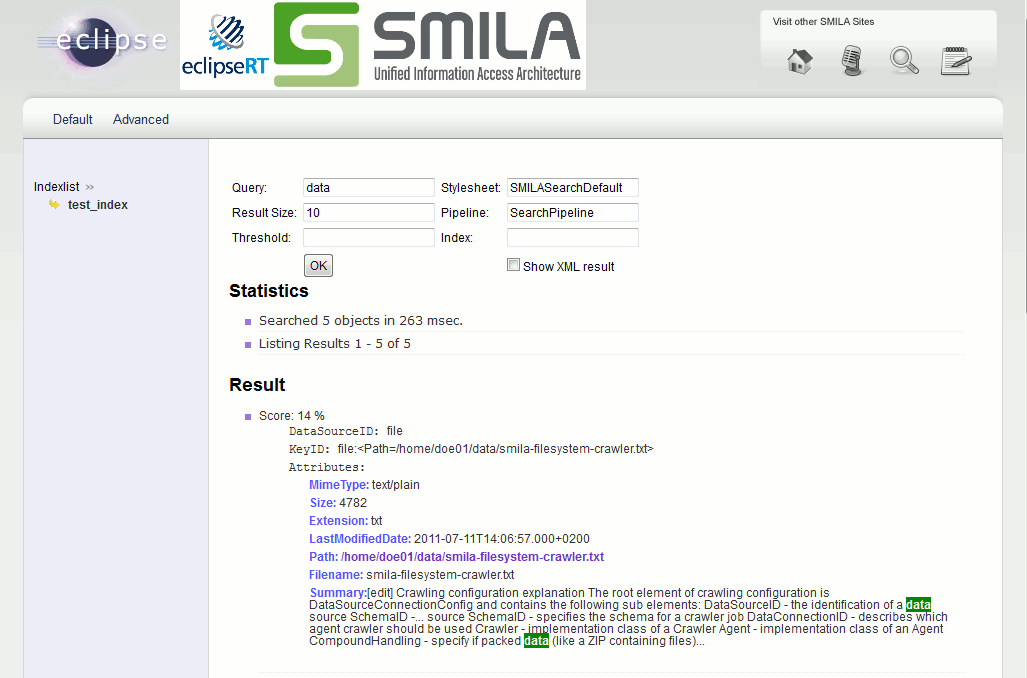
Now let's try to search on some word that was in our dummy files. In this tutorial, there was a word 'data ' in sample.txt:
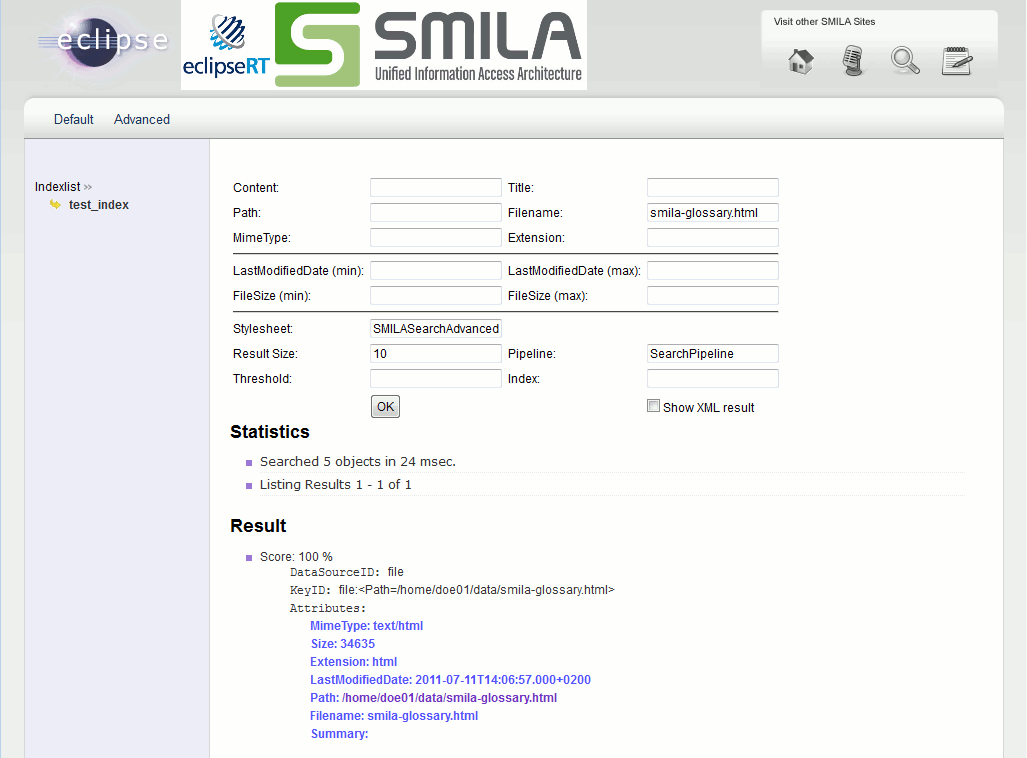
There was also file 1.txt in the sample folder, let's check whether it was indexed. Type '1.txt' in the Filename field and click on the search icon:
8. Configuring and running Web Crawler.
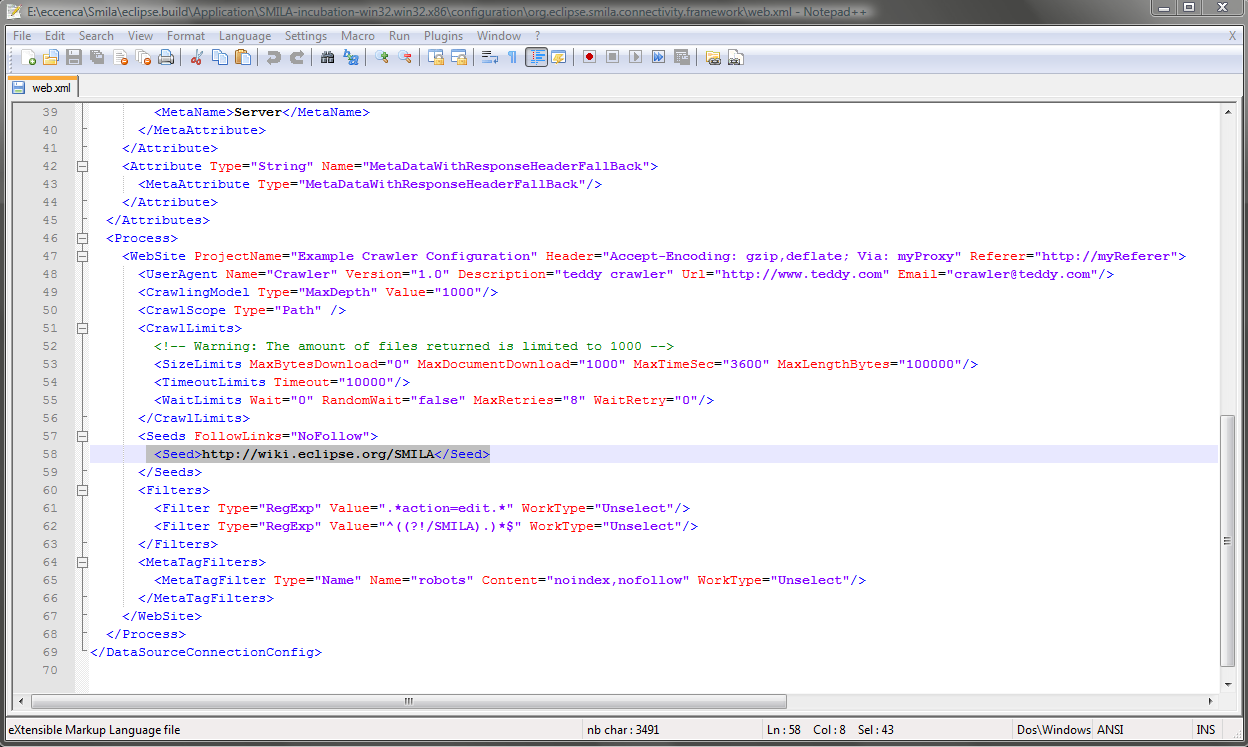
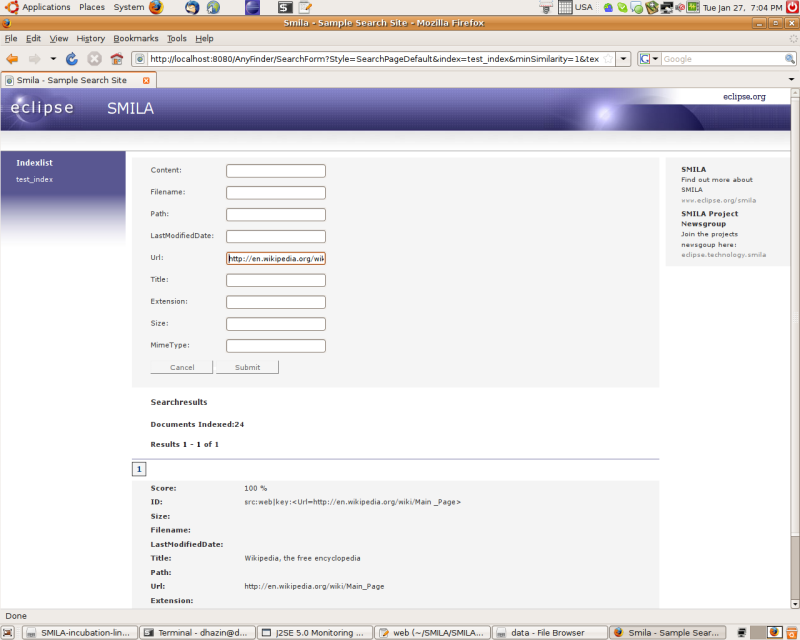
Now that we know how to start and configure filesystem crawler and how to search on indexes configuring and running Web Crawler is straightforward. Web Crawler configuration file is located at configuration/org.eclipse.eilf.connectivity.framework directory and is named 'web':
By default webcrawler is configured to index http://www.brox.de website. To change this you should edit the Seed element. Detailed information about web crawler configuration is available at Web Crawler Configuration
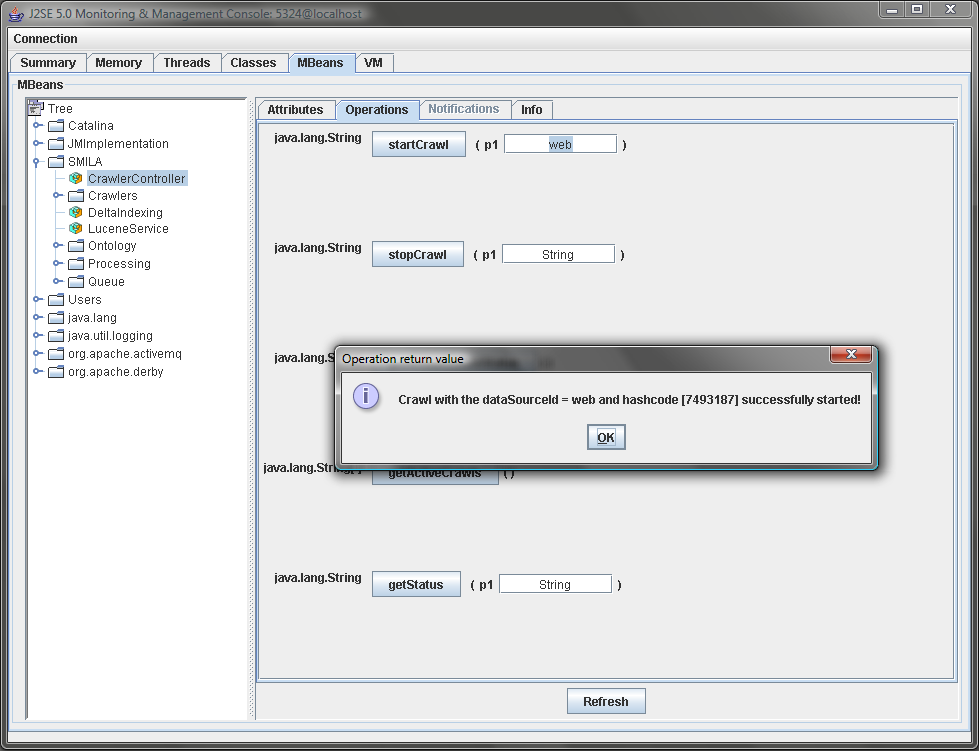
To start crawling you need to open Operations tab in JConsole again, type 'web' in the inputbox next to the startCrawl button and press the startCrawl button in JConsole.
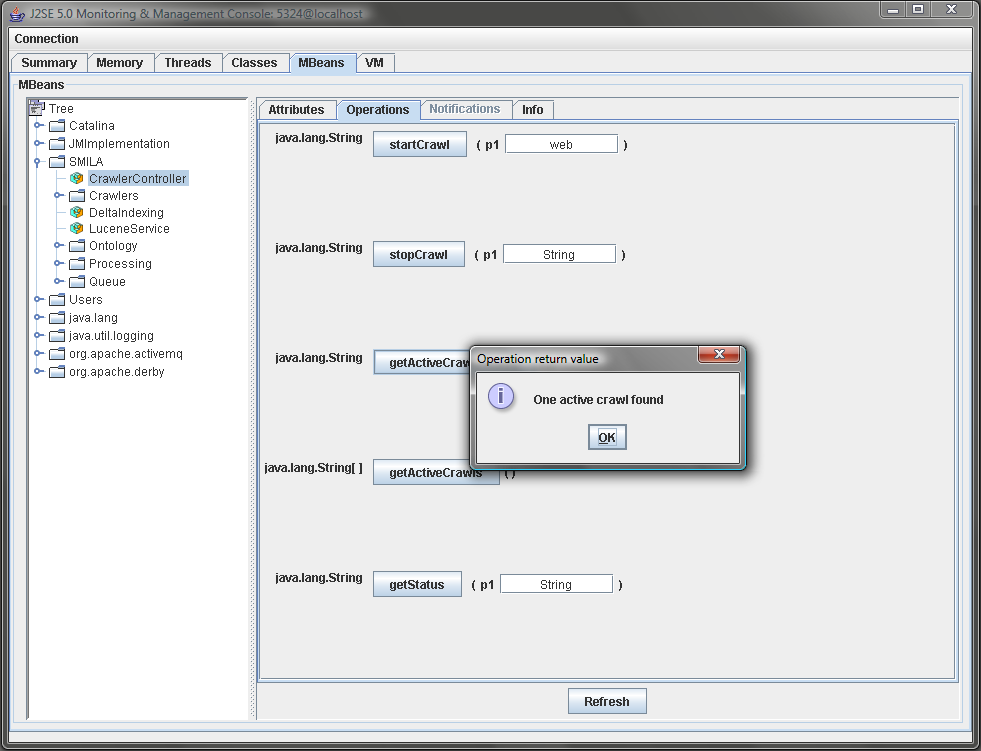
You can also stop crawler, get active crawls list and status and get the status of particular crawling job with JConsole.
For example here is the result of getActiveCrawlsStatus while webcrawler is working:
After web crawler's job is finished, you can search on the generated index just like with filesystem crawler (see step 7)

