Notice: this Wiki will be going read only early in 2024 and edits will no longer be possible. Please see: https://gitlab.eclipse.org/eclipsefdn/helpdesk/-/wikis/Wiki-shutdown-plan for the plan.
Difference between revisions of "Pave/pde install"
< Pave
(New page: {|border="0" cellspacing="15" valign="top" style="width:100%;" |-valign="top" |style="width:80%;"| __NOTOC__ == How to install Pave from update site. == Short step by step tutorial for...) |
|||
| Line 26: | Line 26: | ||
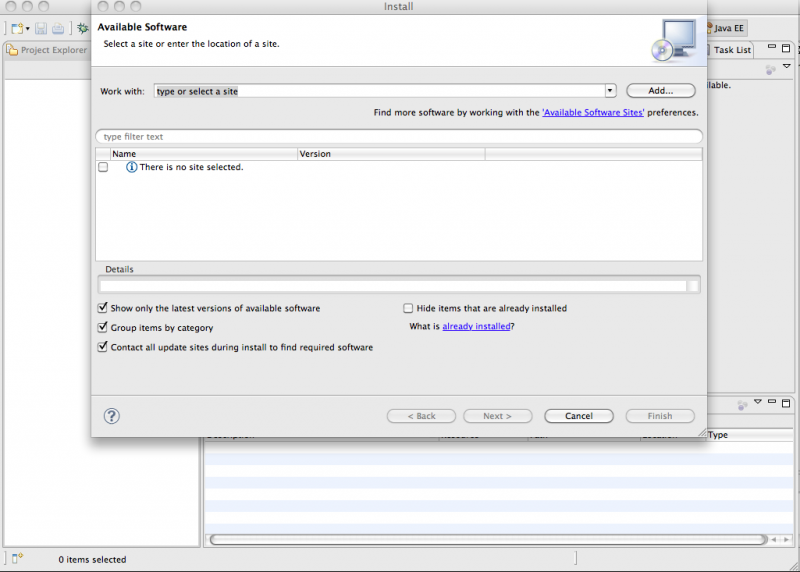
|[[Image:pave4.jpg|thumb|800px|right]]. | |[[Image:pave4.jpg|thumb|800px|right]]. | ||
|-valign="top" | |-valign="top" | ||
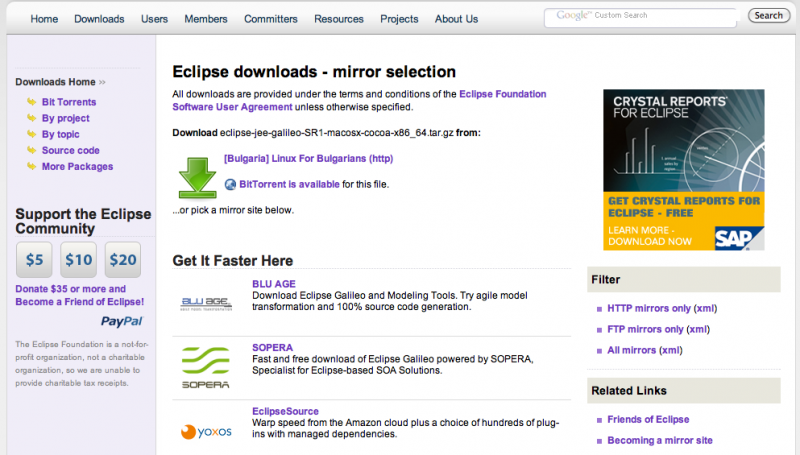
| − | | Next you have to | + | | Next you have to get our team set file: [[http://wiki.eclipse.org/images/0/0b/Pave.psf here]] |
|[[Image:pave5.png|thumb|800px|right]]. | |[[Image:pave5.png|thumb|800px|right]]. | ||
|-valign="top" | |-valign="top" | ||
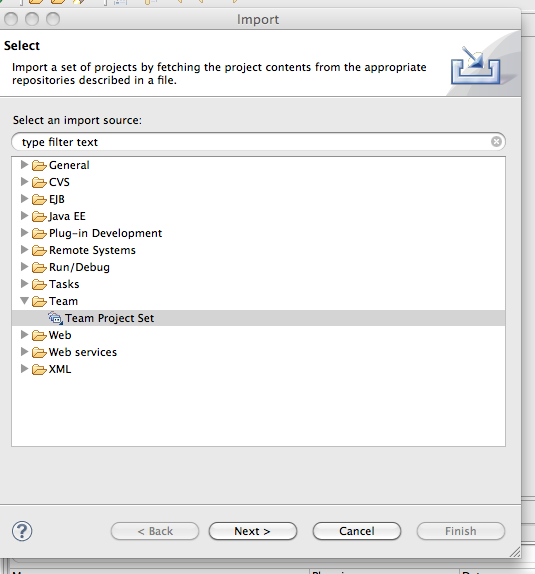
| − | | Now | + | | Now in eclipse choose File > Import > Team > Team Project Set |
| − | |[[Image: | + | |[[Image:pavepde1.png|thumb|800px|right]]. |
|-valign="top" | |-valign="top" | ||
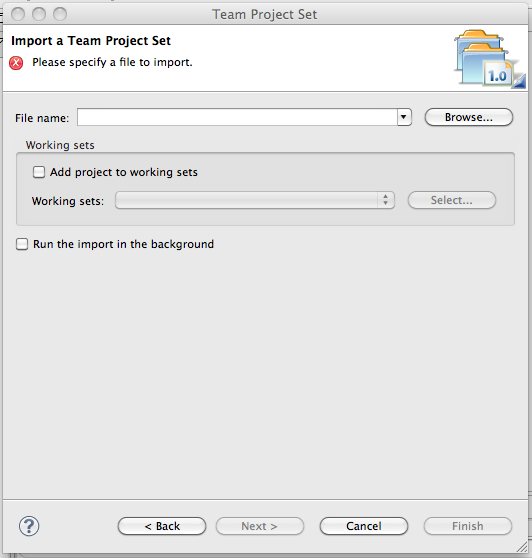
| − | | | + | | Select browse and navigate to the downloaded pave.psf file |
| − | + | ||
Press ok in the dialog. | Press ok in the dialog. | ||
| − | |[[Image: | + | |[[Image:pavepde2.png|thumb|800px|right]]. |
| − | + | ||
| − | + | ||
| − | + | ||
| − | + | ||
| − | + | ||
| − | + | ||
| − | + | ||
| − | + | ||
| − | + | ||
| − | + | ||
| − | + | ||
| − | + | ||
| − | + | ||
| − | + | ||
| − | + | ||
| − | + | ||
| − | + | ||
|-valign="top" | |-valign="top" | ||
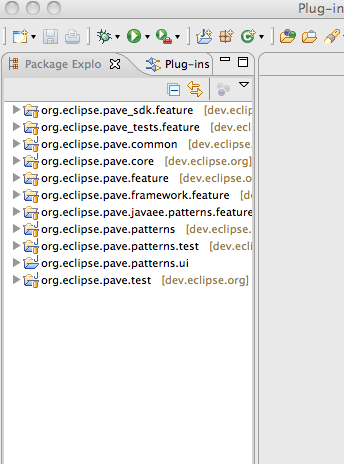
| + | | Import of the WTP cvs and all pave project will follow. Your workspace will look similar to the one on the screenshot. | ||
| + | Now you have all the code of Pave and can experiment with it. | ||
| + | |[[Image:pavepde3.png|thumb|800px|right]]. | ||
|} | |} | ||
| + | Check our tutorial section for more information on how to create new patterns. | ||
| − | |||
|} | |} | ||
Revision as of 10:31, 27 October 2009
|
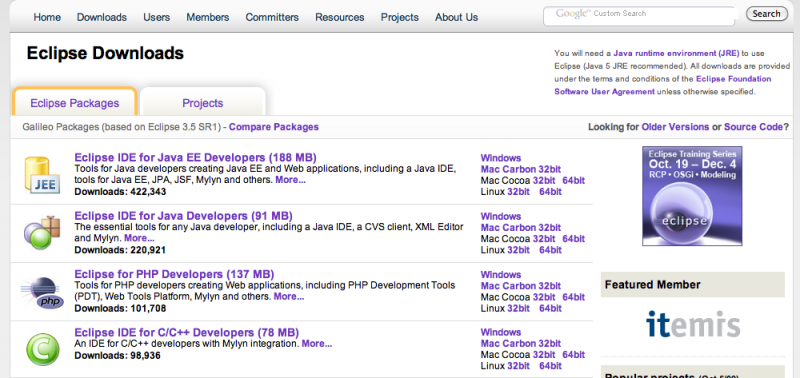
How to install Pave from update site.Short step by step tutorial for installing pave framework on Galileo or Helios IDE.
Check our tutorial section for more information on how to create new patterns. |

