Notice: this Wiki will be going read only early in 2024 and edits will no longer be possible. Please see: https://gitlab.eclipse.org/eclipsefdn/helpdesk/-/wikis/Wiki-shutdown-plan for the plan.
Difference between revisions of "Papyrus/UserGuide/fUML ALF Moka"
m (→Aknowledgement and Download final sample) |
|||
| Line 1: | Line 1: | ||
| − | == | + | == Report on How to Use |
| + | ALF Action Language and fUML | ||
| + | execution/debugging with Moka == | ||
In this report, we tried to implement part of the executable model in fUML with Action Language (ALF). This report is based on Eclipse Oxygen and Papyrus Modeling environment and the process of installation and execution of ALF action language in this environment. | In this report, we tried to implement part of the executable model in fUML with Action Language (ALF). This report is based on Eclipse Oxygen and Papyrus Modeling environment and the process of installation and execution of ALF action language in this environment. | ||
Revision as of 14:37, 24 April 2018
== Report on How to Use ALF Action Language and fUML execution/debugging with Moka ==
In this report, we tried to implement part of the executable model in fUML with Action Language (ALF). This report is based on Eclipse Oxygen and Papyrus Modeling environment and the process of installation and execution of ALF action language in this environment. First, we introduce how to Integrate ALF editor in this environment and then we try to add Moka for the purposes of debugging and execution models. In the end, we provide a new sample based on the fUML sample of the Moka for execution of the models to show how we can execute ALF based behaviors inside the modeling environment. Since ALF is supported by the OMG standardization as an action language we started to find out supported tools and modeling environments to use. But the main problem was outdated samples and tutorials to use this important issue in modeling environments. This report is the documentation of how to use ALF language with the help of debugging fUML models in the papyrus environment. We start this tutorial based on what is existed for running fUML in the Moka without textual action language and we add our ALF based actions to the diagram.
Contents
Preparing Steps for Papyrus
Installing ALF Extension for Eclipse Oxygen
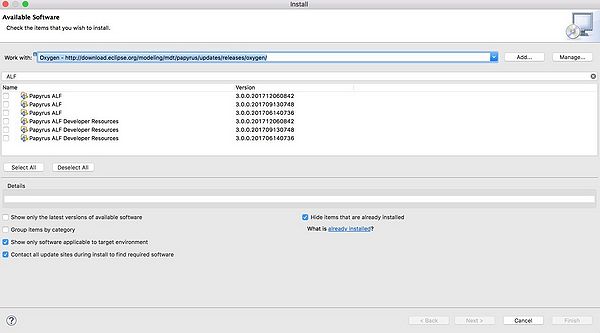
1. Click on “help”, “install new software” then add the link below and install all ALF plug-ins on your Eclipse. The address for the update the sources.
Figure 1- ALF installation for papyrus
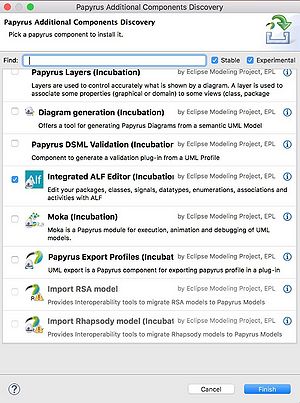
2. From top toolbar select “help” then “Eclipse MarketPlace”, search ALF and install “Integrated ALF Editor”.
Figure 2 - Integrated ALF Editor inside Papyrus additional Components
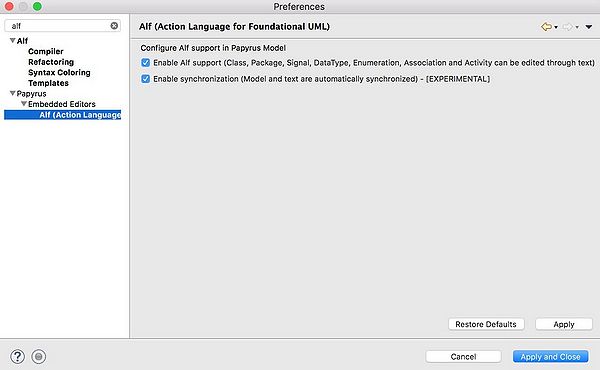
3. From top toolbar on “preference” search ALF and active all Supports for it.
Figure 3 - Enable ALF Support for Foundational UML
Installing Moka and Nebula updates
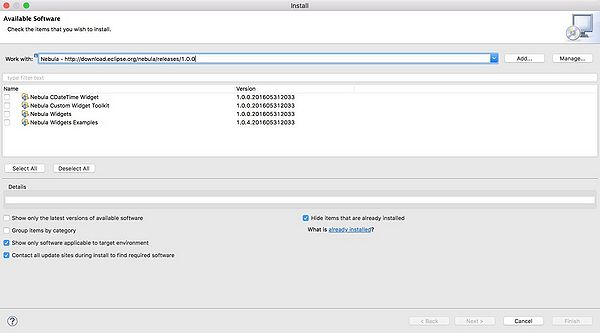
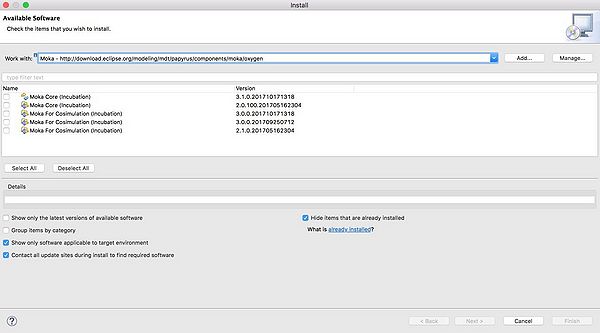
1. On “help”, “install new software” add this link below and install all Nebula.
Figure 4 - Get Nebula Updates 2. On “help”, “install new software” add this link below and install all Moka cores.
Figure 5 - Moka core for execution and debugging models
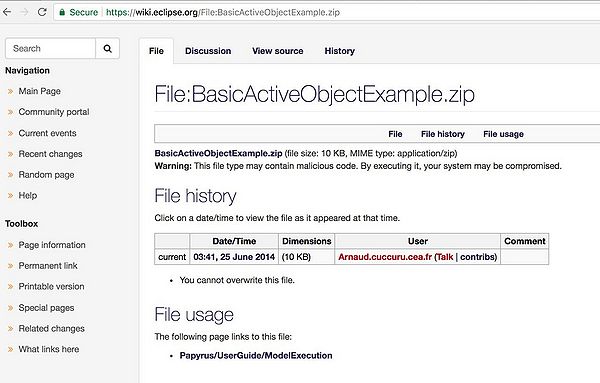
3. download the basic sample of the project use the link below and save it on your system. - web address: https://wiki.eclipse.org/File:BasicActiveObjectExample.zip
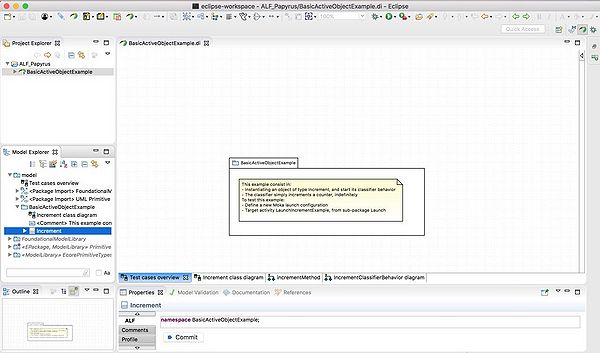
Figure 6 - a Basic sample of fUML in Moka
Getting Started with Model Execution
Import a basic sample of fUML with Moka to start with
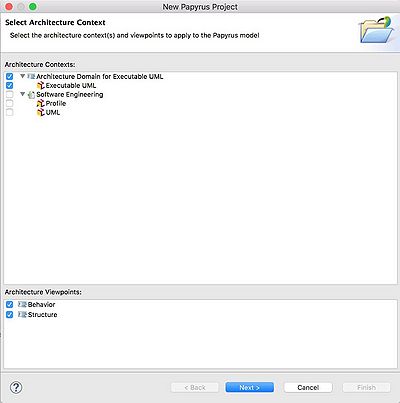
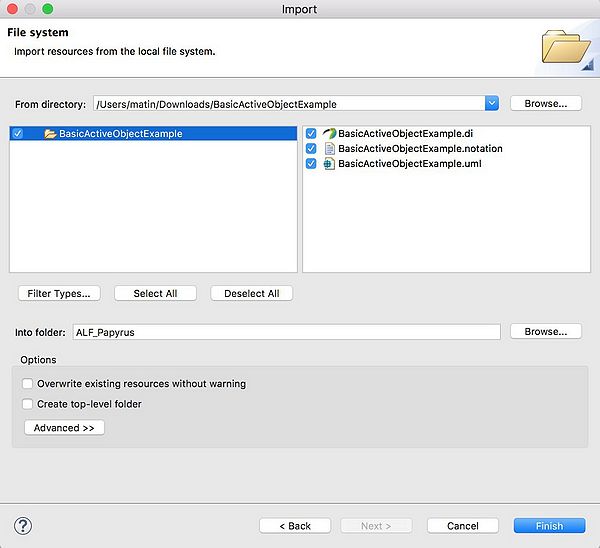
1. we will make a new papyrus project then import the sample project (that we download it before). We called the project “ALF_PAPYRUS”.
Figure 7 - Create new project with the name of ALF_Papyrus
Figure 8 - Import downloaded sample into the environment
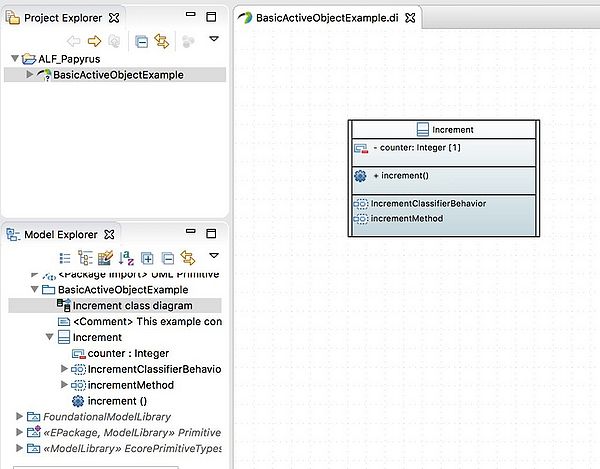
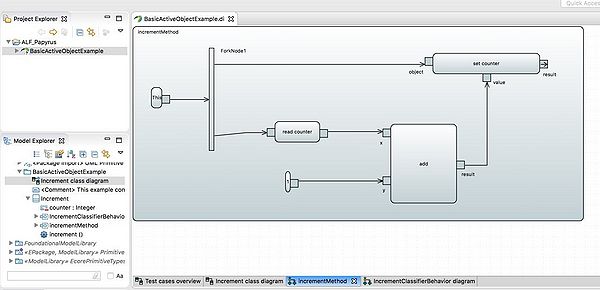
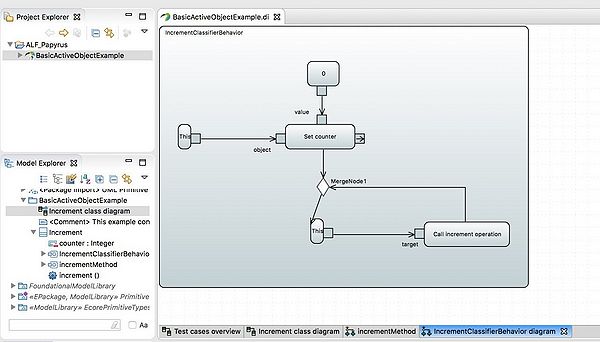
2. when you open the project, you should have all these diagrams attached to it.
Figure 9 - First view of the imported project
Figure 10 - Increment Class Diagram in Project
Figure 11 - Increment method in the behaviors
Figure 12 - Increment classifier behavior
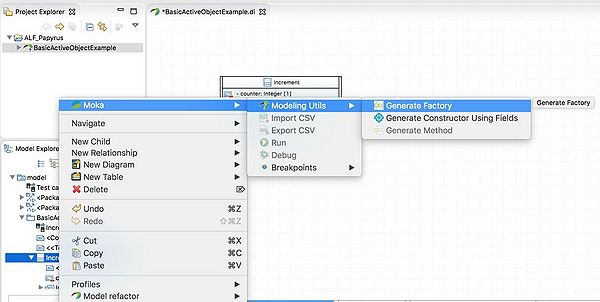
3. The behaviors associated with this class (i.e., IncrementClassifierBehavior, which is the classifier behavior, and incrementMethod, are the implementations of operation increment) are specified by activity diagrams. Corresponding activities are executable, according to the semantics given in OMG standards fUML and PSCS. Anyway, in fUML and PSCS, the execution of a model usually starts by executing a kind of "main" activity, which is responsible for instantiating objects, and stimulate them if needed (through signals or operation calls). Moka provides some facilities to generate this kind of activities. Just right click on class Increment, then go to Moka - Modeling Utils - Generate Factory.
Figure 13 - Generate factory for Increment Class Behavior
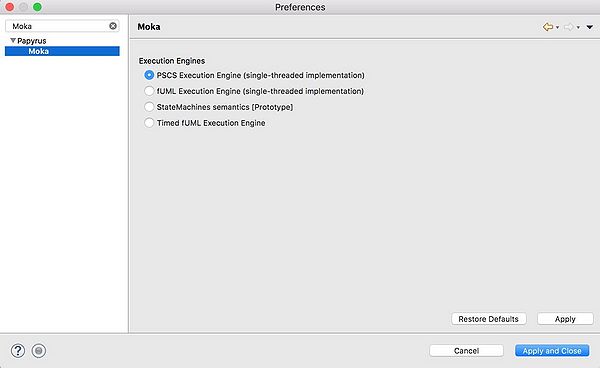
4. You should also check the execution engine from “preferences”.
Figure 14 - Moka preferences for run and debug
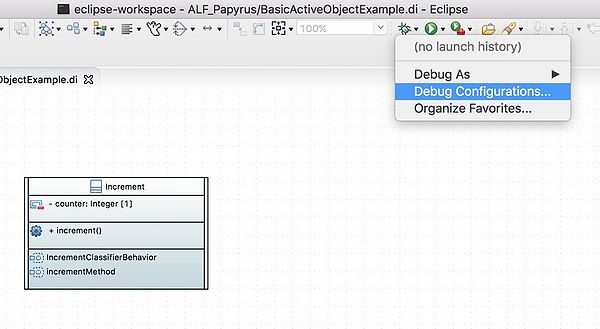
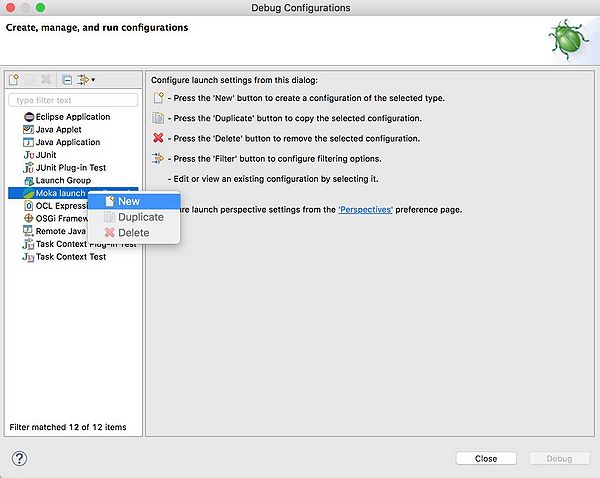
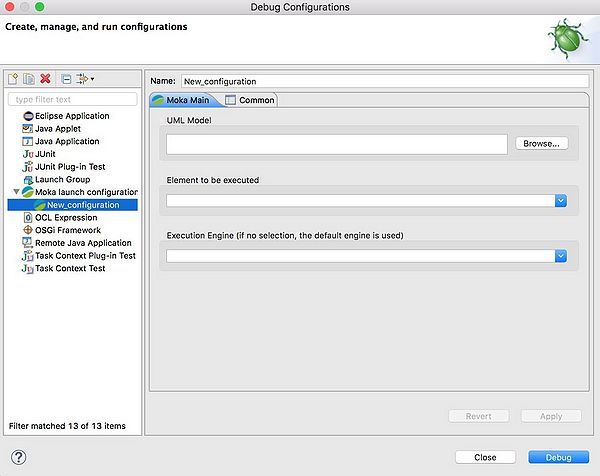
5. After checking the engine, hit “Debug Configurations…” and add new configuration as below.
Figure 15 - Run Project in debug mode
Figure 16 - Debug configuration and add Moka Configs
Figure 17 - Steps to initial configurations for Moka
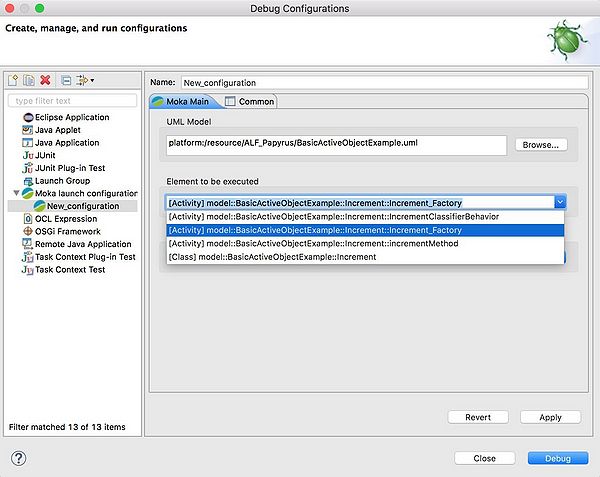
Figure 18 – set element for execution of Model
6. Start debugging by click on Debug icon in the top-right corner of the screen.
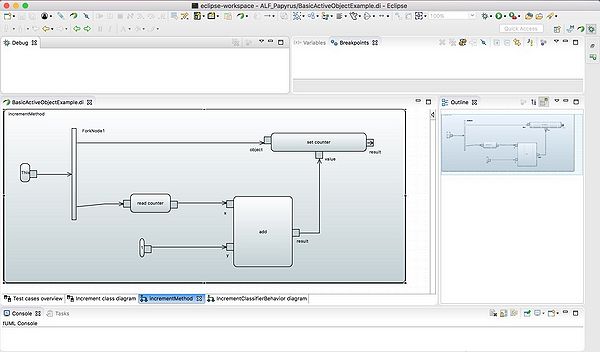
Figure 19 - the Debugging environment in the eclipse
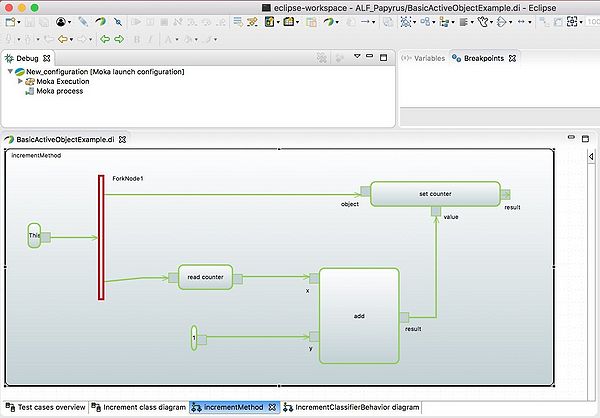
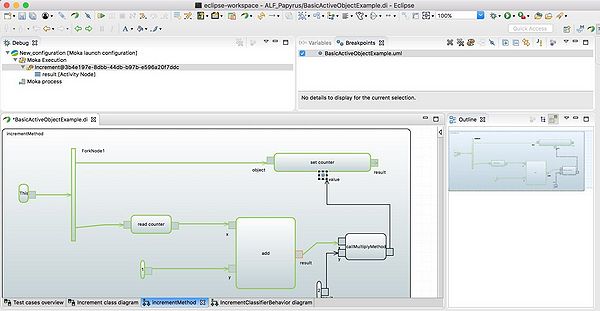
7. You will see the debug start when the action diagram becomes green
Figure 20 - Debugging a Model in eclipse
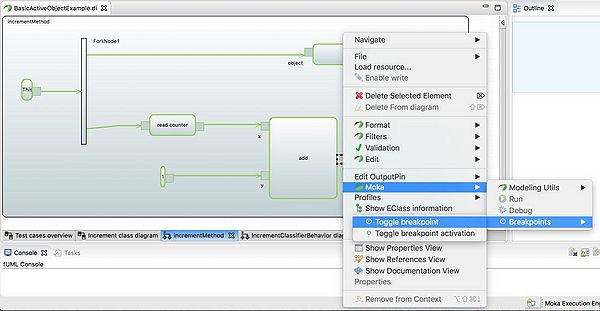
Figure 21 - Possibility to add a breakpoint and see the simulation of the execution for model
8. By Adding breakpoints in different steps, you can monitor debugging completely.
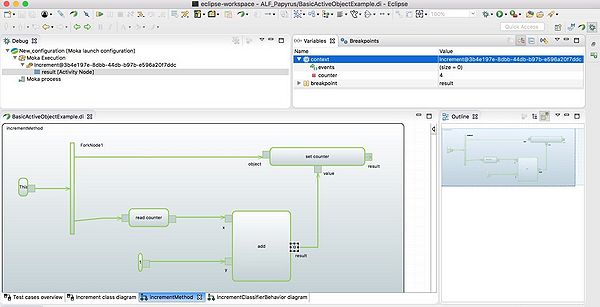
Figure 22 - Adding Breakpoint in each step to check the object instance values of the class
9. As you see in the pictures, the counter will increase each time the cycle finishes.
Figure 23 - read values of the attributes of the class in the variables window
10. As you see in this photo, there is no command in ALF part, because here we only use Moka to execute this project. Next step we will add another method and write the ALF codes in it.
Figure 24 - All executed with models and nothing textual for actions
ALF based Model Execution
ALF based behavior as part of the diagram
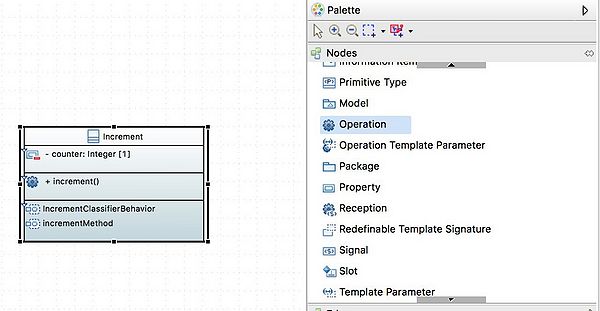
1. In the Class, diagram add an operation and call it Multiply
Figure 25 - Add a new operation to the class from palette
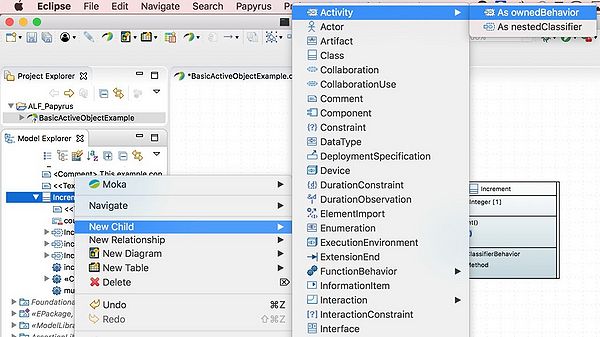
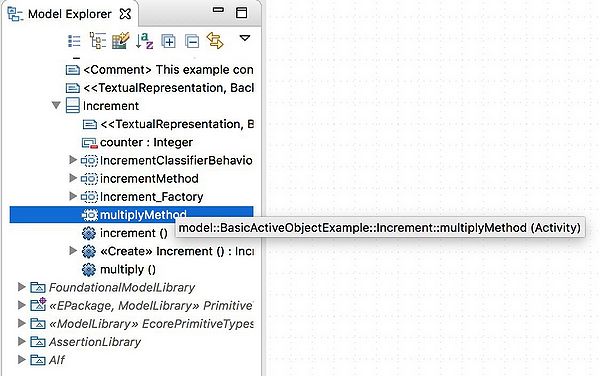
2. In Model Explorer, right click on Increment and add new activity behavior call it “MultiplyMethod”
Figure 26 - Add activity to the existing class
Figure 27 – Multiply Method as a behavior added to the class
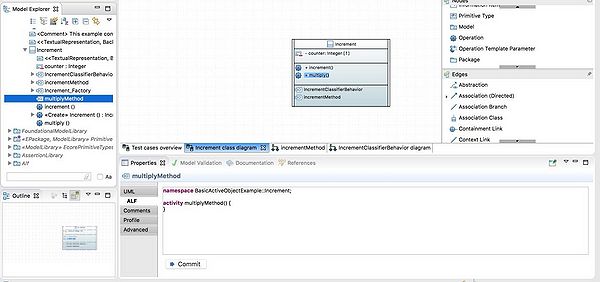
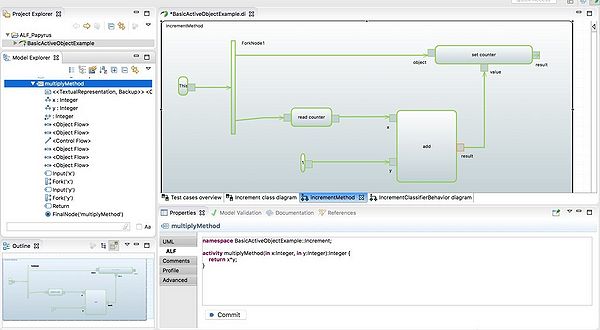
3. As you see, you will have this class diagram and model Explorer. If you click on MultiplyMethod, it is ready to add your behavior with ALF language.
Figure 28 - ALF editor inside the eclipse to create behavior
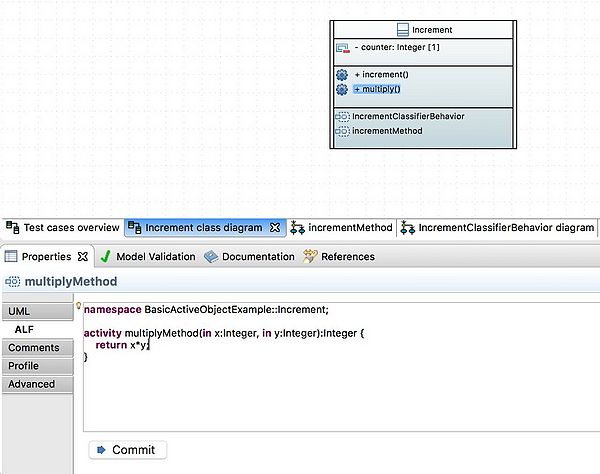
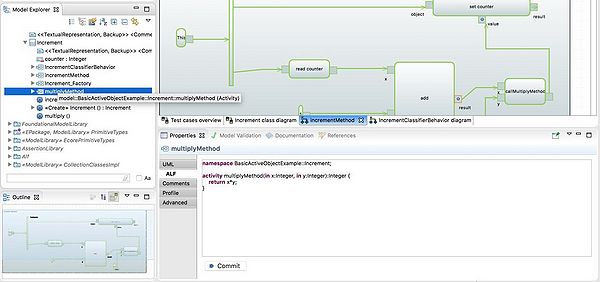
4. Write ALF codes same as below in “ALF properties” for “MultiplyMethod”
Sample Code: namespace BasicActiveObjectExample::Increment;
activity multiplyMethod(in x:Integer, in y:Integer):Integer { return x*y; }
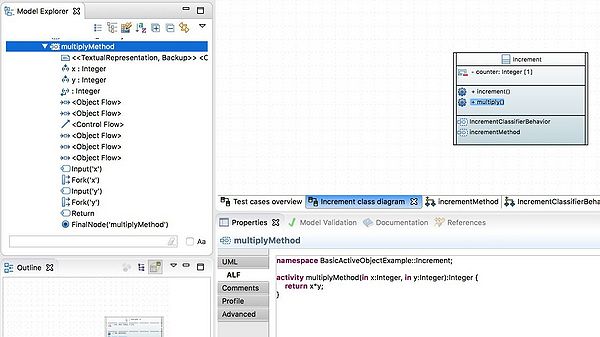
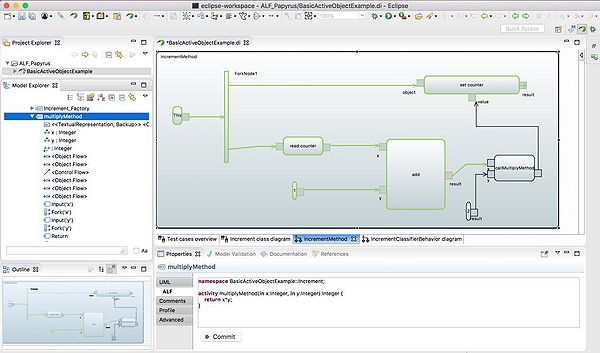
5. You will have these codes under the “multiplymethod” same as this. Hit Commit. With the commit button inside the ALF editor, these commands will be executed and compiled as behavioral parts which you can see the next picture. The beauty of this process is all the generated parts can be used as an action inside another diagram.
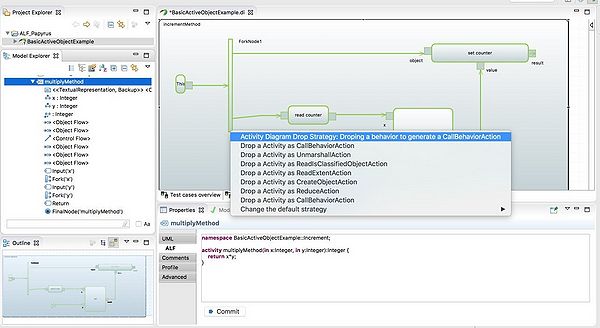
We have added the ALF codes but still, we do not have the multiplymethod in our Action diagram. It is possible to Drag and drop the “MultiplyMethod” from Model Explorer to increment class diagram to add it even inside to diagram.
Figure 29 - Compile and Generate behaviors for multiplyMethod Behavior
6. Now we need to execute our ALF part in the previous fUML we tested and debugged in the previous section.
7. Choose “Activity as a CallBehaviorAction” second item from the menu.
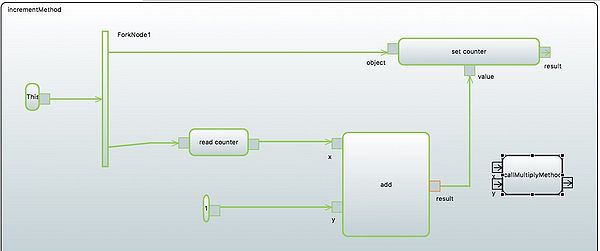
Figure 30 - Drag MultiplyMethod from Model Explorer inside the increment Method as CallBehaviorAction
Figure 31 - As you can see the result is our method with two input and one output as we wrote in ALF
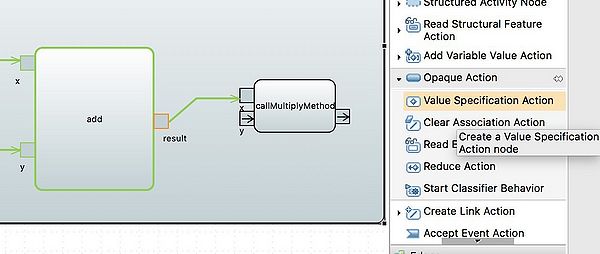
8. To test the “MultiplyMethod” we will add a constant value (equal to 2) and get the output of incrementing. So, each time we will multiply the increment output.
Figure 32 - Add value Specification Action to set the inputs of the MultiplyMethod
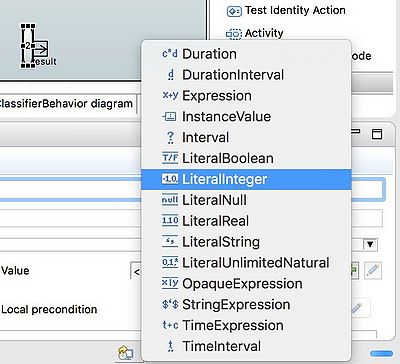
Figure 33 - Add Literal Integer value equal 2 as a second input for Behavior
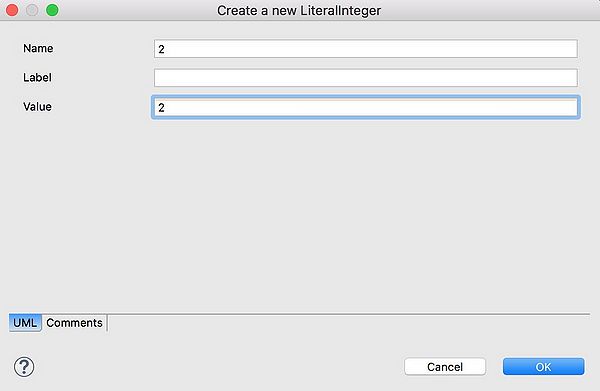
Figure 34 - set the value equal 2 to provide the right input for your method
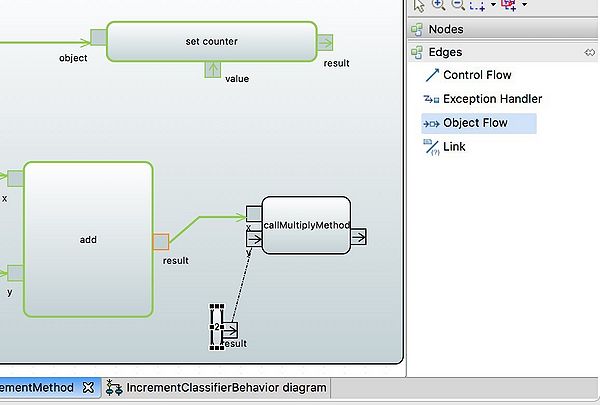
Figure 35 - Object Flow edge to connect result of value two to input y
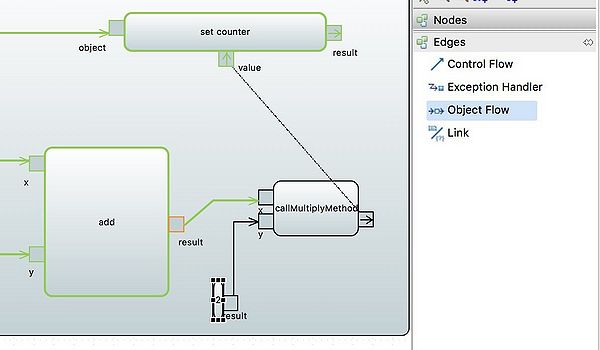
Figure 36 - Object flow from the result of the callMultiplyMethod to the Value of set Counter
Figure 37 - Final Modified Diagram with the added ALF part
Figure 38 - Add Breakpoints to Debug and see the values inside the model
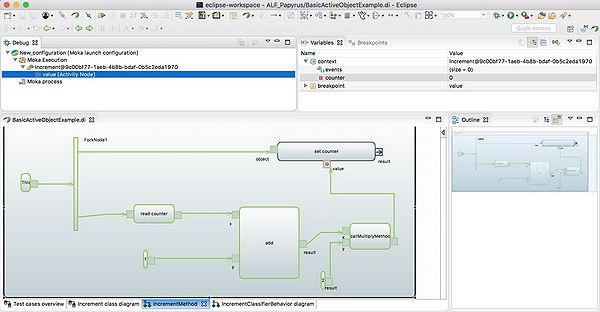
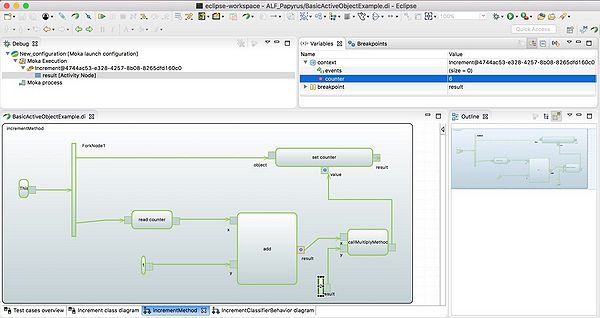
9. When you run the debug, counter is zero and each time it will first increment by 1 and multiply by 2. First step counter is zero.
Figure 39 - In the first run value of the counter is zero
Figure 40 - Simply hit resume to continue running the diagram
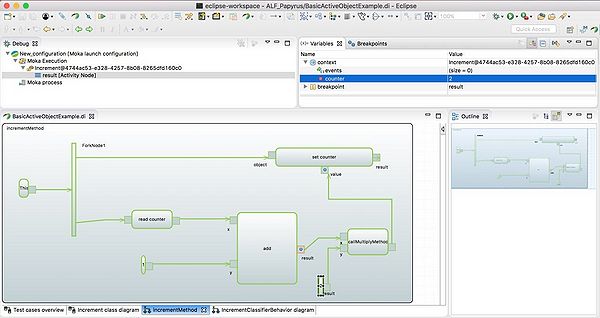
10. Second step 0 will increment by1 then multiply by 2. counter: (0+1) *2=2
Figure 41 - Second run the value will show the result of two
11. Third step. Counter: (2+1) * 2=6
Figure 42 - in the third run value will show the 6 as result
Conclusion
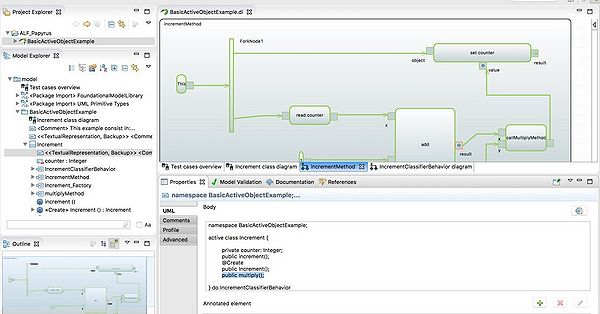
In the textual representation of the model, we can see, we have the multiply method as public which is written by ALF and there is no difference in the execution of ALF parts and fUML with Moka.
Figure 43 - Final representation of two different behaviors in the model
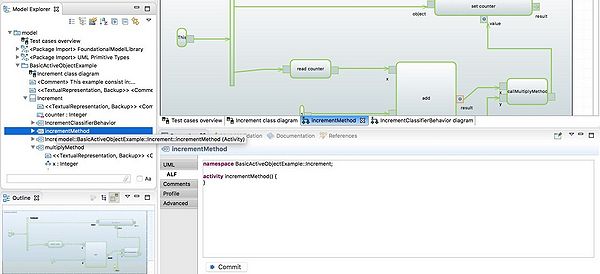
Next two pictures clearly show that “incrementMethod” which is in Moka has not the ALF commands and “MultiplyMethod” which is written in ALF has the commands and they are working together properly.
•“incrementMethod” which is implemented with fUML and actions inside the model.
Figure 44 - Increment method based on the fUML without textual actions
•“MultiplyMethod” which is added with ALF action language and compiled as a part of the model execution in the behavior.
Figure 45 - Added ALF based action for Multiply Method
Aknowledgement and Download final sample
This work is prepared by Matin Maleki and Saeed Shoaraye Nejati in Model Driven Engineering Course of the Concordia University, Montreal, Canada Lectured by Dr. Wahab Hamou-Lhadj. PDF file of this report: File:ALF fUML Moka.pdf
Sample file which is created at the end of this document can be downloaded from here File:ALF fUML Moka.zip

