Notice: this Wiki will be going read only early in 2024 and edits will no longer be possible. Please see: https://gitlab.eclipse.org/eclipsefdn/helpdesk/-/wikis/Wiki-shutdown-plan for the plan.
EclipseLink/Examples/OSGi/Developing with EclipseLink OSGi in PDE
< EclipseLink | Examples | OSGi
Under Construction!
Developing with EclipseLink OSGi in PDE
NOTE: These instructions apply to the Galileo release.
EclipseLink is the the only comprehensive Java persistence framework that is designed for OSGi. EclipseLink is available as a set of OSGi bundles that can be used with any OSGi framework. Support is also available for byte code weaving of Entities when using Equinox.
This example illustrates how to develop a simple OSGi hello database application using Eclipse's Plug-in Development Environment (PDE) and EclipseLink.
Setup
- Download Eclipse IDE with PDE
- A number of distributions include PDE including the Java EE, RCP, and Classic distributions.
- In Galileo, EclipseLink is included in the Eclipse IDE for Java EE Developers distribution. If you download this distribution you do not need to download EclipseLink; the bundles are in the plugins folder of your Eclipse install.
- Install Required Bundles: EclipseLink JPA and JDBC. For the purposes of this example, we'll use the Apache Derby embedded database because the embedded database driver bundle is available along with EclipseLink from the Galileo update site.
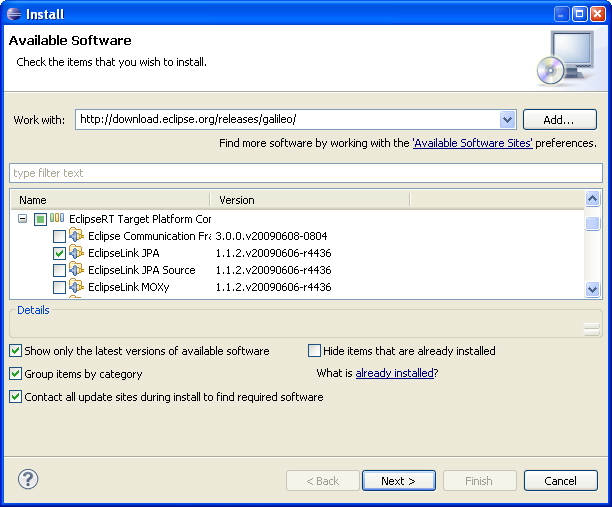
- Select Help>Install New Software.. and in the Install dialog select the Galileo update site.
- Select EclipseLink JPA which is in the EclipseRT Target Platform Components category.
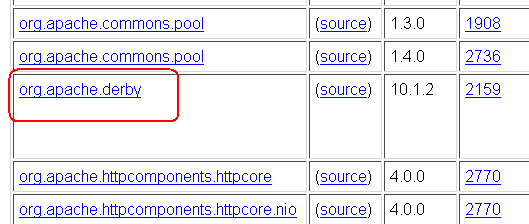
- Select Apache Derby Core Feature. You may have to uncheck the "Group items by category" option to see this feature.
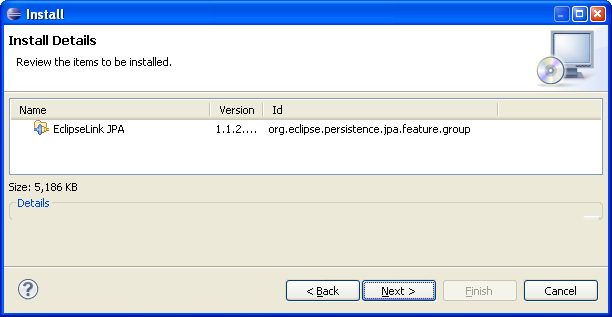
- Review the features you're installing to ensure you're getting both EclipseLink JPA and Derby.
- After downloading, Eclipse will prompt you to restart. Restart to complete the install.
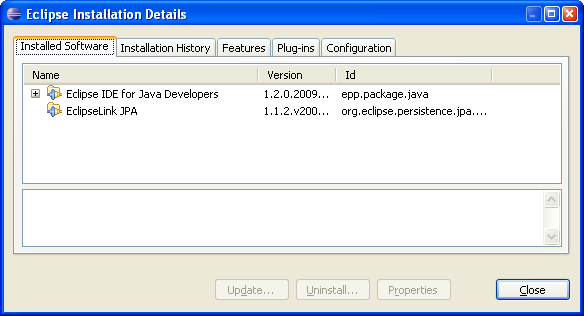
- You can confirm that EclipseLink JPA and Derby are installed using the Help>About Eclipse SDK menu and clicking the Installation Details button on the About dialog.