Notice: this Wiki will be going read only early in 2024 and edits will no longer be possible. Please see: https://gitlab.eclipse.org/eclipsefdn/helpdesk/-/wikis/Wiki-shutdown-plan for the plan.
Difference between revisions of "EclipseLink/Examples/JPARS/Simple"
m (→Installation and Configuration) |
m (→Installation and Configuration) |
||
| Line 55: | Line 55: | ||
<br> | <br> | ||
| − | Note: If you want to see JPA-RS logs, add a logger for "'''''org.eclipse.persistence.jpars'''''". Currently exceptions are logged at "FINER" log level. So configure the logger to FINER or FINEST. | + | Note: If you want to see JPA-RS logs, add a logger for "'''''org.eclipse.persistence.jpars'''''". Currently exceptions are logged at "FINER" log level. So configure the logger to FINER or FINEST. Use Glassfish Admin Console-> Configurations-> default-config-> Logger Settings-> Log Levels tab -> Add Logger to add a logger for the JPA-RS. |
<br> 2. Clone "examples" from git. The "student" example is stored under [http://git.eclipse.org/c/eclipselink/examples.git/tree/student student] folder. | <br> 2. Clone "examples" from git. The "student" example is stored under [http://git.eclipse.org/c/eclipselink/examples.git/tree/student student] folder. | ||
Revision as of 16:44, 9 April 2013
Simple Example - student
The "student" example is intended to provide a simple example of using JPA-RS with a single entity persistence unit in a web application.
Environment
The following are the minimal requirements for this example.
- EclipseLink 2.4.2
- Eclipse Java EE IDE - Juno Release
- Git access to eclipselink examples git repository. The steps to connect to the repo can be found below.
- Glassfish 3.1.2 or later
- REST client (Chrome Postman REST Client is used in this example, but you can use your favorite REST Client)
Overview
The following steps will be performed in setting up and running this example in your own environment
- Installation & Configuration
- Install Glassfish 3.1.2.2 or later
- Check out student example from GIT
- Database connectivity
- GlassFish - Datasource configuration
- Verify config
- Deploy web application
- Running the Example
- View metadata
- Create entity
- Update entity
- Query entity
- Delete entity
Installation and Configuration
1. If you are using Glassfish earlier than Glassfish 4.0 (http://dlc.sun.com.edgesuite.net/glassfish/4.0/promoted/) you will need to download newer version of EclipseLink 2.4.2 binaries from http://www.eclipse.org/eclipselink/downloads/nightly.php (2.4.2 Nightly Build Results) and replace following files under $GLASSFISH_HOME/glassfish/modules with corresponding jars you downloaded above:
- org.eclipse.persistence.antlr.jar
- org.eclipse.persistence.jpa.jar
- org.eclipse.persistence.asm.jar
- org.eclipse.persistence.jpa.modelgen.jar
- org.eclipse.persistence.core.jar
- org.eclipse.persistence.oracle.jar
- javax.persistence.jar
- org.eclipse.persistence.dbws.jar
- org.eclipse.persistence.jpa.jpql.jar
Make sure you clear Glassfish osgi cache by removing the $GLASSFISH_HOME\glassfish\domains\<your_domain>\osgi-cache directory after you replaced the bundles listed above, and before you restart the Glassfish.
Note: If you want to see JPA-RS logs, add a logger for "org.eclipse.persistence.jpars". Currently exceptions are logged at "FINER" log level. So configure the logger to FINER or FINEST. Use Glassfish Admin Console-> Configurations-> default-config-> Logger Settings-> Log Levels tab -> Add Logger to add a logger for the JPA-RS.
2. Clone "examples" from git. The "student" example is stored under student folder.
git clone git://git.eclipse.org/gitroot/eclipselink/examples.git
3. Configure datasource. Create an XA Datasource connection pool called "JPARSStudentDS" and define a new JDBC Resource using this connection pool. You can use any of the databases supported by the eclipselink.
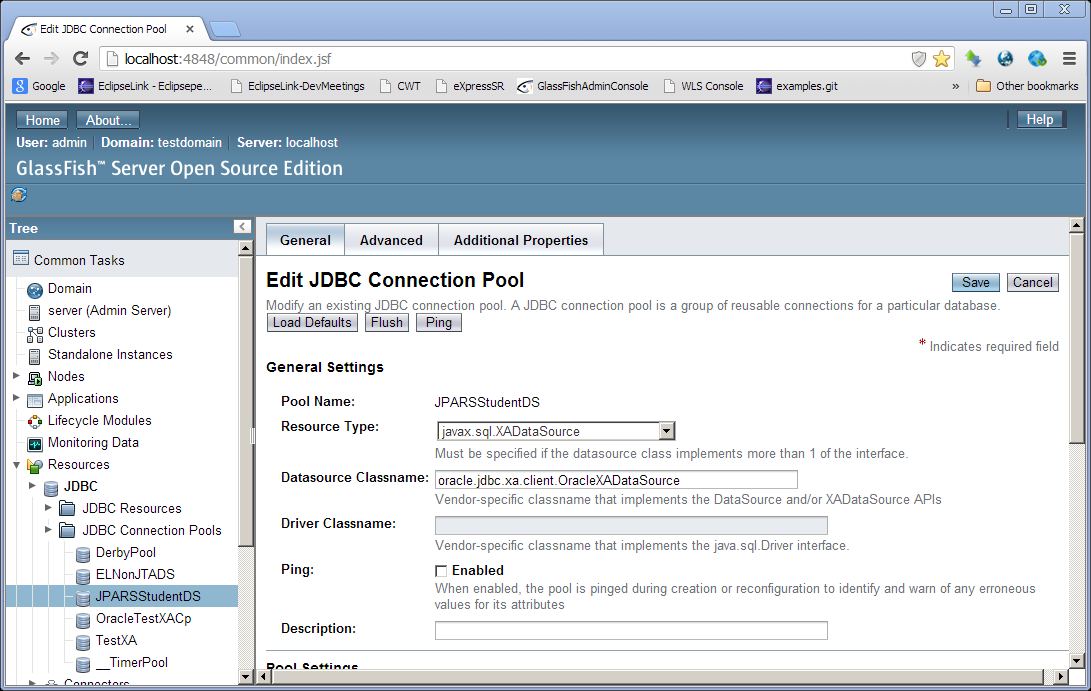
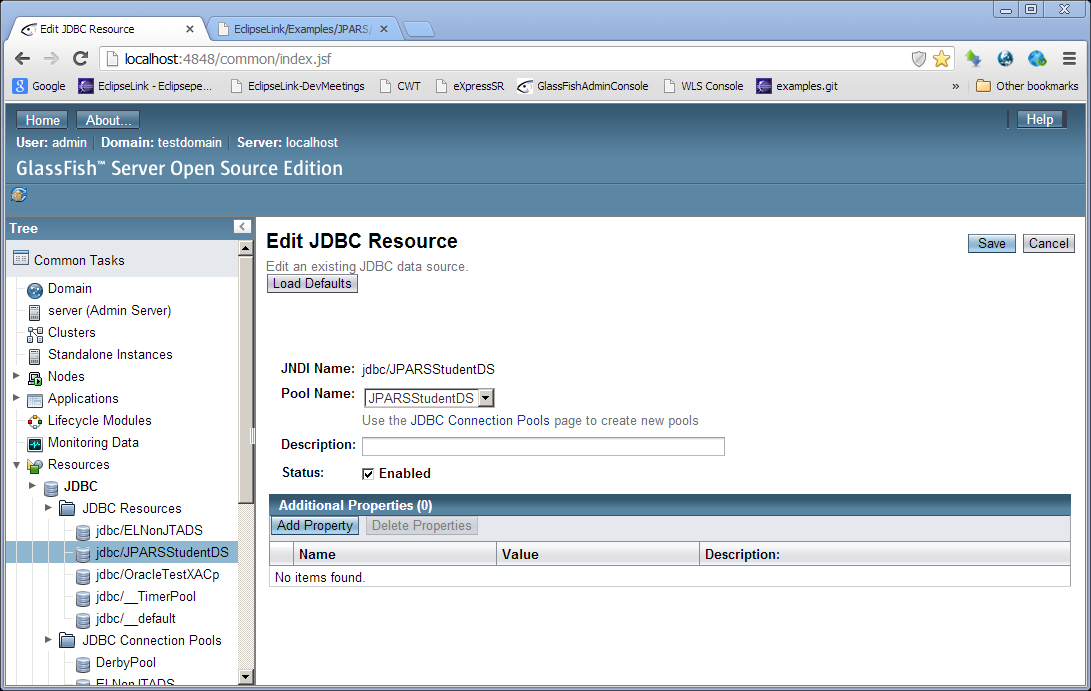
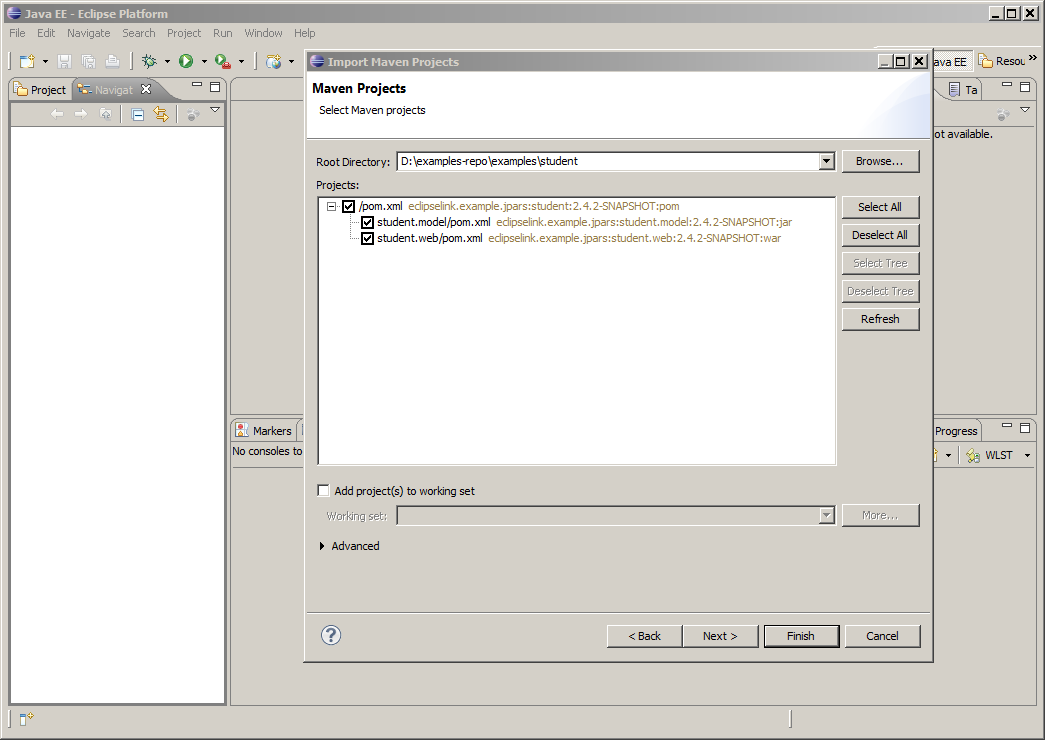
4. Lauch eclipse. Select File->Import->Maven->Existing Maven Projects, hit next and point Root Directory to student folder. Hit finish.
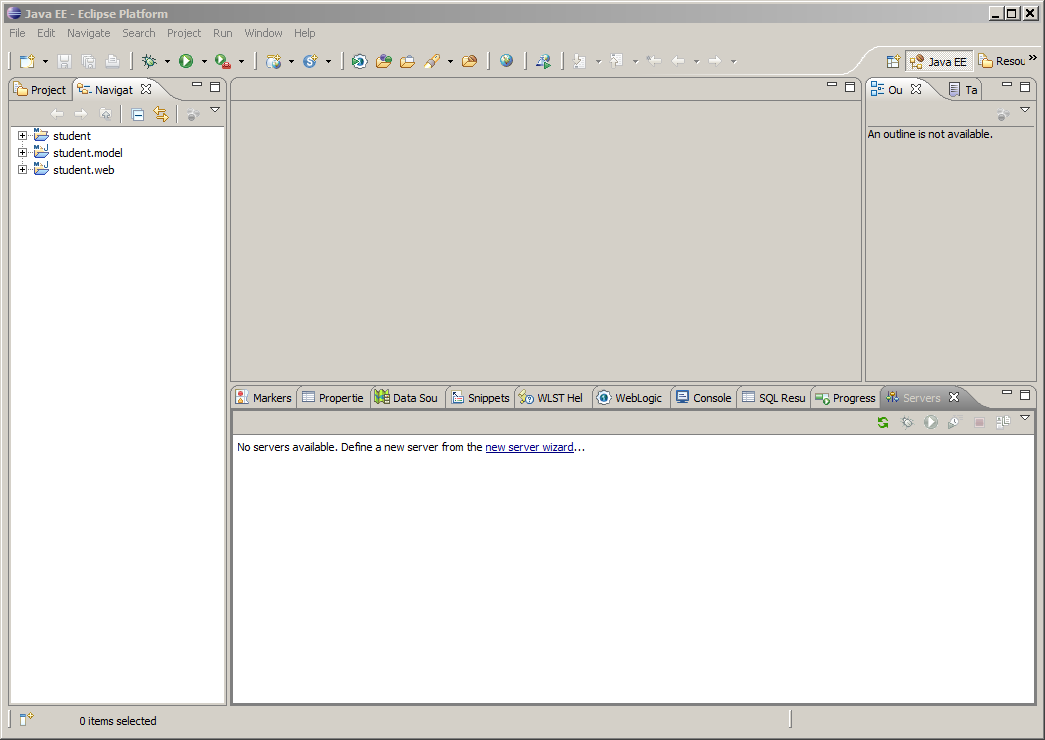
5. Build the student project.
6.Configure a server. Click "new server wizard" link on the Servers tab.
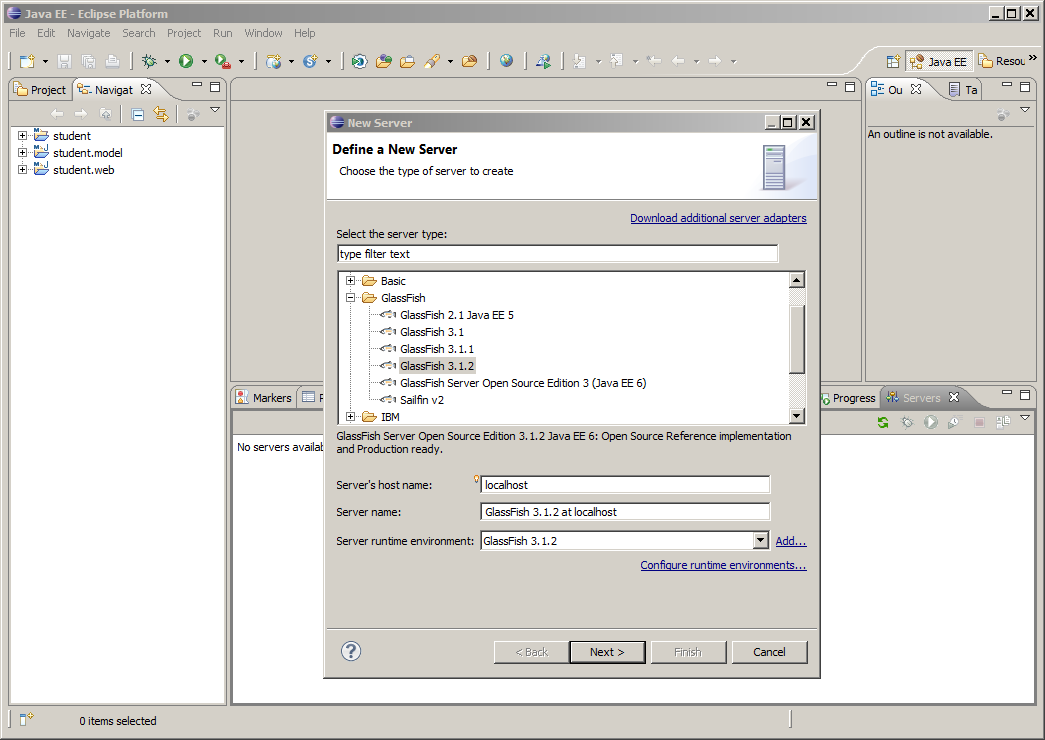
7. Select GlassFish 3.1.2
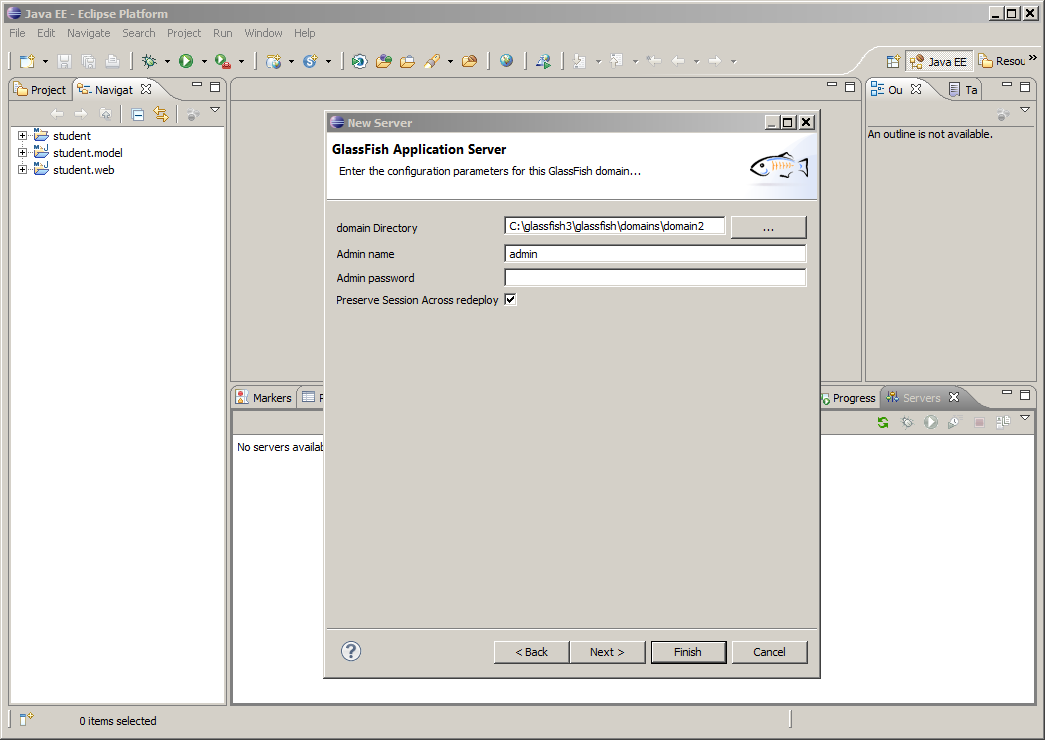
8. Enter domain directory, admin name and password based on your installation and hit Finish.
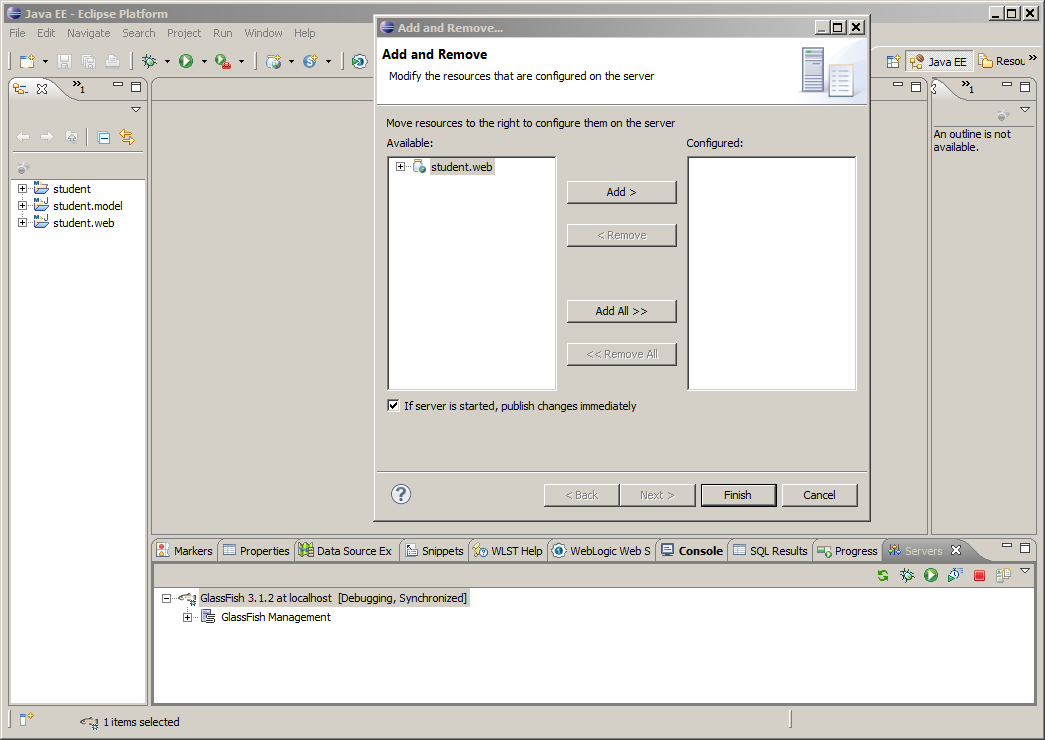
9. Deploy student.web. Right click on the Glassfish (on Servers tab), select "student.web" in available resources list. Hit Add and Finish.
Now, you are ready to run the student example.
Running the Example
- Launch Chrome and Postman
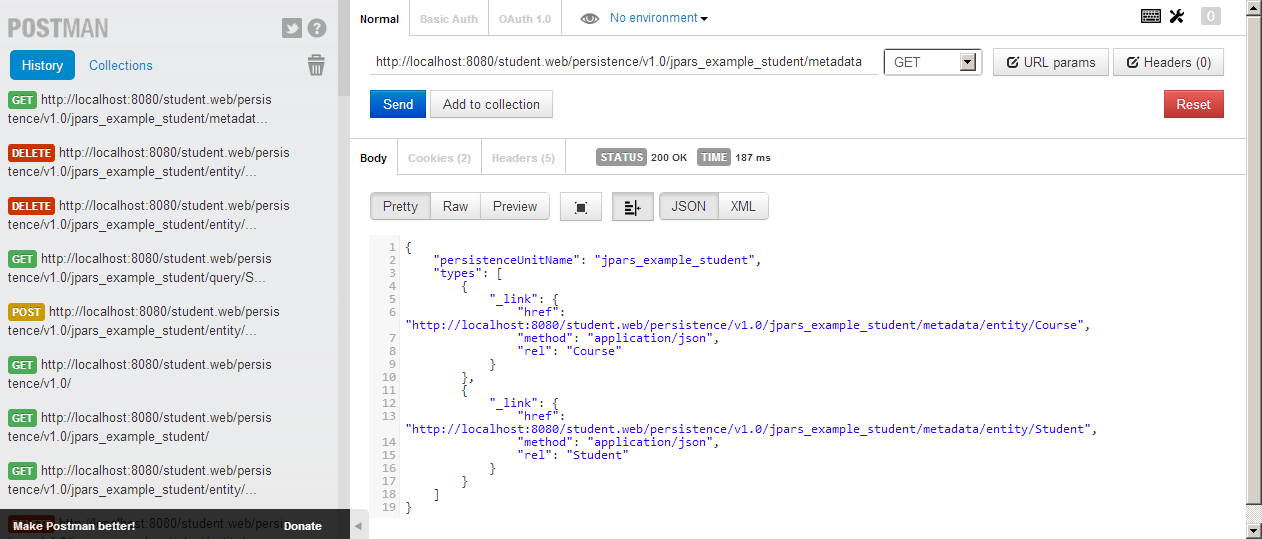
- Get metadata: GET http://localhost:8080/student.web/persistence/v1.0/jpars_example_student/metadata
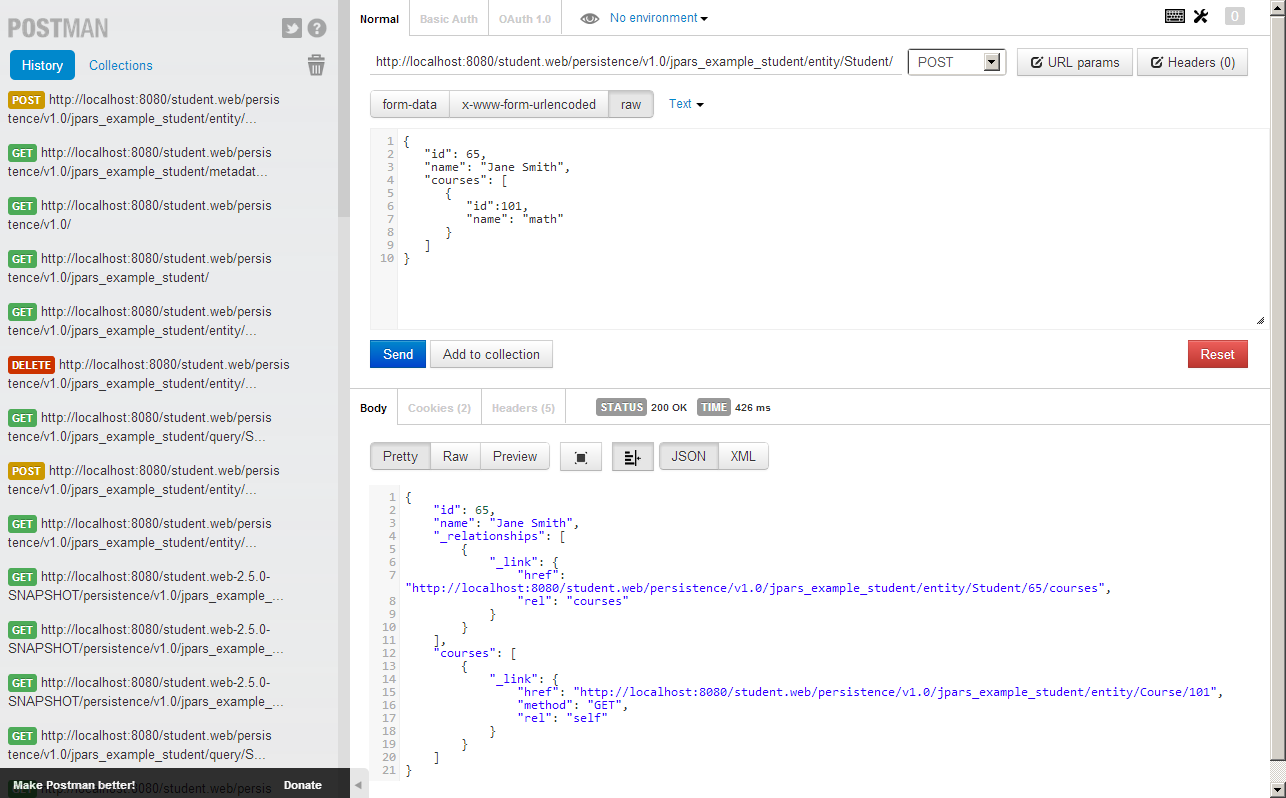
- Create a student with a course: POST http://localhost:8080/student.web/persistence/v1.0/jpars_example_student/entity/Student/ (with the following body as an example):
{
"id": 65,
"name": "Jane Smith",
"courses": [
{
"id":101,
"name": "math"
}
]
}
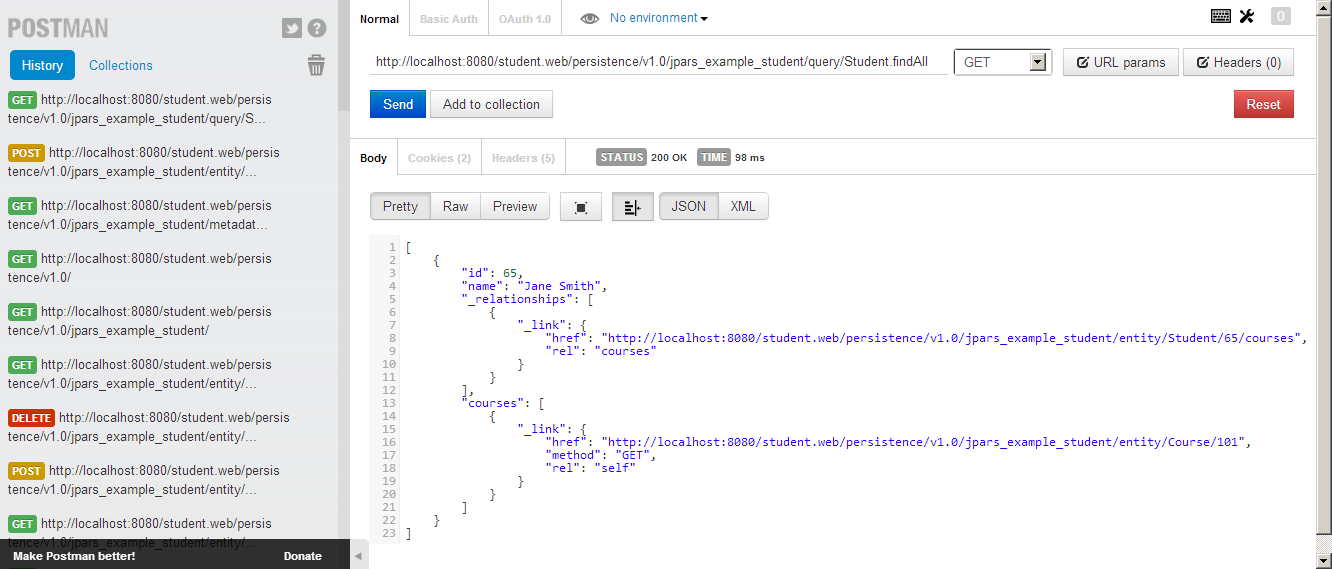
- Execute a named query: GET http://localhost:8080/student.web/persistence/v1.0/jpars_example_student/query/Student.findAll to execute named query findAll query as defined in the eclipselink.example.jpars.student.model.Student entity.
- Delete student: DELETE http://localhost:8080/student.web/persistence/v1.0/jpars_example_student/entity/Student/65

