Notice: this Wiki will be going read only early in 2024 and edits will no longer be possible. Please see: https://gitlab.eclipse.org/eclipsefdn/helpdesk/-/wikis/Wiki-shutdown-plan for the plan.
E4/Resources/Semantic File System/Demos/Running e4 Demo Twitter Client
Prerequisite: Download and install e4 1.0 build from here.
1. Start e4 with an empty workspace
2. Import the following projects from Eclipse CVS:
- org.eclipse.e4.demo.e4twitterclient
- org.eclipse.core.resources.semantic
You may use following Project Set files for convenience:
- SFS APIs, SPIs and implementation: e4.resources.sfs.psf
- SFS examples including e4 Demo Twitter Client: e4.resources.sfs.examples.psf
3. Create a launch configuration to run org.eclipse.e4.demo.e4twitterclient.product as a product. For that, select the file "e4twitterclient.product" that resides in org.eclipse.e4.demo.e4twitterclient project. Then select "Run As" -> "Eclipse Application".
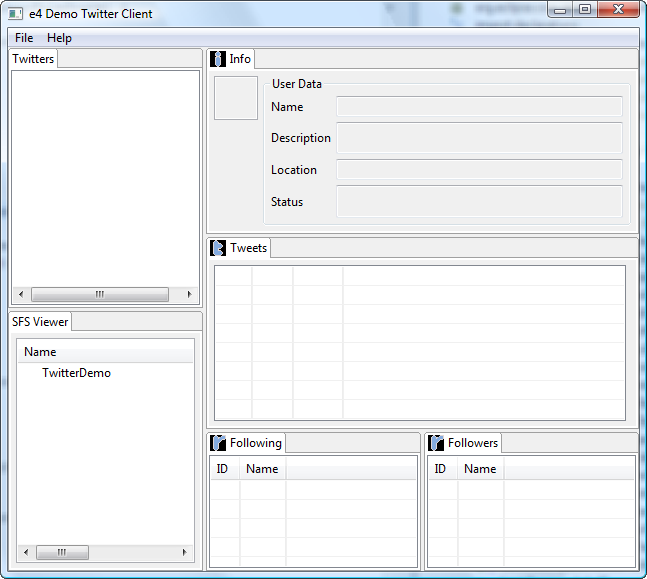
4. Start the e4 Demo Twitter Client. You should be able to see the following screen:
5. Select "File" > "Open" and type in a name of a Twitter user you want to see, for example "eclipsecon".
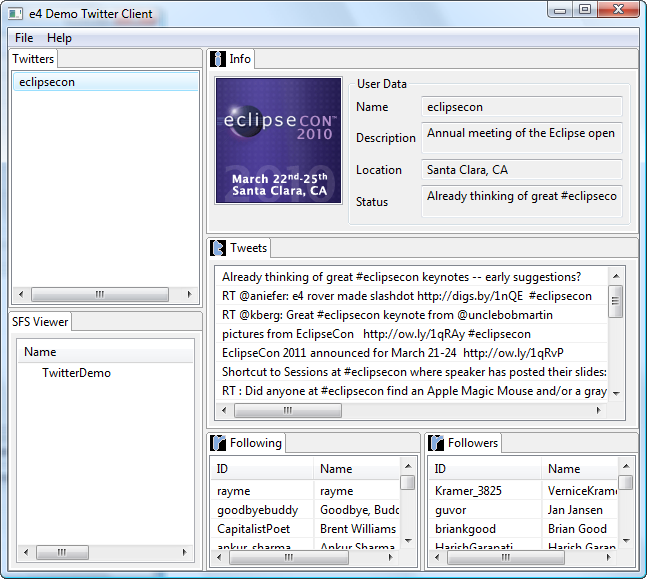
You should be able to see the following screen after pressing OK and entering your Twitter user name and password on logon pop up:

NB, you may have problems to connect to the Internet from the e4 Demo Twitter Client when using an HTTP/HTTPS proxy. In such a case, use "File" -> "Set Proxy Data" for setting required proxy parameters.
6. If you want to refresh the information about a user, you may use "File" > "Refresh" or just doubleclick on the user name in the list.
7. You may add other users by selecting "File" > "Open" again or just by clicking on entries in Followers/Following lists.
8. To remove a user, use "File" > "Remove".

