Notice: This Wiki is now read only and edits are no longer possible. Please see: https://gitlab.eclipse.org/eclipsefdn/helpdesk/-/wikis/Wiki-shutdown-plan for the plan.
Tigerstripe Headless Generation Tutorial
Revision as of 16:39, 12 June 2008 by Unnamed Poltroon (Talk) (→Running a generation from the command line)
< To: Tigerstripe_Tutorials
NOTE THIS IS A DRAFT PAGE
This tutorial will show you how to configure Tigerstripe to run code generations in a headless environment. This will allow you to incorporate Tigerstripe's code generation functionality into a build chain using many of the commonly available build tools, specifically Maven 2.
Contents
Tigerstripe Installation
See the Tigerstripe Installation Tutorial page for instructions on installing the Tigerstripe Workbench.
Importing an Example Model
- Download the sample Tigerstripe model project OrderManagement.zip.
- Start Eclipse and then open the Tigerstripe Workbench perspective.
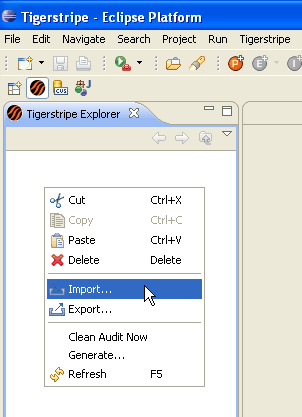
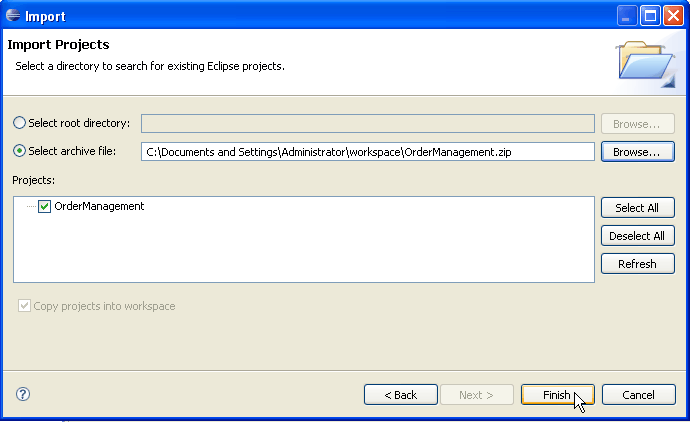
- Import the sample project, OrderManagement.zip into the Tigerstripe Workbench.
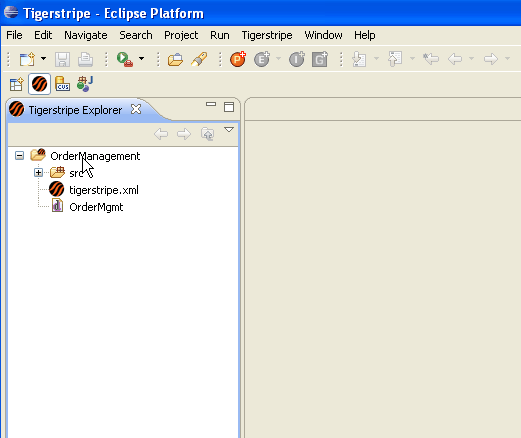
- Verify that the project is in your Tigerstripe Explorer pane.

Installing Tigerstripe generators
Running a generation from the command line
Now that the Tigerstripe workbench is set up, and the Tigerstripe generators have been installed and tested you can invoke a generation run from the command line.
- Set the ECLIPSE_HOME environment variable


